

Think you can ride in and wing it against Starscourge Radahn?
Most players show up underprepared and pay for it fast.
This guide gives clear, step-by-step setups, summon tricks, and exact counters for his arrow volleys, slams, and stagger windows.
You’ll learn when to mount, when to hide, and which builds turn Radahn’s strength into weakness.
Read on for the level, weapon, talisman, and timing choices that make this fight feel repeatable, no guesswork, just results.
Complete Early-Game Setup for the Radahn Battle
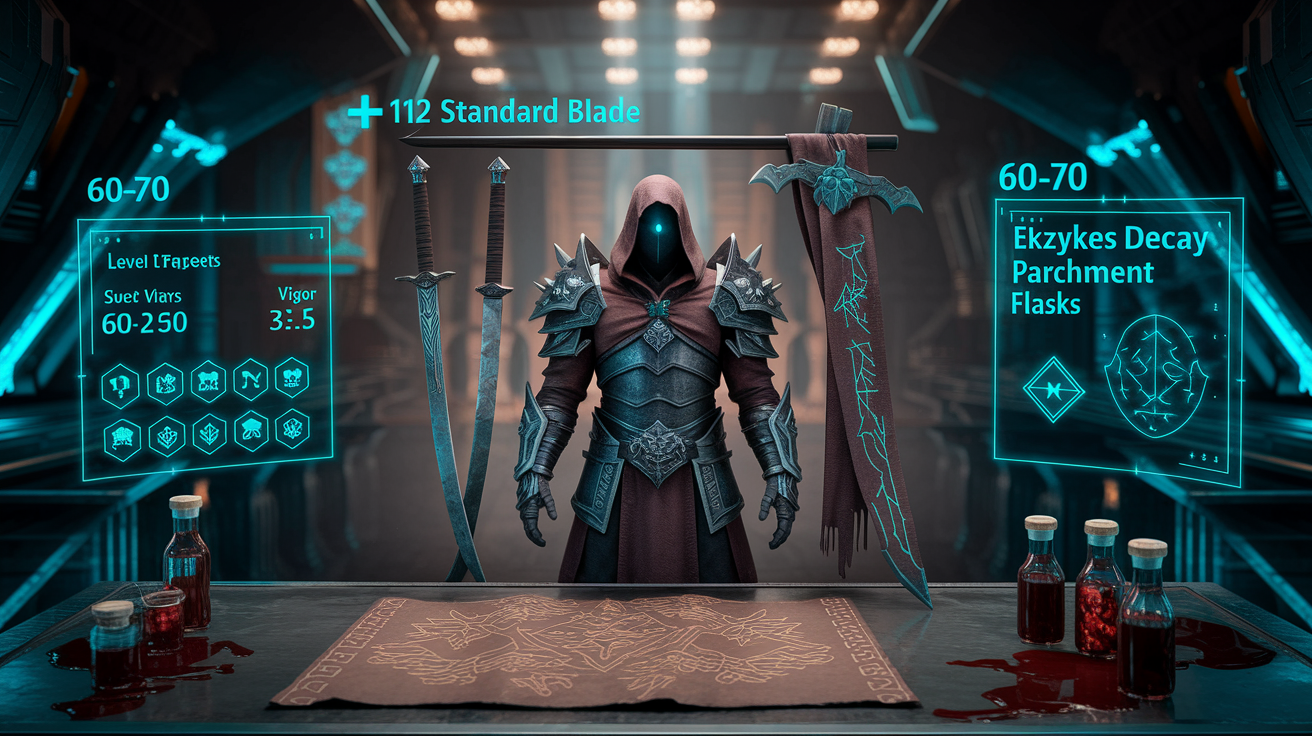
Most players crash into Radahn because they show up underprepared. You’ll want to hit level 60 minimum before this fight. Closer to 70 if you’re new or running a lighter build. Your main weapon should be upgraded to at least +12 for standard armaments or +5 for somber weapons. If your stats feel spread thin, pump Vigor to 35 or higher. Radahn’s attacks can delete half your health bar in one hit if you’re sitting below 30 Vigor.
Bleed and scarlet rot absolutely shred Radahn. He’s classified as a human boss, which means hemorrhage procs carve out massive chunks of his health pool in seconds. Grab an Uchigatana or any weapon that naturally builds bleed, then reinforce it with a blood-type Ash of War if you have one. Scarlet rot takes a bit more setup. The Ekzykes Decay incantation is your best bet if you’ve invested in Faith, but even a single application early in phase one will tick away thousands of HP while you focus on dodging.
Armor choice is less about raw defense and more about balancing magic resistance with enough mobility to dodge. Radahn’s gravity arrows and AoE slams deal split physical and magic damage, so throw on pieces with decent magic resist without pushing you into heavy load. Equip the Lance Talisman if you plan to fight on horseback. It boosts mounted attack damage significantly. For flasks, convert almost everything to HP unless you’re a pure caster. You’ll need healing far more than FP in this fight.
Pre-fight checklist:
- Upgrade your primary weapon to +12 standard or +5 somber minimum
- Equip bleed-infused weapon or slot Ekzykes Decay if you run Faith
- Use talismans that raise magic resistance or boost horseback damage
- Allocate at least 10 healing flasks; casters keep 3 to 4 FP flasks max
- Stock up on craftable throwing pots or Rune Arcs if you want extra tankiness
- Check stamina recovery speed, keep your equipment load at medium or lower
Radahn Location Guide and Festival Access Steps

Radahn waits in Caelid, specifically at Redmane Castle in the far southeast corner of the region. The castle sits on a peninsula jutting into the Caelid Wilds desert. If you’re coming from Limgrave, ride east through the Smoldering Wall and keep following the coast. You’ll hit a beach portal just before the castle’s front bridge. That portal only activates once certain conditions are met, so don’t panic if it’s not glowing yet.
The fight itself is locked behind the Radahn Festival. You can trigger the festival in two ways: progress both Iron Fist Alexander’s and Half-Wolf Blaidd’s questlines far enough, or simply advance to Altus Plateau and activate the Great Lift of Dectus. Once either condition is met, the festival begins automatically and the castle crier at Redmane’s courtyard will let you into the arena.
Steps to unlock the festival and enter the fight:
- Option A: Meet Ranni at Ranni’s Rise in northwest Liurnia of the Lakes, complete her initial dialogue to unlock Blaidd’s festival participation.
- Option B: Collect both halves of the Dectus Medallion and ride the Great Lift of Dectus into Altus Plateau.
- Free Iron Fist Alexander from the ground near Saintsbridge in Northern Stormhill by hitting his back with a heavy weapon.
- Find Alexander again inside Gael Tunnel on the Limgrave-Caelid border to advance his line.
- Travel to Redmane Castle and speak to the festival crier in the courtyard.
- Pass through the now-open gate and activate the portal to enter Radahn’s arena.
NPC Summons and Their Strategic Role Against Radahn

The instant you spawn into the arena, you’ll see golden summon signs scattered across the sand. Three signs sit directly behind the first cluster of swords stuck in the ground. That’s your opening priority. Tap each sign as fast as you can while dodging Radahn’s opening arrow volley. These NPCs don’t just add damage. They completely reshape the fight by splitting Radahn’s aggro and giving you safe windows to heal, cast spells, or close distance without eating a gravity arrow to the face.
Every NPC you summon will eventually die. Radahn hits hard and his sweeping combos can wipe multiple allies at once. The good news is that summon signs reappear roughly ten seconds after an NPC falls. Use that respawn timer to your advantage. When Radahn locks onto you, sprint to a fresh sign and pull another ally into the fight. The more bodies on the field, the less often Radahn targets you directly. This creates natural healing windows and lets you land heavy attacks from behind without getting punished.
Don’t just summon once and forget about it. Treat re-summoning as part of your combat loop. After Radahn finishes a big slam or sword rain, glance around for new signs and refresh your ally count. Keeping three or four NPCs active at all times forces Radahn to spread his attention, which dramatically reduces the pressure on you. If you’re running a ranged build, wait until Radahn commits to a melee combo on your allies before you start casting. Wasted spells hurt when FP is limited.
Best summon usage techniques:
- Summon immediately at spawn; prioritize the three signs behind the first sword cluster
- Re-summon every time an ally dies; signs respawn in roughly ten seconds
- Use summon downtime to reposition or mount Torrent for better mobility
- Let NPCs draw Radahn’s melee aggro before you close in for back attacks
- If targeted, sprint to a fresh summon sign and pull aggro off yourself
Blaidd and Alexander Conditions
Blaidd only shows up if you’ve started Ranni’s questline. Head to Caria Manor in northwest Liurnia of the Lakes, clear it, then climb to Ranni’s Rise and speak with her. Complete her initial requests and she’ll send you to Siofra River. Once that’s done, Blaidd will appear at the festival. Alexander requires two encounters: free him near Saintsbridge in Northern Stormhill by smacking his back with a big weapon, then find him again in Gael Tunnel. After that, he’ll join the fight at Redmane Castle.
Opening Run and Ranged Counterplay in the Radahn Fight
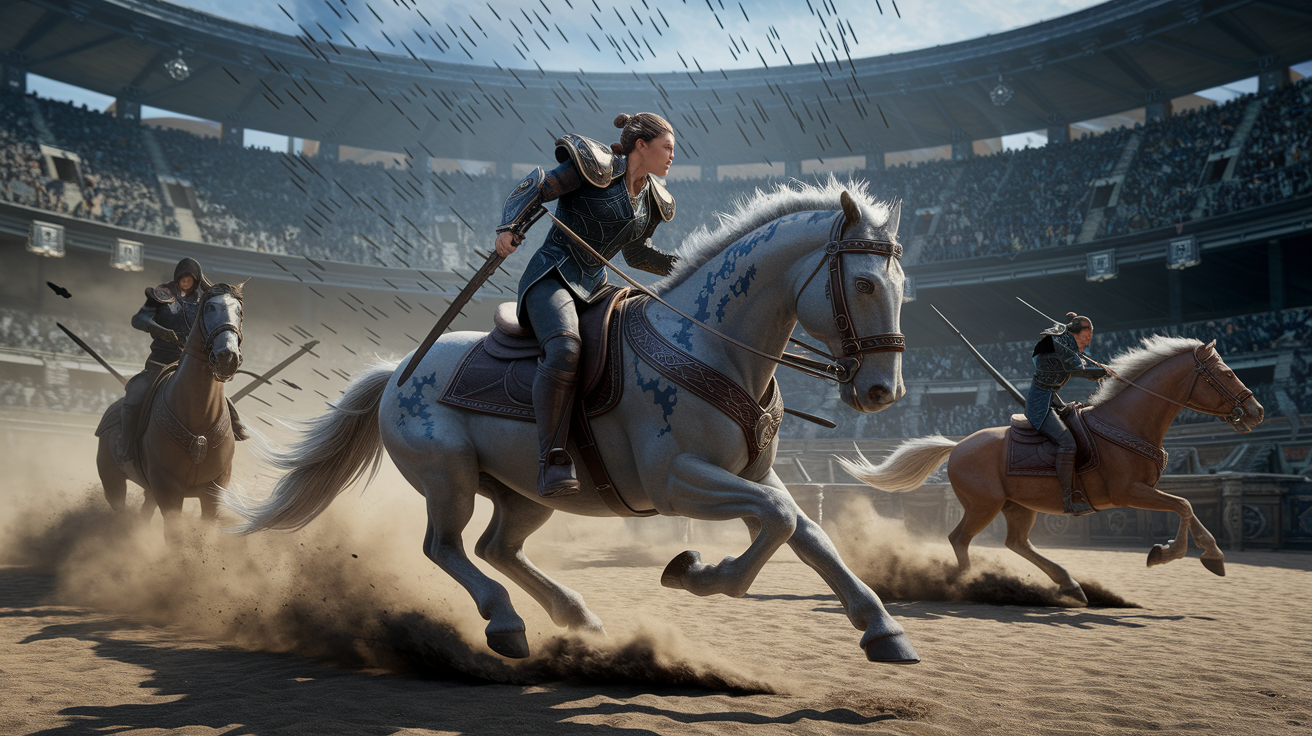
Radahn opens the fight on horseback at the far end of the arena, firing massive gravity-empowered arrows that can remove half your health bar if you’re not wearing heavy armor. The key to surviving the approach is knowing when to stay on foot and when to mount Torrent. Single arrows are easier to dodge on foot with a well-timed roll; arrow rains that blanket the sky are nearly impossible to avoid unless you’re sprinting on horseback. Toggle your mount based on the incoming volley type.
The weapon clusters, giant piles of swords stuck in the sand, act as temporary cover. Each cluster can block exactly one gravity arrow before it shatters. Your opening goal is to sprint or ride to the first cluster directly ahead of your spawn point, use it to block an arrow, then immediately summon the three NPCs waiting behind it. Once those allies are active, Radahn’s attention will split and you can start your approach without eating constant ranged fire.
Step-by-step opening approach path:
- Spawn in and immediately identify the first sword cluster straight ahead; it’s your initial cover point.
- If Radahn fires a single arrow, dodge-roll on foot; if he fires a rain of arrows, mount Torrent and sprint diagonally.
- Reach the first cluster and tap all three summon signs behind it without stopping your movement.
- Use the cluster as cover for one more arrow, then break left or right toward the next cluster if needed.
- Once NPCs engage Radahn in melee, close the gap on horseback or on foot and prepare to switch to close-quarters tactics.
Phase One Radahn Attack Patterns and Counters

Phase one is where Radahn cycles through his gravity-arrow volleys, sweeping melee swings, and ground-slam AoE attacks. The gravity arrows stop once you close into melee range, but the rain-of-arrows attack can still trigger if you back off too far. When you see arrows darkening the sky, mount Torrent immediately and sprint in any direction. Standing still or walking will get you killed. The sword-rain attack follows your position, so constant movement is the only counter.
Once you’re within melee range, the safest spot is directly behind Radahn’s legs. His massive frontal sword swings almost always miss if you’re positioned under him or slightly to his rear. This is also the best place to land heavy attacks. Every charged heavy you connect builds stagger meter, and Radahn staggers surprisingly fast when multiple NPCs are also attacking. Focus your heavies on his legs to maximize posture damage and force a stagger window where you can land a critical hit or unload high-damage combos.
Radahn telegraphs his big attacks with long, obvious wind-ups. When he lifts both swords overhead or plunges them into the ground, back off immediately. The ground-stab creates a glowing purple gravity implosion that pulls you in and sets up a follow-up explosion. If you see the purple glow under his swords, roll away or mount and sprint out of range. These long telegraphs are also your best healing windows. While Radahn is locked in animation, chug a flask or reposition to a safer angle. Just don’t get greedy and heal right in front of him.
Phase Transition: Radahn’s Meteor Re-Entry Response Guide
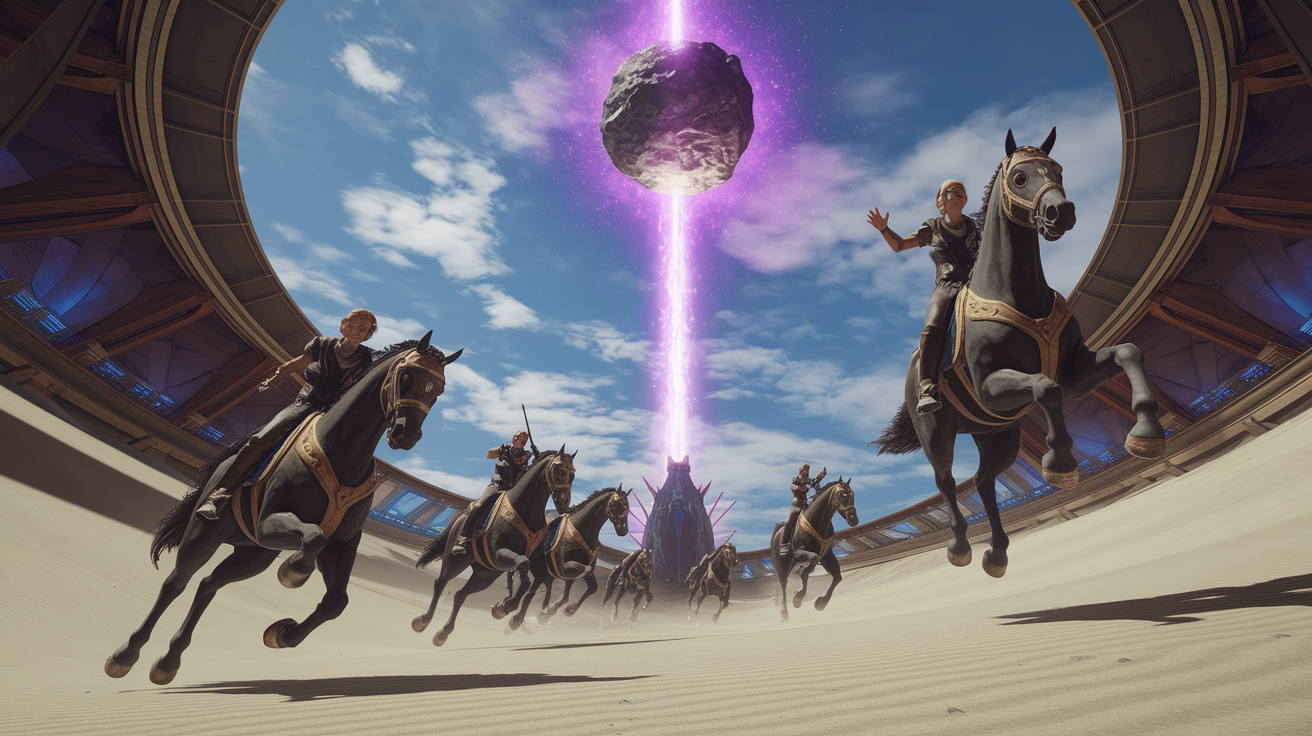
When Radahn’s health drops to roughly half, he’ll briefly vanish from the arena. This is your cue to stop attacking and focus entirely on survival. A few seconds later, he re-enters as a massive meteor with a radius that can instant-kill anyone caught near the impact zone. The meteor almost always targets the largest group of NPCs, so the moment he disappears, sprint or ride away from your summoned allies.
Use Torrent for this. Mount up the instant Radahn vanishes, then ride toward the arena’s edge or perpendicular to wherever your NPCs are standing. Don’t just back up in a straight line. Radahn’s descent angle is wide and backing up might still leave you in the blast radius. Ride hard to the left or right until you see the meteor streak down, then keep moving until the shockwave settles. This is also a safe moment to drink your Flask of Wondrous Physick if you haven’t used it yet.
Survival rules for meteor dive:
- Stop attacking the moment Radahn disappears; prioritize distance over damage
- Mount Torrent immediately and ride away from any clustered NPCs
- Move perpendicular or away from the group, not just backward
- Keep camera angled up so you can track Radahn’s descent path and adjust if needed
Phase Two Radahn Behavior and Counter Strategy
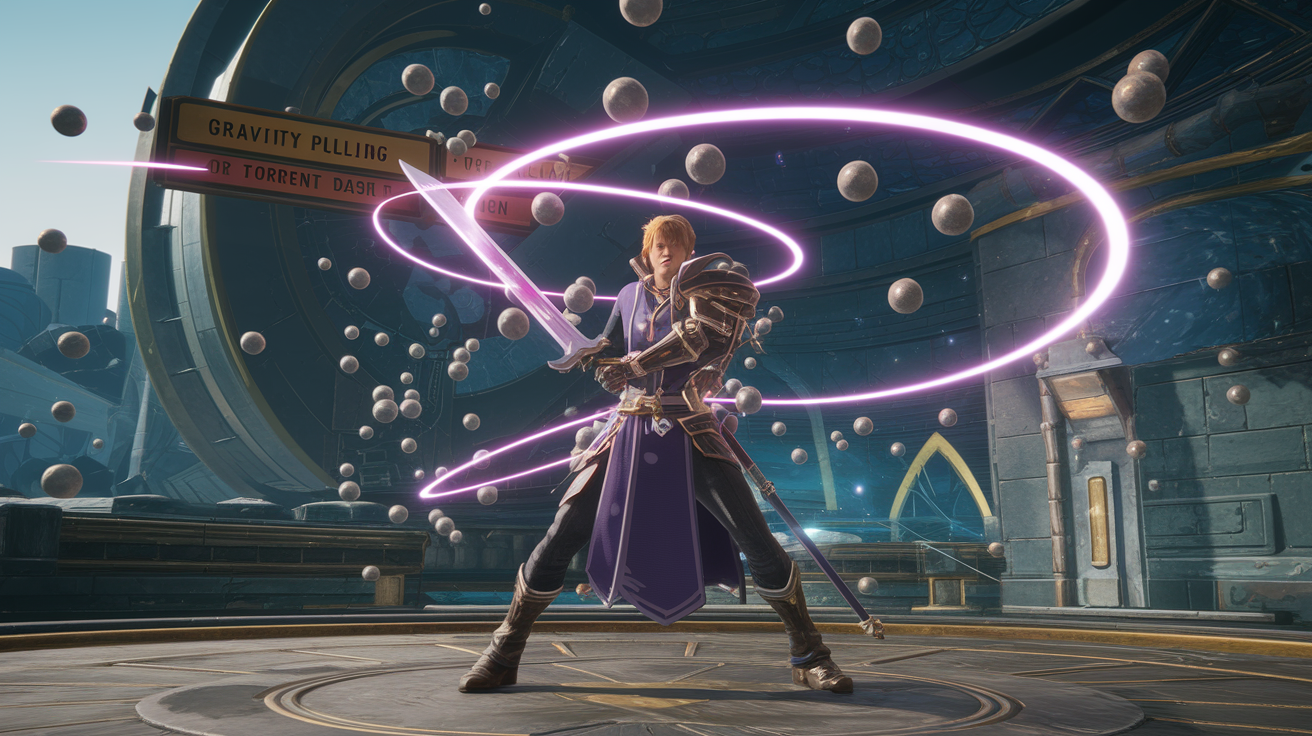
Phase two ramps up the magic pressure. Radahn adds fast magic bolts that launch after a quick ground-hit animation, orbiting meteors that float around him for several seconds before firing, and a wide ground-wave attack where he drags his swords through the sand. The magic bolts track your position, so dodge-roll as they fire or use Torrent to weave between them. The orbiting meteors are unpredictable. They hover with no clear tell and then shoot toward you or nearby NPCs after a long delay. Keep Radahn locked on and watch for the moment they start moving, then dodge or sprint.
The gravity pull is one of his most dangerous new moves. Radahn will briefly charge, then yank all nearby enemies toward him. If you’re close when this happens, you need a perfectly timed dodge-roll to avoid getting sucked in and staggered. A failed dodge usually means eating a follow-up slam or combo that can end your run. When you see him wind up with a pulling motion, roll at the last possible moment or mount Torrent and ride out of range entirely.
Radahn’s purple weapon enchant is a visual cue that his damage output just spiked. When his swords glow purple, he’s dealing extra magic damage on every hit. This is not the time to trade blows or try to out-damage him. Back off, refresh your summons, and wait for the enchant to fade. The purple shockwave attack happens after he leaps and crashes back down. It spreads in a wide radius from his landing point. Counter it by sprinting hard to Radahn’s left or right the moment he jumps. Don’t try to roll through it unless you’re confident in your timing. Lateral movement is safer and more consistent.
Builds and Loadouts That Excel Against Radahn
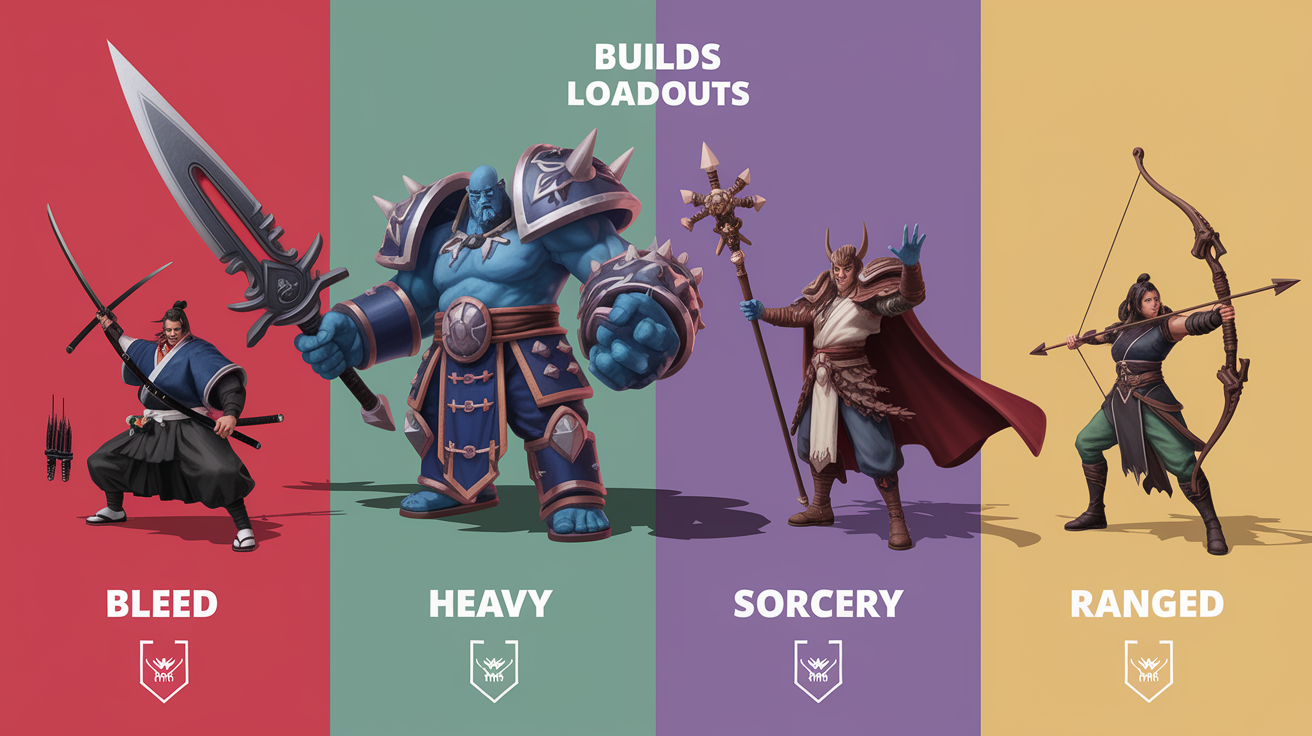
Bleed builds are the fastest path to victory. Radahn is a human boss, which means every hemorrhage proc strips a massive percentage of his health bar regardless of your weapon’s base damage. Equip any weapon with natural bleed buildup. The Uchigatana is a reliable early-game choice, and reinforce it with a blood-type Ash of War if you can. Even a +12 Uchigatana with Bloody Slash will proc bleed multiple times in phase one, and each proc hits for thousands of damage. Scarlet rot is just as effective but requires more setup. If you’ve invested points in Faith, slot Ekzykes Decay and land it early in phase one. The rot will tick away roughly 20% of Radahn’s health over time while you focus on dodging and positioning.
Heavy weapon builds trade speed for stagger potential. Radahn’s posture bar fills quickly when you land charged heavies, especially when multiple NPCs are also attacking. Colossal swords, great hammers, and colossal weapons can stagger him two or three times per phase if you’re aggressive. Aim every heavy attack at his legs. The hitbox is generous and you’ll stay safer under him than in front. Once he staggers, land your highest-damage attack or a riposte if you’re positioned correctly. Just manage your stamina. Running out mid-combo leaves you exposed to his sweeping follow-ups.
Ranged builds and sorcery users need to respect Radahn’s aggro. Never cast spells or loose arrows when Radahn is targeting you directly. You’ll either waste the cast when he dodges or eat an attack mid-animation. Wait until your summoned NPCs draw him into a melee combo, then unload your highest-damage spells from mid-range. Mounted casting is possible but risky. Use it only when Radahn is locked onto an ally and you have a clear line of sight. For bow users, apply status effects like rot or bleed with special arrows, then kite on Torrent while your summons do the heavy lifting.
| Build Type | Recommended Tools | Strategy Notes |
|---|---|---|
| Bleed | Uchigatana +12, Bloody Slash Ash of War, any weapon with natural bleed | Focus on proc speed; each bleed removes ~15% of Radahn’s HP; attack legs from behind |
| Heavy/Strength | Colossal sword or great hammer +12, Lion’s Claw or other high-poise Ash | Charge heavies on legs to build stagger; riposte during stagger windows; manage stamina carefully |
| Sorcery | Rock Sling, Comet Azur, staff +12 or higher | Cast only when NPCs hold aggro; use terrain for cover; apply scarlet rot early if possible |
| Ranged Bow | Longbow or shortbow +12, Serpent Arrows (poison), Bloodbone Arrows (bleed) | Kite on Torrent; apply status effects then let DoT and summons finish; avoid direct aggro |
Resource, Flask, and Survival Management in the Arena

Healing windows are rare but predictable. Radahn’s big AoE slams and ground-stab gravity attacks have long, locked animations. The moment you see him lift both swords or plunge them into the ground, back off and chug a flask. These telegraphed moves give you three to four seconds of safety. More than enough time to heal and reposition. Your summoned NPCs also create indirect healing windows. When Radahn locks onto an ally and commits to a melee combo, he won’t switch targets mid-swing. Use that window to heal, refresh summons, or drink your Physick.
Flask allocation depends entirely on your build. Pure melee fighters should convert almost every flask to HP. You’ll need healing far more than FP. Casters can keep three or four FP flasks, but prioritize HP if you’re getting hit often. The Flask of Wondrous Physick is best saved for the meteor transition. When Radahn disappears at half health, you have a few seconds of downtime before the meteor lands. Use that moment to drink your Physick and top off HP. Stamina management is critical. Radahn covers huge distances quickly, so sprinting and dodging will drain your stamina bar. Never fully empty your stamina. Always keep enough in reserve for an emergency roll or a mounted sprint.
Five flask and physick management commandments:
- Heal only during Radahn’s long AoE telegraphs or when NPCs hold aggro
- Convert most flasks to HP; casters keep 3 to 4 FP flasks maximum
- Save Flask of Wondrous Physick for the meteor transition at half health
- Never let stamina drop to zero; always reserve enough for one emergency dodge
- Re-summon NPCs before healing if you’re under direct pressure; they’ll buy you time
Common Mistakes Players Make During the Radahn Fight
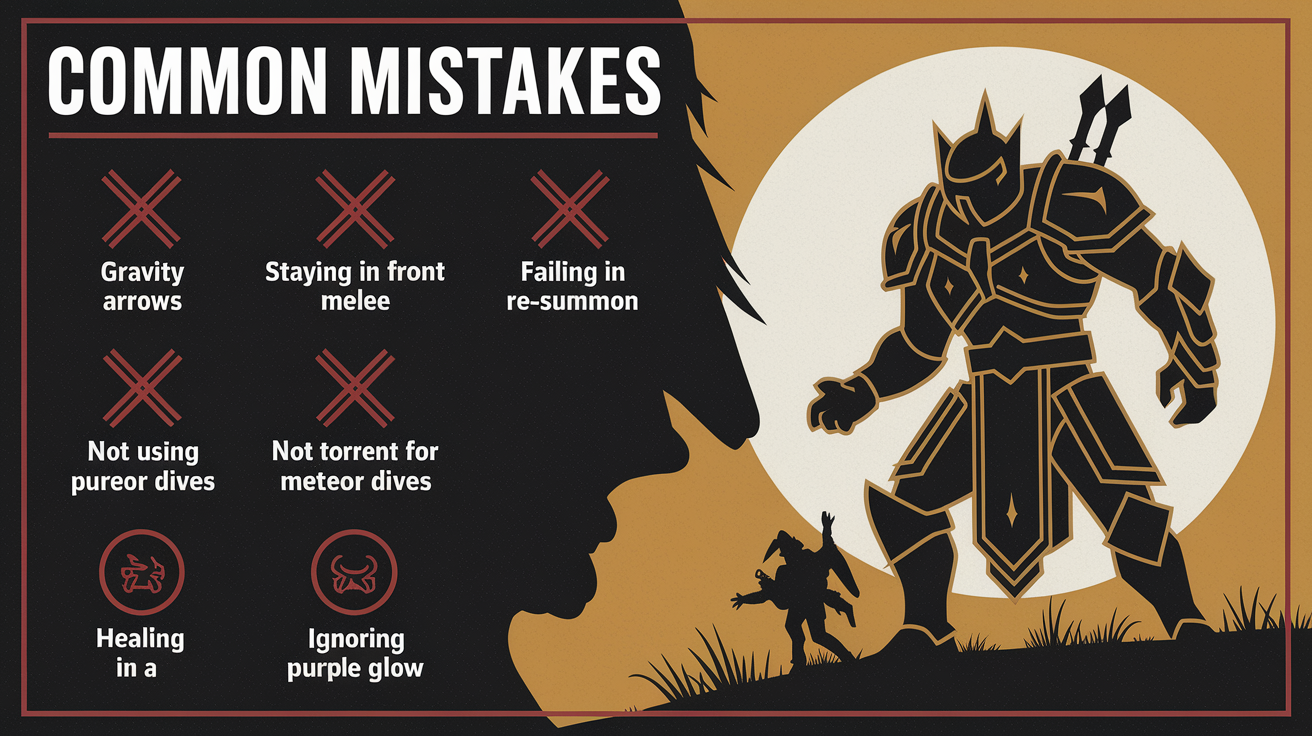
The biggest mistake is trying to block Radahn’s gravity arrows. Even with a high-stability shield, blocking these arrows will stagger you and leave you open to follow-up damage. Always dodge or use terrain cover instead. Staying directly in front of Radahn during melee is another common trap. His frontal sword swings have massive reach and will clip you even if you think you’re at a safe distance. Move to his back or under his legs every time you close in.
Six mistakes that will get you killed:
- Blocking gravity arrows instead of dodging them; blocking almost always results in stagger and follow-up damage
- Staying in front of Radahn during melee combos; his frontal swings have huge arcs and reach
- Failing to re-summon NPCs after they die; leaving yourself alone against Radahn removes aggro safety
- Not using Torrent for meteor dives and arrow rains; trying to outrun these on foot is nearly impossible
- Healing in the open without checking Radahn’s target; always confirm he’s locked on an ally first
- Ignoring the purple glow under his swords during gravity-pull attacks; this telegraphs a high-damage trap
Rewards, Quest Progression, and Post-Battle Uses
Defeating Radahn rewards you with 70,000 Runes, his Great Rune, and his Remembrance. The Rune count alone is enough to push most mid-game players up two or three levels. Radahn’s Great Rune increases maximum HP, FP, and Stamina when activated at a Divine Tower. A solid all-around boost for any build. His Remembrance can be exchanged at the Roundtable Hold for either the Starscourge Greatsword, a colossal paired weapon with gravity-based skills, or Radahn’s Spears, a high-damage ranged incantation that rains magic lances.
Killing Radahn also unlocks major story progression. His death triggers access to Nokron, Eternal City, which is required to advance Ranni’s questline and unlock the path to the Age of Stars ending. Radahn is one of five major Shardbearers in the game, so his defeat counts toward the minimum number of Great Runes needed to enter Leyndell, Royal Capital. If you’re following Blaidd or Alexander’s storylines, beating Radahn progresses both of their arcs and opens new dialogue and encounters later in Caelid and beyond.
Final Words
You charge into Redmane Castle with upgrades, summons down, and a clear path to the first sword cluster. Use Torrent for arrow storms, bait big telegraphs, and stagger Radahn’s legs when the window opens.
Stick to the checklist: bleed or rot tools, talismans, flask split, and re-summon often. Heal in big telegraphs or during the vanish, and keep stamina for dodges.
This Elden Ring Radahn boss fight walkthrough and counters pulls those steps together, so pick a loadout, practice the opening run, and you’ll earn the win and the rewards.
FAQ
Q: What’s the easiest way to beat Radahn?
A: The easiest way to beat Radahn is to rush the first sword cluster, summon NPCs, use Torrent to avoid arrow storms, and use a bleed or heavy-weapon build with upgraded gear and timed heals.
Q: At what level should you defeat Radahn?
A: You should defeat Radahn around level 80–100 for a solo melee build, and around level 60–70 if you rely on NPC summons, co-op, or ranged/sorcery tactics.
Q: Is Radahn the hardest boss in Elden Ring?
A: Radahn is one of the toughest major fights for many players, but difficulty depends on build, summons, and skill—other bosses can feel harder depending on playstyle and progression.
Q: What is Radahn weak to?
A: Radahn is weak to bleed and scarlet rot—Ekzykes Decay is especially effective. Heavy weapons also stagger him, so bleed/rot-inflicting arms or spells speed the fight and create critical windows.
