

Think you can finish God of War Ragnarok’s main story without a guide?
Most players hit a wall in a mid-game chapter or miss a chest and lose time.
This chapter-by-chapter walkthrough gives clear steps for every main quest from Surviving Fimbulwinter to Beyond Ragnarok.
You’ll get where to go, how to solve puzzles, and when to come back for locked areas.
Each chapter links to navigation, objective flow, and puzzle fixes so you move forward without trial and error.
Use this as your bookmark and keep progressing, no panic, no wandering.
Complete Chapter Progression Overview for the God of War Ragnarok Story Path
Here’s the full main quest list from beginning to end. Each entry links to navigation, objective flow, and puzzle solutions so you can move forward without getting stuck. Think of this as your bookmark. Come back whenever you need to check where you’re going next.
These sections focus on where to go, what to do, and how to solve the puzzles you’ll run into. Gear recommendations and boss tactics live in dedicated sections further down. Some chapters have sub-areas, but they still follow this order and flow into each other without much friction.
You’ll unlock abilities automatically as the story moves forward, and plenty of regions stay locked until you gain those abilities. Nothing’s permanently missable. If you spot a locked chest or blocked path during a chapter, just come back after you finish the story.
- Surviving Fimbulwinter
- The Quest for Tyr
- Old Friends
- Groa’s Secret
- The Lost Sanctuary
- The Reckoning
- The Runaway
- Into the Fire
- The Word of Fate
- Forging Destiny
- Unleashing Hel
- Reunion
- Creatures of Prophecy
- Unlocking the Mask
- Hunting for Solace
- The Summoning
- The Realms at War
- Beyond Ragnarok
Prologue and Early Game Progression: Surviving Fimbulwinter Walkthrough
This chapter walks you through Upper and Lower Wildwoods, introducing climbing routes, basic combat, and your first environmental puzzles. Follow the yellow markers and use the chain-pull to open gates. Most of it runs on rails. Paths are linear, and progression triggers when you hit specific points. Should take you 20 to 40 minutes.
Early puzzles use your axe to freeze gears and break wooden barriers with melee hits. If a door won’t budge, check above or beside it for a gear you can freeze with an axe throw. You’ll move forward when you clear each small arena or puzzle room. The game auto-saves at checkpoints, so you’re covered.
Watch out for these:
- Climbable ledges can blend into dim lighting. The yellow paint helps, but you’re really looking for horizontal cracks in rock faces.
- Multiple gears in a sequence can trip you up. Freeze the one that actually stops the barrier from moving.
- Skipping tutorial prompts. Read them once. The game won’t remind you later.
Main Story Expansion: The Quest for Tyr and Early Realms Walkthrough
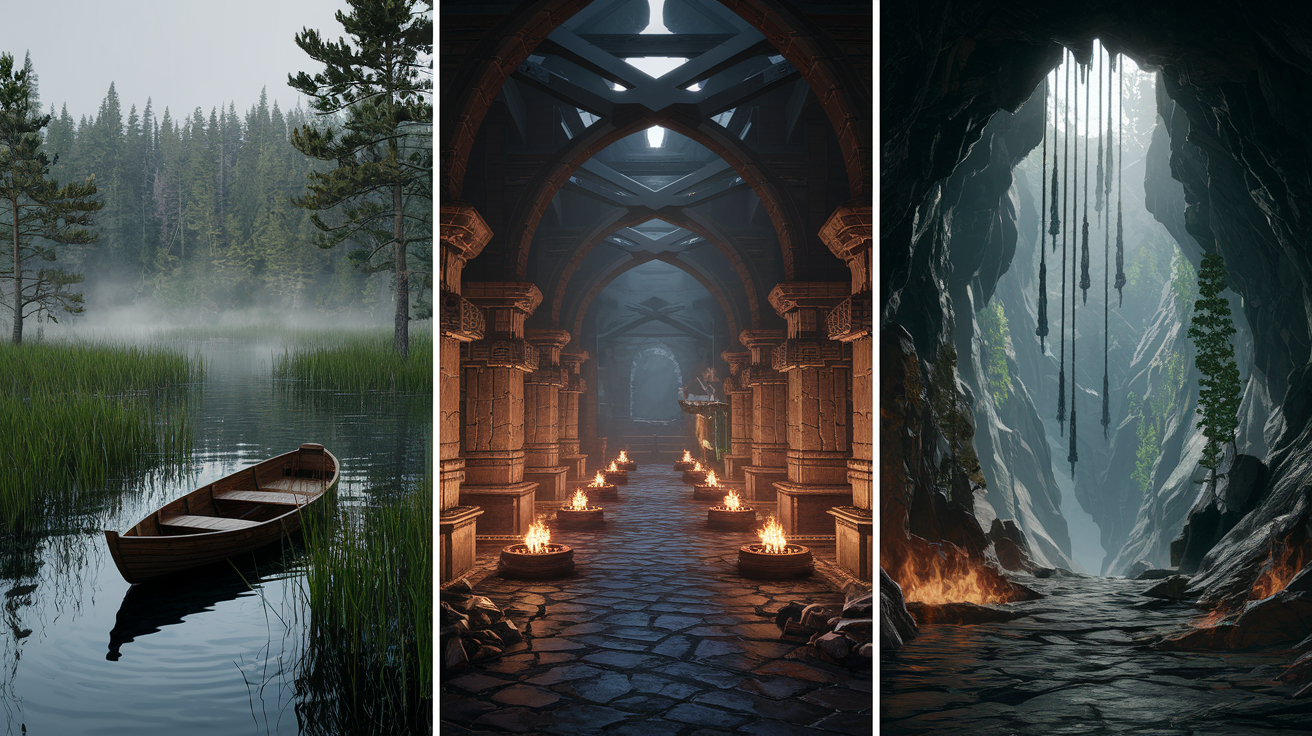
This chapter covers Aurvangar Wetlands, The Forge, and Jarnsmida Pitmines. You’ll navigate with boats, solve water-level puzzles, and explore underground mining paths. The boat becomes your main transport between islands, and plenty of routes need you to lower or raise water gates by hitting switches or redirecting flow. Takes about 45 to 75 minutes. Locked chests and gated collectibles appear all over, but you don’t have the abilities yet. Don’t stress if you can’t open everything right now.
Moving through the Wetlands means spotting docking points and using the boat to reach islands with objective markers. Water-level puzzles dominate this section. Look for cranks, levers, or destructible barriers that redirect water into new channels. When you dock at The Forge, expect indoor climbing and fire puzzles where you throw your axe at braziers to light paths or melt ice.
Reaching Tyr takes you through the Pitmines. Vertical shafts, zip lines, collapsing platforms. The path’s linear through each tunnel. Use zip lines when you see anchor points, and watch for falling rocks that trigger when you step on certain floor panels. The chapter wraps after you find Tyr and the cutscene plays.
| Area | Key Objective |
|---|---|
| Aurvangar Wetlands | Reach the central island by lowering water gates and navigating boat routes. |
| The Forge | Solve fire and ice environmental puzzles to unlock the main pathway. |
| Jarnsmida Pitmines | Navigate vertical mine shafts and zip-line sequences to locate Tyr. |
| Return to Sindri’s House | Complete the chapter by returning through the mystic gateway. |
Mid-Game Walkthrough: From Old Friends to Groa’s Secret
Old Friends is short. It sends you to a familiar spot and introduces a companion mechanic for cooperative puzzles. Follow the marker to the meeting point, watch the dialogue, then move on to Groa’s Secret. Takes 30 to 45 minutes and mostly pushes the story forward with light puzzle work.
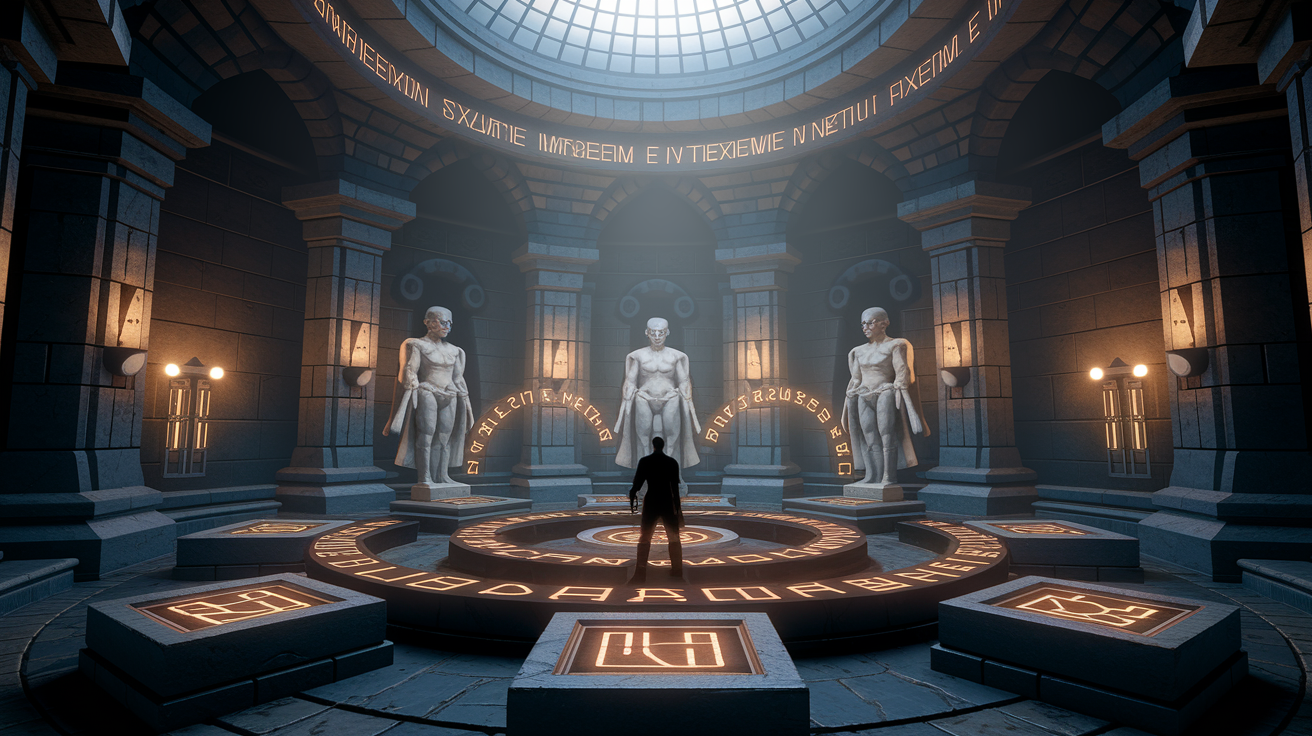
Groa’s Secret brings oracle visions, big environmental puzzles, and multiple arenas where you climb, swing, and zipline. The main puzzle has you aligning rune symbols by rotating platforms or moving statues into specific spots. Look around for clues. Wall symbols match symbols on movable objects. When all three runes line up, the door or barrier opens on its own. This unlocks more realm travel paths but doesn’t give you full access to revisitable zones yet. Expect 60 to 90 minutes.
Collectibles you can grab during these chapters:
- One Nornir chest in the outer courtyard of the oracle temple. Runes are on spinning pillars to the left, right, and above the chest.
- Two Odin’s Ravens on ledges during the climbing bit. Listen for the caw and throw your axe when you spot them.
- One Legendary chest behind a breakable wall near the second zipline anchor. Smash the wooden barrier with heavy melee.
- One Artifact on a stone table inside the vision chamber. Small glowing object you can pick up for lore completion.
The Lost Sanctuary and Ironwood Exploration Guide

You’ll explore Ironwood and play as Atreus for a lot of this mission. Atreus moves differently. He squeezes through narrow gaps, uses animal companions to reach high ledges, and solves puzzles with distraction instead of force. Follow the path through the forest and use his bow to hit distant targets that open gates or lower bridges. Should take 45 to 60 minutes.
The wolf-rescue objectives make you navigate arenas while following tracks and using Atreus’s abilities on environment objects. Puzzles here often need you to hit multiple targets fast or use animals to pull levers. When you see three glowing targets, hit them all within a few seconds or the puzzle resets. The chapter ends when you finish the rescue and the cutscene triggers.
| Challenge | Solution Overview |
|---|---|
| Reaching the upper canopy during the forest climb | Use the wolf companion to leap across gaps and pull down hanging vines that reveal new climbing routes. |
| Solving the three-rune lock inside the sanctuary building | Shoot the runes in sequence (left, center, right) using Atreus’s bow; runes reset if you wait too long between shots. |
| Escaping the collapsing tunnel after the rescue | Sprint straight forward and don’t stop; the path is linear and the collapse is scripted to keep pace just behind you. |
Vanaheim Chapters Walkthrough: The Reckoning and Regional Routes

The Reckoning puts you through Southern Wilds, Eastern Barri Woods, and the Abandoned Village. Traversal paths, lore items, environmental puzzles. The Southern Wilds bit uses boat navigation across swamps and makes you clear multiple combat arenas to unlock fast-travel points. Follow the main river and dock at each marked island. When you hit a dead end, look for a side channel or a crank that redirects water flow.
Eastern Barri Woods goes vertical with grapple points and climbable vines. The main puzzle involves lowering a massive tree trunk to make a bridge. Find the three anchor points around the trunk, hit each with your axe to release the chains, and the trunk drops into place. The Abandoned Village is more straightforward. Navigate ruined buildings and underground cellars. Use your companion to reach high ledges and break through weakened floors. Takes 60 to 90 minutes.
Vanaheim emphasizes water and plant puzzles. Lots of gates need you to redirect water or burn vines blocking paths. Mandatory routes have yellow paint or objective indicators. Optional paths branch to the sides and usually hold collectibles. If you spot a side path, explore now or come back later. Nothing’s missable.
Three tips for this region:
- Check both sides of a river when using the boat. Docking points appear on both banks and some blend into dense foliage.
- When a puzzle has multiple cranks or levers, interact with the one closest to the objective marker first. The game usually puts the right lever in the obvious spot.
- If you get lost in the woods, open your map and look for the blue objective line. It shows the exact route even when visibility’s low.
High-Intensity Chapters: The Runaway, The Word of Fate, and Forging Destiny

These three introduce major boss encounters and reveal abilities that unlock new traversal. The Runaway is a pursuit chapter with light puzzles and heavy combat. Follow the markers through each arena, clear enemies, move to the next zone. The Word of Fate takes you to a new realm with a long climbing sequence and a story-critical boss fight. Forging Destiny centers on crafting a new weapon and testing it in challenge arenas. Each takes 45 to 75 minutes.
Upgrades matter here. Enemy health pools jump and you’ll face tougher opponents with complex attack patterns. Get your weapons to at least level 3 before starting The Word of Fate, and carry at least three health items into major encounters. If you’re struggling with damage, prioritize runic attack upgrades and equip enchantments that reduce cooldowns.
Major Boss Phase Breakdown
Most bosses follow a two or three-phase structure. Phase one usually involves learning attack telegraphs and building stagger meter. Yellow or red attack indicators show up. Yellow can be parried or blocked, red must be dodged. When the stagger meter fills, the boss drops to one knee and you get a prompt to deal heavy damage. Use your strongest runic attacks during this window.
Phase two brings new moves or environmental hazards. Bosses might summon adds, change attack patterns, or force you into a smaller arena. Clear adds fast so you can focus on the boss. Watch for environmental objects you can use for cover or to create openings. Counter opportunities appear after specific attack chains, usually a slow overhead swing or a charge that leaves the boss open for a few seconds.
Weapon and Skill Upgrade Priorities
By Forging Destiny, you’ll have all three main weapons. Focus upgrade materials on one weapon at a time instead of spreading them evenly. The Leviathan Axe works best for crowd control and ranged stagger, so prioritize it if you’re unsure. Unlock at least two runic attacks per weapon and level them to reduce cooldowns.
Skill tree picks for these chapters include parry extensions, dodge roll upgrades, and passives that increase stagger damage. Parry timing becomes critical on higher difficulties, so practice the timing in smaller encounters before major boss fights. On normal difficulty, focus on abilities that let you recover health or build rage meter faster.
Late-Game Missions: From Unleashing Hel to Creatures of Prophecy
Unleashing Hel and Reunion are back-to-back chapters involving multi-stage indoor and outdoor navigation. Unleashing Hel takes you through a realm shift with heavy environmental storytelling and minimal combat. Follow the linear path, interact with story objects when prompted, and complete the traversal sequences with collapsing structures. Reunion is shorter, focused on dialogue and a single puzzle room. Combined, expect 60 to 90 minutes.
Creatures of Prophecy has two major objectives: recovering the stolen moon and rescuing Freyr. The moon recovery bit uses timed platforming and makes you carry an object while navigating across gaps. Don’t rush. The timer’s generous and resetting is simple if you fall. The Freyr rescue involves clearing a fortified area and solving a final multi-step puzzle that combines rune alignment with environmental triggers.
Important progression pickups in these chapters (not gear):
- The Moon Artifact needed to unlock the second half of Creatures of Prophecy. You get this automatically after the platforming sequence. Can’t miss it.
- Three Story Tablets scattered across the Hel realm. Small stone markers with glowing inscriptions that provide lore and count toward completion.
- One Key Item dropped after the Reunion dialogue. This key opens a specific door in the next chapter and gets added to your inventory automatically. You don’t need to search.
Final Chapters Walkthrough: Unlocking the Mask to The Realms at War

Unlocking the Mask kicks off the endgame arc. You’ll collect fragments across multiple realms. Each fragment needs a standalone puzzle or a short combat challenge. The game gives clear waypoints for each location, so navigation’s simple. Once you collect all fragments, return to the central hub and interact with the crafting table to assemble the mask. Takes 30 to 45 minutes.
Hunting for Solace and The Summoning are consecutive story missions leading directly into the final battle. Hunting for Solace takes you back to a familiar location for a story-heavy sequence with minimal gameplay. The Summoning is large-scale combat with multiple enemy waves and environmental hazards. Stay mobile, use runic attacks on cooldown, and clear adds before focusing on larger enemies. The chapter ends when you finish the final wave and the cutscene triggers.
The Realms at War is the final story mission and has the longest continuous sequence in the game. Multiple combat arenas, a climactic boss fight, and story resolution. It’s divided into clear segments with checkpoints, so dying won’t set you back far. Combined time for these three chapters: 90 to 120 minutes.
| Chapter Segment | Key Objective Summary |
|---|---|
| Fragment Collection (Unlocking the Mask) | Visit waypoint locations, solve standalone puzzles, and collect all mask fragments to assemble the final artifact. |
| Preparation Sequence (Hunting for Solace / The Summoning) | Complete story dialogue, clear multiple combat waves, and prepare for the final confrontation. |
| Final Battle (The Realms at War) | Navigate multi-stage boss encounter, complete all combat phases, and watch the ending sequence. |
Post-Story Mission: Beyond Ragnarok Walkthrough

Beyond Ragnarok unlocks after you finish The Realms at War and watch the credits. This mission doesn’t add new story content. It opens the world for full exploration and completion. You can now revisit every realm, unlock previously gated areas using abilities you gained during the main story, and finish any remaining collectibles or side quests. Nothing’s permanently missable, so anything you skipped during the main story can be finished now.
The mission itself is a placeholder entry in your quest log. It doesn’t have specific objectives or a traditional walkthrough. Think of it as a signal that you’ve unlocked endgame access and can pursue 100% completion. Fast travel to any realm, check your map for unexplored areas, and follow the in-game completion tracker to see what’s left.
Three post-game tasks to prioritize:
- Revisit realms with locked doors or chests and use your new abilities to open them. The game marks these on your map with distinct icons once you’re in the right region.
- Finish any Favours (side quests) you started but didn’t complete. Open your quest log and track each one to see the next objective.
- Collect remaining Odin’s Ravens, Nornir chests, and Artifacts to push your completion percentage toward 100%. Total counts appear in your menu under the collectibles tab.
Complete Boss Strategy and Encounter Breakdown for the Story Path
The main story has roughly 15 to 20 distinct boss and mini-boss encounters, each with unique attack telegraphs, stagger windows, and phase shifts. Major bosses typically feature two or three phases. Mini-bosses usually have a single health bar and a smaller move set. Some bosses drop upgrade materials or quest-critical items automatically when defeated, so you don’t need to search the arena afterward.
Attack telegraphs appear as colored rings or flashes around the boss. Yellow means blockable or parryable. Red means unblockable, must dodge. Many bosses also use grab attacks that ignore shields and deal heavy damage. These always get telegraphed with a distinct animation and a red indicator. Learn the difference between a red melee swing (dodge sideways) and a red grab (dodge backward or roll to create distance).
| Boss | Phase Notes |
|---|---|
| Early-game tutorial boss (Chapter 2) | Single phase, teaches parry timing and stagger mechanics. Focus on blocking yellow attacks and dodging red attacks. |
| Mid-game realm boss (Chapter 9) | Two phases. Phase one is melee-focused; phase two adds ranged projectiles. Clear projectiles first, then return to melee range. |
| Late-game story boss (Chapter 14) | Three phases with environmental hazards. Phase two summons adds; clear them immediately to avoid being overwhelmed. |
| Final story boss (Chapter 17) | Multi-stage fight with checkpoints. Each stage introduces new moves. Save your best runic attacks for the final stage. |
Collectibles Within the Main Story Chapters: Ravens, Nornir, Artifacts
Collectibles include Odin’s Ravens, Nornir chests, Artifacts, and Idunn apples scattered across all realms. Many appear during main story chapters, but you won’t collect everything on your first pass. Regions can’t be fully completed on first visit because certain collectibles are locked behind abilities you gain later. Nothing’s permanently missable. If you see a locked chest or a raven you can’t reach, come back after finishing the main story.
Ravens are flying creatures you destroy by hitting them with your axe or arrows. They make a distinct cawing sound when you’re nearby, so listen carefully and scan rooftops, tree branches, and cliffsides. Nornir chests are large purple chests that need you to interact with three runes in the environment, usually by hitting them with your axe, lighting them with fire, or rotating nearby objects. The runes reset if you take too long, so locate all three before you start interacting.
Collectible types and what they do:
- Odin’s Ravens: Destroying all ravens in a region unlocks rewards at a specific location. Total count gets tracked in your menu and on your map.
- Nornir Chests: Each contains an Idunn apple or Horn of Blood Mead, which permanently increase your health or rage meter. Prioritize these if you’re struggling with survivability.
- Artifacts: Small lore objects that provide backstory and count toward completion percentage. They don’t offer stat upgrades but are required for 100% completion.
- Idunn Apples: Found in Nornir chests or as standalone collectibles. Collect three to increase your maximum health by one bar.
Weapons, Armor, Runic Attacks, and Upgrade Path for the Main Story
Weapons and armor unlock gradually as you move through the story. Core upgrades need specific materials from boss drops and chapter milestones. You start with the Leviathan Axe and Blades of Chaos, and you’ll gain a third weapon automatically during the mid-game story mission Forging Destiny. Each weapon has its own upgrade path, and you’ll need different crafting materials to level them at the blacksmith.
Armor sets drop from story bosses, side quest completions, and exploration chests. Early-game armor focuses on basic stat increases. Mid and late-game sets offer specialized bonuses like increased stagger damage, faster cooldown reduction, or higher defense against specific damage types. Don’t worry about optimizing armor until you reach mid-game. The stat differences in early sets are small and you’ll replace them quickly.
Runic attacks are special abilities you equip to your weapons. Each weapon has two runic slots (light and heavy), and you unlock new runics by finding them in chests, completing side quests, or buying them from shops. Runic attacks have cooldown timers, so equip a mix of short-cooldown and long-cooldown abilities to keep damage output consistent. If you’re not sure which runics to use, prioritize abilities that deal area-of-effect damage for crowd control or high single-target damage for bosses.
Three recommended upgrade milestones across the story:
- Upgrade your primary weapon (Leviathan Axe or Blades of Chaos) to level 3 by the time you reach The Word of Fate. This ensures you can handle increased enemy health pools in mid-game chapters.
- Unlock and level at least one runic attack per weapon slot by Forging Destiny. Runic attacks are your highest-damage tools and essential for breaking enemy stagger meters quickly.
- Equip a full armor set with matching stat bonuses by Unleashing Hel. Set bonuses become meaningful in late-game chapters and provide significant combat advantages over mismatched pieces.
Trophies and Achievement Tracking During the Main Story
The game has roughly 40 to 60 trophies, including one Platinum for completing all others. None are permanently missable because all areas can be revisited after the main story. Some trophies need full region completion with post-story abilities, so you won’t earn them during your first playthrough unless you backtrack before finishing The Realms at War.
Story trophies unlock automatically as you complete each main chapter. Impossible to miss and require no extra effort beyond finishing the game. Collectible trophies need you to find all items of a specific type, like all Odin’s Ravens or all Nornir chests in a region. Combat trophies reward specific actions, like performing a certain number of parries or killing enemies with environmental hazards.
Three story trophies to track during your playthrough:
- First Steps: Unlocks after completing Surviving Fimbulwinter. This is the first story trophy and confirms trophy tracking is working correctly.
- The Mask: Unlocks after assembling the mask in Unlocking the Mask. Late-game story trophy that signals you’re close to the ending.
- The Realms at War: Unlocks after finishing the final story mission. This marks completion of the main narrative and opens access to Beyond Ragnarok.
Side Quests (Favours) and Their Interaction With the Main Story
There are 47 Favours (side quests) total, and none are permanently missable. Some reward gear or upgrade materials that help significantly in main story encounters. Others provide lore, crafting resources, or access to optional boss fights. You can complete Favours anytime, either during the main story or after finishing The Realms at War. The game tracks your progress automatically.
Favours appear in your quest log after you discover them by talking to NPCs, finding notes in the world, or reaching specific locations. Many are locked until you gain certain abilities through story progression, so don’t worry if you can’t complete a quest immediately. The game notifies you when you unlock the necessary tools to finish it.
Four Favours recommended to complete during mid-game:
- In Service of Asgard: Unlocks mid-game and rewards a powerful armor piece. The quest involves clearing a combat arena and solving a simple environmental puzzle.
- The Weight of Chains: Available after reaching Vanaheim and provides crafting materials for weapon upgrades. Prioritize this if you’re short on upgrade resources.
- Garden of the Dead: Unlocks after gaining a specific traversal ability and rewards a unique runic attack. The quest involves exploring a hidden area and defeating a mini-boss.
- A Stag for All Seasons: Multi-part collectible quest that rewards an enchantment useful for boss fights. You can start early but won’t finish until late-game.
Combat, Parry, and Dodge Optimization for the Main Story
On higher difficulties, parry timing, stagger windows, and runic cooldown management become essential. Armor enchantments significantly affect survivability, so equip pieces that increase defense, reduce cooldowns, or boost stagger damage depending on your playstyle. If you’re struggling with a specific encounter, switch to armor that offers higher raw defense and use abilities that let you recover health faster.
Parry timing needs you to press the block button just before an enemy attack connects. Successful parries stagger the enemy, open them for a counterattack, and often deal bonus damage. Yellow attack indicators can be parried. Red cannot. Practice on weaker enemies before attempting it on bosses. The timing window’s small and mistiming a parry leaves you vulnerable.
Dodge roll optimization depends on reading attack telegraphs and positioning correctly. Most enemy attacks have a wind-up animation that tells you which direction to dodge. Horizontal swings need a backward or sideways dodge. Overhead slams need a roll to the side. Some attacks track your movement, so dodge at the last moment instead of dodging early and giving the enemy time to adjust.
Three common combat mistakes and how to avoid them:
- Spamming attacks without watching enemy animations. Always leave time to dodge or block after a combo. Most enemies punish button-mashing with fast counters.
- Ignoring runic attack cooldowns. Check your ability icons regularly and use runics as soon as they’re available. Letting them sit on cooldown wastes your highest-damage tools.
- Fighting in the center of large groups. Position yourself on the edge of enemy clusters so you only face one or two opponents at a time. Use your companion’s abilities to distract or damage enemies on the opposite side.
Final Words
Jump straight into the chapter list to skip to your current spot, follow concise navigation notes, and use the puzzle and boss tips when you need them.
You’ll find upgrade paths, collectible cues, favours to consider, and post-story steps, with each section kept practical so you can move through the story without second-guessing. Nothing is permanently missable, and most areas can be revisited.
Use this God of War Ragnarok main story walkthrough chapter guide as a quick reference while you play, and enjoy the journey, there’s plenty of great moments ahead.
FAQ
Q: How long does it take to finish the main story of God of War Ragnarok?
A: The main story of God of War Ragnarok typically takes about 20–35 hours to complete, depending on difficulty and how many side activities you do; main‑only runs are near 20 hours.
Q: What are all the chapters in God of War Ragnarok?
A: The chapters run from Surviving Fimbulwinter to Beyond Ragnarok, totaling 17–18 chapters depending on if you count Beyond Ragnarok as a separate post‑story entry.
Q: What is the best armor in Ragnarok?
A: The best armor in Ragnarok depends on your playstyle: heavy sets favor defense and health, light sets boost damage and runic power—choose and upgrade pieces that match your build.
Q: Is there a secret scene in God of War Ragnarok?
A: God of War Ragnarok includes a secret/post‑credits scene and extra post‑story content; you unlock these by finishing the main story and then checking the credits and the Beyond Ragnarok mission.
