

Think materia is just a side system you can ignore?
In Final Fantasy VII Remake, materia shapes every fight and decides who wins.
This guide cuts the fluff and shows exactly how to level materia fast, pick linked slots, and build combat setups that work.
You’ll get fast AP farms, the best materia pairings for offense and sustain, and clear rules for swapping gear to match fights.
Follow this and you’ll spend less time grinding and more time wrecking bosses.
Core Principles of Materia Function and Progression
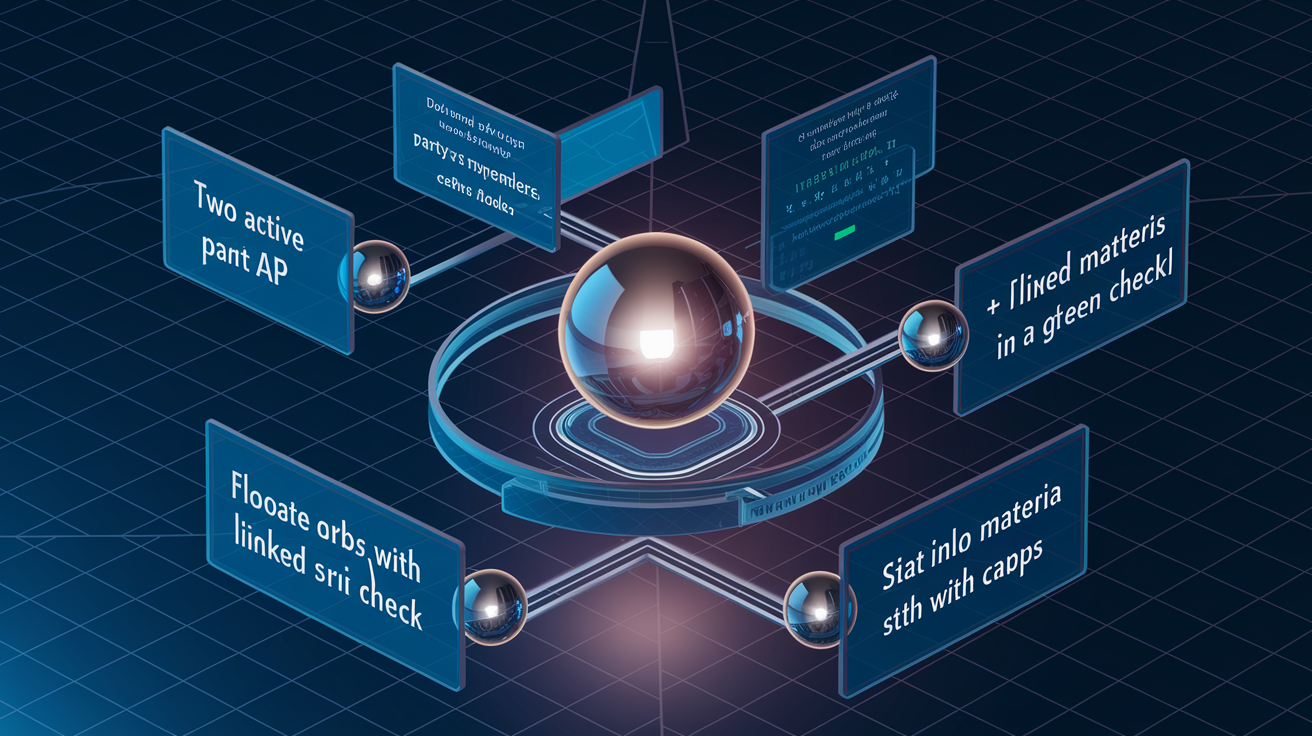
Materia sits at the heart of every decision you make in FF7 Remake. When you equip a materia orb to a weapon or armor slot, that piece starts gaining AP after every battle. The more AP it accumulates, the higher its level climbs, unlocking stronger spells, shorter cooldowns, or entirely new effects. A Fire materia at level 1 casts Fire. At level 3 it casts Firaga. That progression isn’t cosmetic. It changes how fast you stagger enemies, how much MP you burn, and whether you can clear a room before the next wave arrives.
Linked slots are where materia stops being a collection of individual tools and starts working as a system. When you place a Support materia (blue) next to another materia in a linked pair, the Support modifies how that ability behaves. Elemental + Fire on a weapon makes your normal attacks deal fire damage without costing MP. Magnify + Cure turns a single target heal into a party-wide restore. The catch: linked slots are rarer than single slots, and not every weapon or armor offers them. Planning which materia deserve linked slots and which can sit alone is the difference between a functional build and one that runs out of MP halfway through a boss fight.
AP growth is slow early on, accelerates in the midgame, and becomes trivial once you unlock post-credits grinding. That means your priorities shift chapter by chapter. Early on, you want versatile materia that handle multiple jobs. Healing covers emergencies, Assess reveals weaknesses, and elemental magic exploits them. Later, you can afford to specialize, leveling niche Support materia or stacking multiple copies of the same spell across your party. The system rewards players who understand when to diversify and when to double down.
Before you start slotting materia, lock in these five principles:
-
Only active party members earn AP. If a character sits on the bench, their materia stays frozen at its current level, so rotate your party during story missions to spread progression evenly.
-
Mastering a materia creates a duplicate. When a materia hits max AP, a fresh level 1 copy appears in your inventory, letting you equip two copies or sell the original for Gil.
-
Support materia only work in linked slots. Placing Elemental or Magnify in a single slot wastes the slot entirely. They do nothing unless paired.
-
Linked slots pass benefits one way. If you link AP Up to Fire, Fire gains double AP, but AP Up itself does not. Slot order matters.
-
Stat boosting materia stack with caps. HP Up, MP Up, and Magic Up can be equipped multiple times, but each type has a hard ceiling (HP and MP cap at +100%, Magic at +199%), so check your totals before adding another copy.
Efficient Materia Leveling and AP Farming Methods
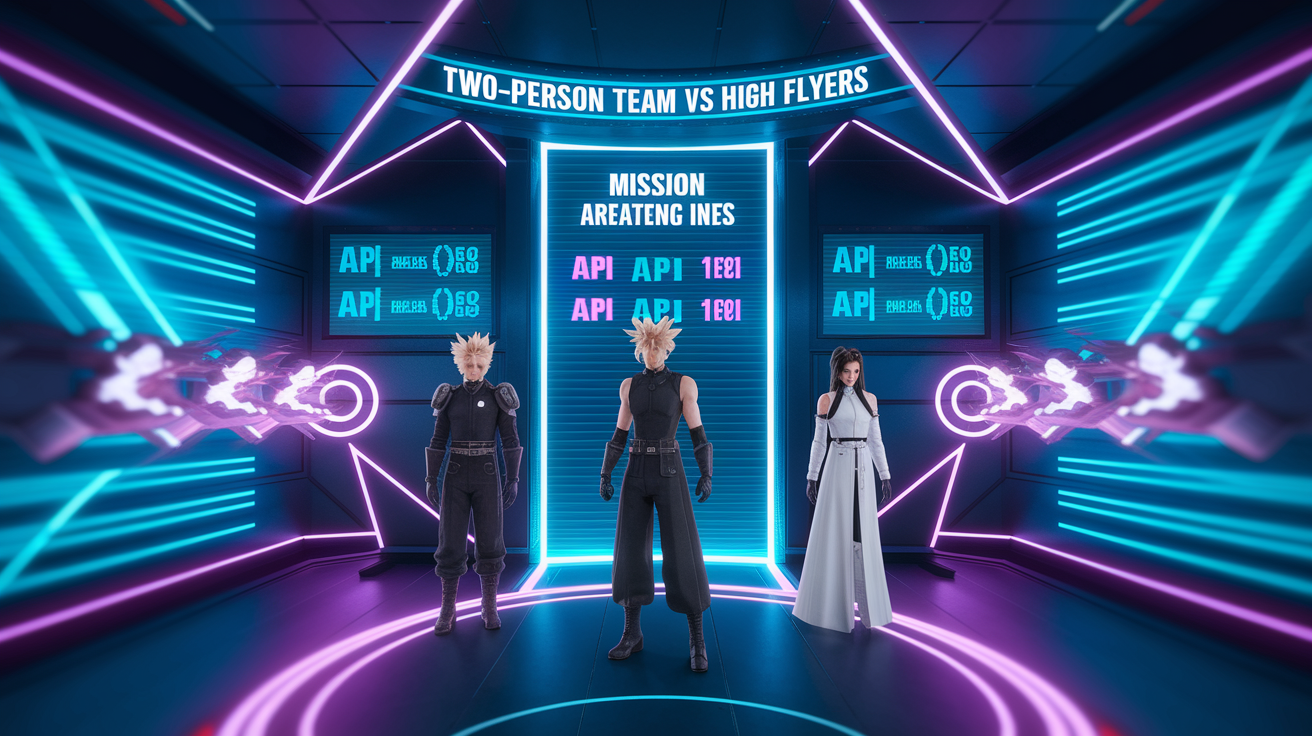
The fastest way to level materia is to wait until you beat the game. After the credits roll, every battle awards double AP. If you start grinding before that point, you’re earning half the progress for the same effort. Once post-credits unlocks, Chapter Select becomes your toolbox. Load Chapter 17, skip the opening cutscenes, and head straight to the Shinra Combat Simulator. The mission “Two-Person Team vs High Flyers” is the gold standard: five waves of bugs and flyers that die fast, then a final Drake fight you can abandon to keep the AP you already earned. Each run takes about three minutes if you know the pattern, and you’ll gain thousands of AP per session.
The trick is knowing when to quit. The Drake in the final round reflects magic, so nuking it with Firaga wastes MP and time. Instead, burn through the earlier waves with Cloud’s triple slash and Magnify linked elemental spells, let Barret clean up with Maximum Fury, then pause and abandon the mission before the Drake fight ends. You lose around 400 Gil per abandon, but you keep all the AP. If Gil matters more than speed, skip the simulator and farm the respawning enemies right outside it. They respawn the moment you step away, and a rest bench nearby refills your MP for free. It’s slower, but it costs nothing and lets you level materia on three characters at once instead of two.
Here are the six fastest AP per minute strategies:
- Shinra Combat Simulator “Two-Person Team vs High Flyers” repeated abandon loop. Around 3 minutes per cycle, double AP post-credits, highest density of kills per session.
- Respawn farming outside the Combat Simulator. Free, supports three party leveling, slower total AP but zero Gil cost and unlimited MP via nearby bench.
- Equip AP Up in a linked slot next to your priority materia. Doubles AP gain for that specific materia. Only one AP Up exists, so choose carefully.
- Transform Pedometer into AP Up by walking 5,000 steps. Pedometer is found near Aerith’s house in Chapter 14. Once it transforms, you unlock the only AP Up materia in the game.
- Use First Strike on both party members. Guarantees full ATB bars at battle start, letting you unload Magnify linked spells immediately and finish waves before enemies act.
- Stack low MP AoE spells (Fira + Magnify) to clear groups without pausing. Maximizes kills per MP bar, reducing bench trips and keeping your farming loop tight.
Best Materia Combinations for Combat Builds
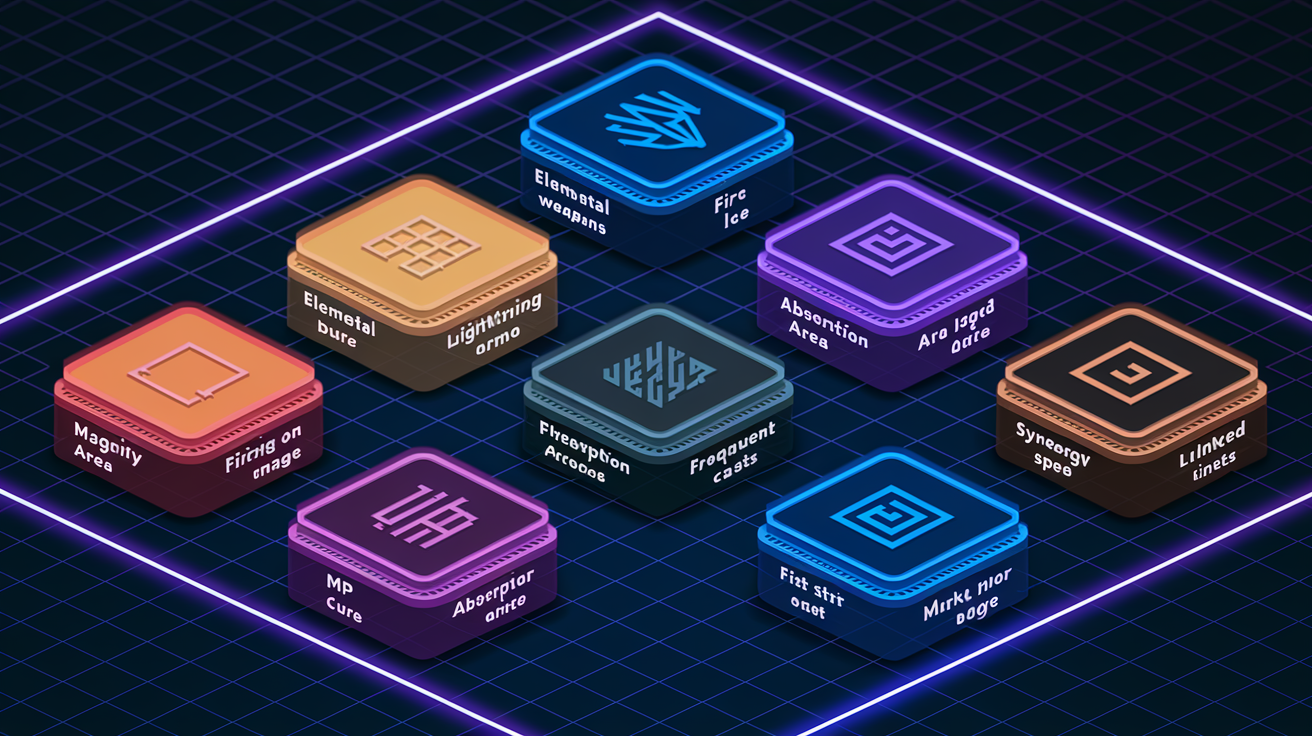
Some materia work alone. Most work better in pairs. The difference between a decent setup and one that trivializes Hard Mode comes down to understanding which combinations multiply effectiveness instead of just adding options. Elemental is the most flexible Support materia in the game because it changes function depending on where you slot it. Link Elemental + Fire to a weapon, and every normal attack deals fire damage without costing MP. Perfect for exploiting weaknesses during long fights. Link the same pair to armor, and incoming fire damage gets reduced, nullified, or absorbed depending on Elemental’s level. At level 1, you halve fire damage. At level 2, you negate it. At level 3, fire heals you. Swap elements per encounter, and you turn boss mechanics into free healing.
Magnify transforms single target spells into AoE, but with a catch: the effect is reduced by 60% at level 1, 45% at level 2, and 25% at level 3. That means Magnify + Cure at low levels is a weak party heal, but Magnify + Firaga at max level clears entire rooms for the same MP cost as hitting one enemy. If you’re using Magnify for damage, level it first. If you’re using it for utility, pair it with Barrier or Haste and accept the reduced potency in exchange for party-wide buffs. Synergy takes the concept further: when one character uses an ability, Synergy auto-casts a linked spell from another party member. Link Synergy + Cure on Barret, and every time Cloud uses an ability, Barret automatically heals him. It’s expensive to set up and burns MP fast, but in Hard Mode where items are banned, it’s one of the few ways to sustain passive healing during multi-phase bosses.
ATB manipulation is the endgame meta. First Strike gives you full ATB bars at the start of every fight, letting you unload limit breaks or high tier spells before enemies move. ATB Boost doubles your ATB gauge for two minutes when activated, but it has a cooldown that shrinks as you level it. 360 seconds at level 1, 120 seconds at level 5. Pair it with ATB Assist, which fills ATB when allies use abilities, and you create a feedback loop where one character’s actions fuel the entire party’s gauge. ATB Stagger extends that loop by granting bonus ATB whenever you stagger an enemy, rewarding aggressive play and turning stagger windows into full party offense phases.
Here are the seven strongest materia combinations and why they dominate:
- Elemental + Fire/Ice/Lightning on weapons. Exploit weaknesses without MP cost. Swap elements per chapter to match enemy rosters.
- Elemental + element on armor. Negate or absorb incoming damage. Essential for surviving elemental heavy bosses like Hell House or Leviathan.
- Magnify + Firaga/Blizzaga/Thundaga. AoE damage that scales with Magnify level. Clears trash packs in one cast at level 3.
- HP Absorption + area damage materia. Recover HP equal to a percentage of damage dealt. Turns offensive spells into sustain tools.
- MP Absorption + frequent cast spells. Same concept as HP Absorption but refills MP. Pairs well with Magnify to sustain long grinding sessions.
- Synergy + Cure or Barrier. Auto-cast healing or buffs when allies act. Expensive but powerful in no-item Hard Mode runs.
- First Strike + ATB Boost + Magnify linked spell. Open every fight with a full party nuke before enemies can guard or counter. Trivializes most encounters outside of bosses.
Armor and Weapon Slot Optimization
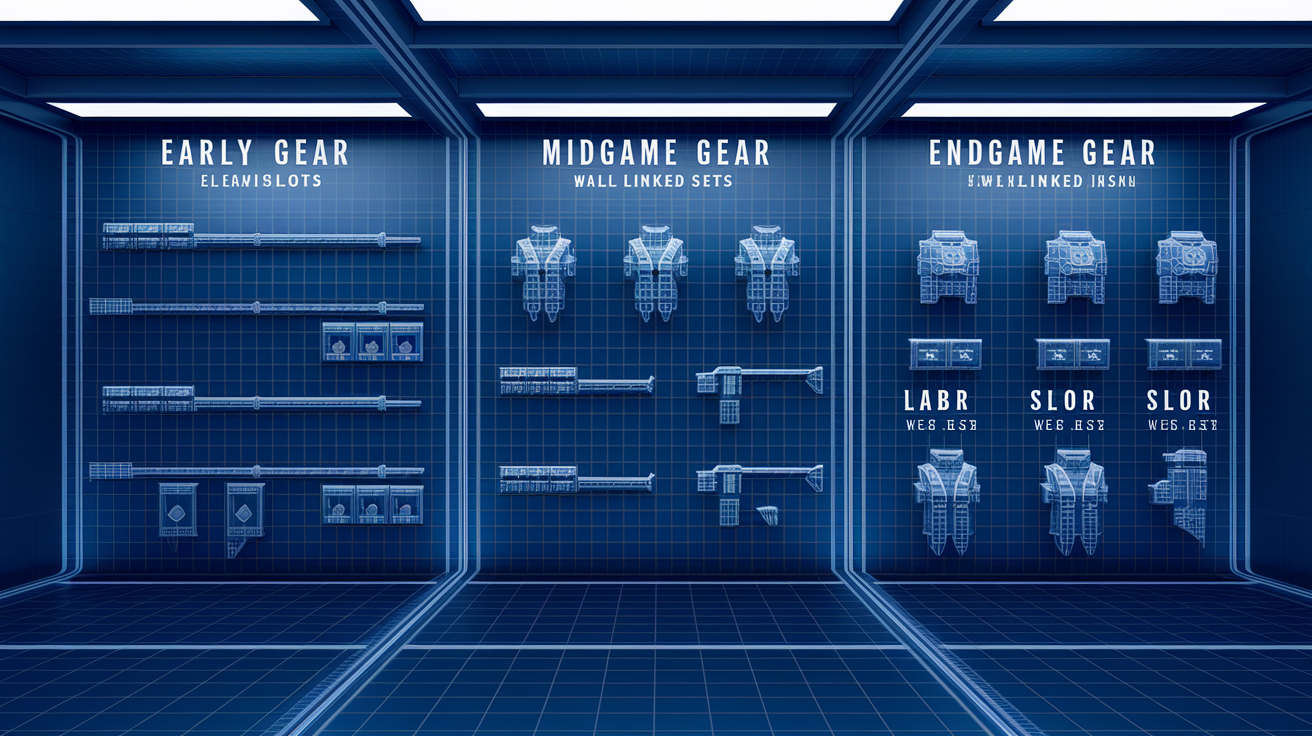
Weapons and armor differ wildly in slot count and linking structure. Some weapons offer six single slots and zero linked pairs. Others give you three linked pairs and nothing else. The weapons you unlock early (like Cloud’s Iron Blade or Barret’s Gatling Gun) tend to favor single slots, which limits your ability to use Support materia but lets you stack Independent materia like HP Up or Steadfast Block. As you progress and unlock higher tier weapons through story beats or sidequests, linked slots become more common. By endgame, you’ll have access to weapons that offer four or five linked pairs, letting you run multiple Elemental setups, Magnify combos, and AP Up links simultaneously.
Armor follows the same pattern but with less variety. Most armor pieces offer two to four slots, and only a handful include linked pairs. That makes armor slots more precious than weapon slots. If you’re choosing between slotting Elemental + Ice on a weapon or armor, put it on armor when facing an ice heavy boss (to absorb damage) and on your weapon when you need to exploit an ice weakness. The flexibility to swap materia between gear mid-chapter is one of the easiest ways to optimize without grinding levels. Upgrade cores (earned by completing weapon skill trees) unlock additional materia slots on specific weapons. Prioritize cores for weapons you plan to use long term, and avoid spending SP on weapons you’ll replace in two chapters.
The optimal slot usage pattern through progression: early game, fill single slots with elemental magic, Healing, and Assess. Midgame, start using linked pairs for Elemental and Magnify as soon as you acquire those Support materia. Endgame, dedicate linked slots to AP Up for farming, Elemental for survivability, and ATB related materia for boss efficiency.
Weapon Affinity and Combat Style Integration
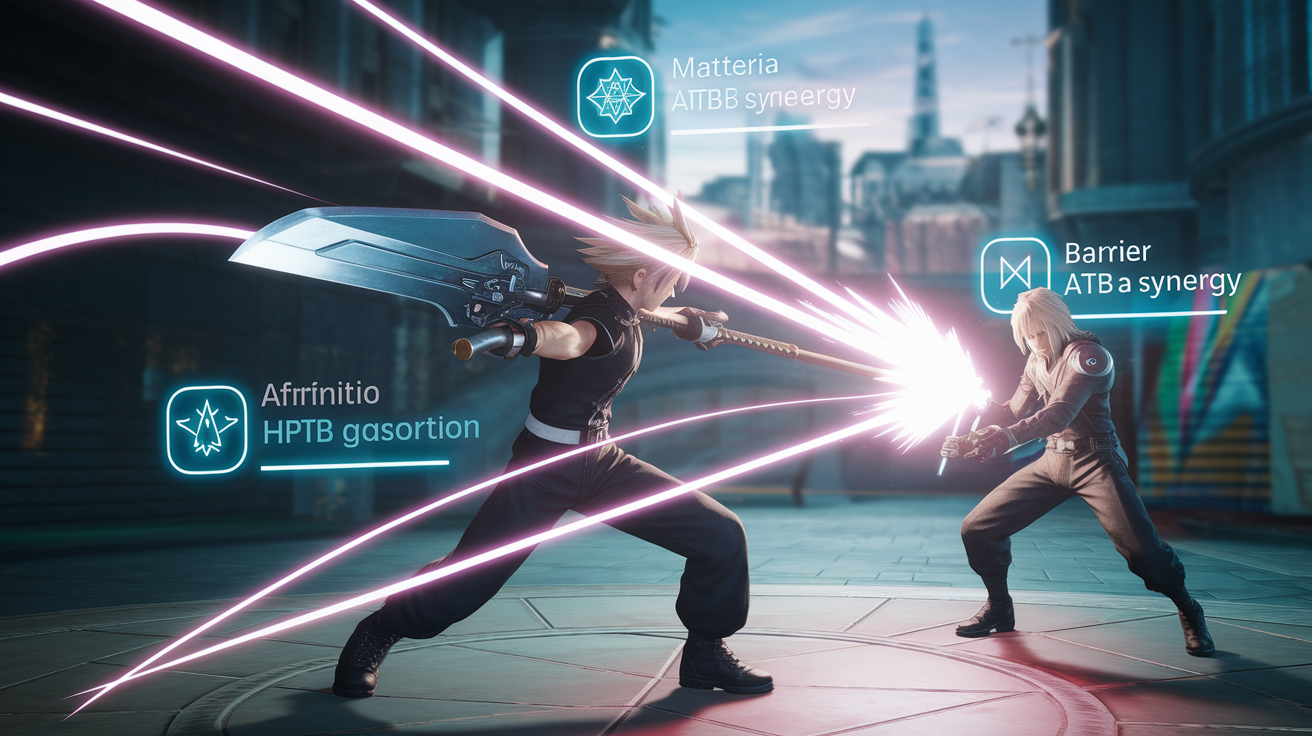
Every weapon in FF7 Remake has a unique ability tied to holding triangle. Cloud’s Iron Blade ability is a simple AoE spin. His Hardedge ability is a single target defense debuff. Barret’s Gatling Gun unleashes overcharge, a high damage burst that drains his ATB. His Light Machine Gun offers a different ability that focuses on sustained fire. These abilities aren’t just cosmetic. They define how you generate ATB, how you spend it, and which materia benefit most from that playstyle. If you’re using a weapon with a fast, multi-hit ability, pair it with HP Absorption or Deadly Dodge to recover health during offense. If you’re using a slower, harder hitting ability, pair it with ATB Boost to maximize the payoff when you do spend gauge.
Weapon affinity grows as you use each weapon’s ability. Once affinity hits 100%, the ability becomes permanently available even when you switch to a different weapon. That means you can unlock every weapon ability on a single character, then pick the weapon with the best materia slot layout and still have access to the full toolkit. This system rewards experimentation. Spend a few fights with each weapon to master its ability, then switch to the weapon that best supports your materia build. A weapon with poor slots but a strong ability is worth mastering. A weapon with great slots and a weak ability is worth equipping after you’ve mastered everything else.
ATB generation speed varies by weapon type and by action. Blocking generates ATB slowly. Dodging generates none. Normal attacks generate moderate ATB, but the rate increases if you’re using a faster weapon. Barret’s guns generate less ATB per hit than Cloud’s swords, but Barret can attack from range, letting him stay safe and build gauge while Cloud draws aggro. Tifa’s gloves generate ATB faster than anyone when she strings combos, but her combos require staying close and managing enemy positioning. Match your weapon choice to your combat role. If you’re the primary damage dealer, pick a weapon that builds ATB quickly. If you’re the support caster, pick a weapon with the most linked slots and let your party members generate gauge while you manage buffs and healing.
Early Game Materia Priorities
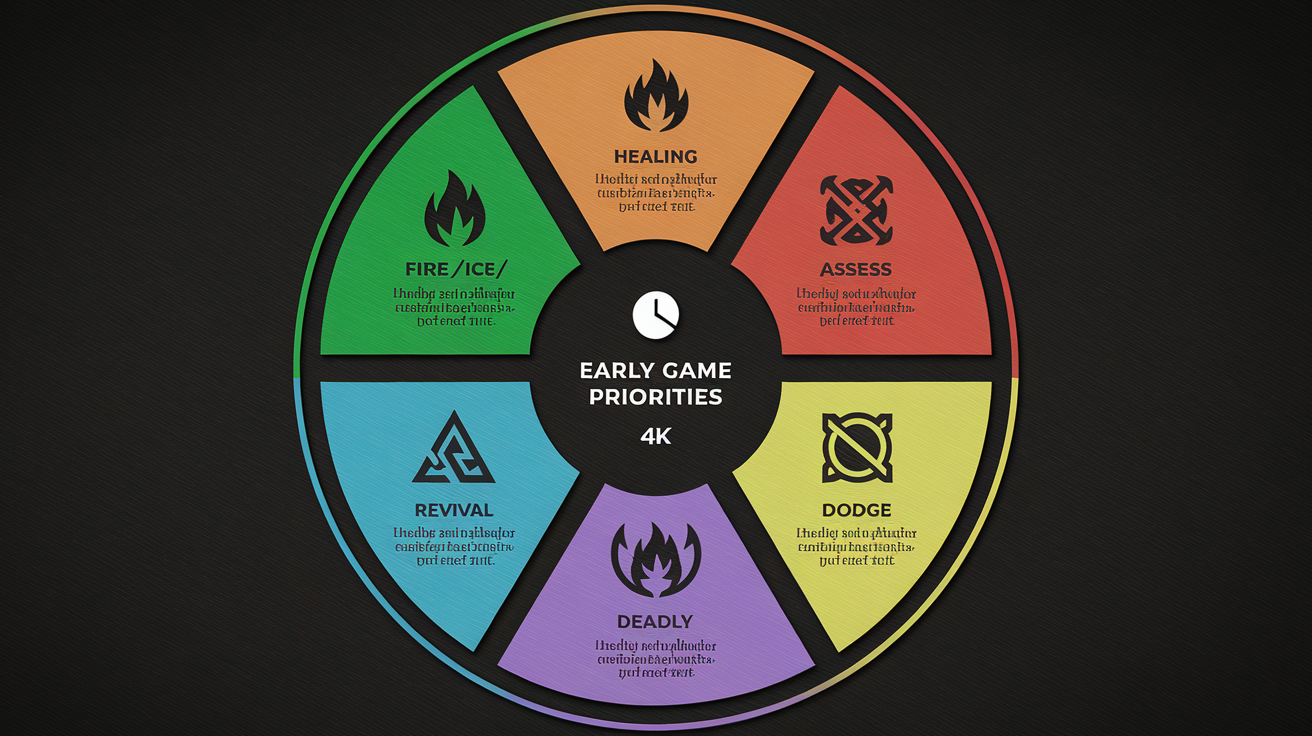
In the first five chapters, your materia options are limited, your AP gain is slow, and most encounters can be solved with basic attacks and a single elemental spell. That makes versatility more valuable than specialization. Healing is non-negotiable. Barret and Aerith both start with it auto-equipped, but you’ll want a second copy on Cloud or Tifa as soon as possible. Jessie gives Cloud a Healing materia in Chapter 2, and the Sector 7 item shop sells extras for 500 Gil. Fire, Ice, and Lightning cover the three most common elemental weaknesses in early enemy rosters. Cloud starts with Fire, Barret starts with Lightning, and Aerith starts with Ice. If you’re missing one, buy it from the Sector 7 shop before you leave for Chapter 4.
Assess is free from Chadley in Chapter 3 and immediately useful. It reveals enemy HP, weaknesses, and stagger behavior. All information that turns guessing into strategy. The earlier you start using Assess, the faster you’ll learn which enemies are weak to physical damage, which are weak to magic, and which need to be staggered before they take real damage. That knowledge saves MP, saves time, and keeps you from wasting ATB on attacks that barely move the HP bar.
Here are the five materia you should prioritize before the midgame:
- Healing. Auto-cast or manual, it’s the only reliable way to survive multi-wave fights before you unlock items or abilities that sustain HP.
- Fire, Ice, or Lightning. Pick one and level it. Covering all three is ideal, but early AP is too slow to level everything at once.
- Assess. Free from Chadley, reveals weaknesses, levels up to unlock multi-target scanning at higher tiers.
- Revival. Found in Chapter 4 after the Jessie rooftop sequence. Cheap insurance against wipes in boss fights where one mistake can snowball.
- Deadly Dodge. Picked up during the Chapter 2 Upper Sector 8 escape. Turns Cloud’s dodge into a counter-attack tool and builds ATB faster than blocking.
Mid Game Progression and Build Expansion
Chapters 8 through 13 introduce Support materia that fundamentally change how you approach encounters. Magnify appears in Sector 6 during the third arm puzzle, and once you have it, single target spells become multi-target nukes. Early on, Magnify reduces the linked spell’s effectiveness by 60%, so a Magnified Cure heals for less than half the normal amount. But even at reduced power, hitting three targets with one cast is more MP efficient than casting three times. As Magnify levels, that penalty shrinks (45% at level 2, 25% at level 3), and by the time you’re in Chapter 14, a max level Magnify + Firaga clears entire rooms for the same cost as a single target spell.
Elemental becomes essential around Chapter 9 when bosses start using heavy elemental attacks. The Abzu fight in the sewers is a crash course in why Elemental on armor matters. Link Elemental + Fire to your armor, and Abzu’s fire breath becomes a minor inconvenience instead of a party wipe. By Chapter 10, you should have at least one Elemental materia slotted on armor for every character, swapping the linked element based on the chapter’s enemy roster. If you’re fighting Shinra mechs, link Lightning. If you’re in the sewers, link Fire or Poison. The flexibility to adapt per encounter is more valuable than stacking raw stats.
Midgame is also when you start seeing diminishing returns on basic elemental magic. Fire and Blizzard are cheap and spammable, but they don’t stagger enemies fast enough to justify the MP cost once enemy HP pools double. Fira and Blizzara are the sweet spot. Strong enough to chunk HP bars, cheap enough to cast four or five times per fight, and available as soon as your starter materia hit level 2. Focus your AP on leveling one or two elemental materia to tier 2 spells instead of spreading progress across six different level 1 orbs. A single Firaga is worth more than three Fires.
Endgame Optimization and High Tier Loadouts
By the time you reach Chapter 16 and unlock Hard Mode, your materia strategy shifts from “cover weaknesses” to “maximize efficiency per action.” Level 3 spells (Firaga, Blizzaga, Thundaga) are your primary damage tools, and you’ll want at least one copy on every character. Healing and Revival should be maxed and equipped across the party because Hard Mode bans items entirely. If someone goes down and you don’t have Revival slotted, that fight is now a two person carry. MP management becomes the primary constraint, which means HP Absorption and MP Absorption transition from optional to mandatory. Link HP Absorption to Deadly Dodge or Counter, and you’ll recover health passively during offense. Link MP Absorption to Magnify + elemental magic, and every AoE nuke refills a chunk of your MP bar.
Elemental on armor at level 3 turns specific fights into jokes. Leviathan’s tidal wave? Absorb it with Elemental + Ice. Hell House’s elemental shifts? Swap your linked element between rounds and negate every scripted attack. The difference between level 2 Elemental (nullifies damage) and level 3 (absorbs and heals you) is the difference between surviving and never needing to heal. Prioritize leveling Elemental to max before you tackle the VR challenges or any Hard Mode rematches.
Here are six materia setups that define optimal endgame loadouts:
- Cloud: Elemental + Lightning (weapon), Elemental + Fire (armor), Magnify + Firaga, Deadly Dodge, ATB Boost, First Strike. Balanced offense and survivability with AoE clear and counter damage.
- Barret: Elemental + Ice (weapon), HP Absorption + basic attack spam, Magnify + Thundaga, First Strike, Steadfast Block. Ranged DPS with passive healing and crowd control.
- Tifa: Elemental + Wind (weapon), Parry, ATB Stagger, Refocus, Magic Up, Healing. High ATB generation focused on stagger extension and limit break cycling.
- Aerith: Magnify + Curaga, Revival, MP Absorption + Blizzaga, Synergy + Barrier, Magic Up, ATB Assist. Full support build with auto-casting, party buffs, and sustained MP.
- All characters: maxed Healing, maxed Revival, at least one level 3 elemental spell. Non-negotiable baseline for Hard Mode survival.
- Farming setup: AP Up linked to target materia, First Strike, Magnify + Fire, HP Absorption, two empty slots for additional materia to level. Optimized for post-credits Combat Simulator grinding loops.
Final Words
Get hands-on: level materia, link slots, and use AP farming routes to speed growth.
Pair Support and Magic materia for big damage or utility, and optimize weapons and armor to fit your loadout.
Shift priorities as you move from early healing and Assess to midgame Magnify setups and endgame high-tier builds.
Keep weapon affinity and ATB flow in mind when making swaps.
This Final Fantasy VII Remake materia progression and combat upgrade guide gives a clear path from beginner setups to powerful endgame loadouts.
Happy building, it’s fun to experiment.
FAQ
Q: How to deal 300% damage to a staggered enemy?
A: To deal 300% damage to a staggered enemy, exploit the stagger bonus by hitting its weakness, use damage-boosting materia or summons, and time powerful limit or burst attacks during the stagger window.
Q: Is Barret racist in FF7?
A: Barret is not portrayed as racist in FF7; he targets Shinra and shows blunt anger, but his actions come from resistance and protection, not ethnic hatred.
Q: Is an EKG cannon worth it?
A: The EKG Cannon is worth it if you want heavy, long-range firepower and stagger focus; skip it if you prefer fast, combo-driven builds or need weapons that better support linked materia.
Q: Does streamlined progression work on hard mode in FF7 Remake?
A: Streamlined progression can work on Hard mode, but Hard raises enemy power and limits resources, so expect slower AP gains and adjust materia, gear, and farming strategies accordingly.