
Think beating Isshin is just reflex and luck?
Most players get the deflect window right but lose to his rhythm.
This post shows the exact parry timing for his three-hit opener, delayed fire swings, and dash attacks.
You’ll learn when to Mikiri, when to sidestep, and how to force a posture break fast.
Follow simple rhythm drills, deflect, land one clean hit, reset, and you’ll cut the fight time and mistakes.
Start with Phase 1 cues.
How to Parry Isshin Ashina: Core Timings and Posture Strategy
Isshin’s parry window is the same 30-frame deflect you’ve been using all game, but his rhythm? That’s where people fold. His three-hit opener comes in steady, evenly spaced beats. Parry the first swing when his shoulder shifts, then match that same pace for the second and third. Miss one deflect and you’ve handed him momentum. His posture starts draining the second you lose tempo.
Don’t get greedy after your deflects. Land one counter-slash, reset, and watch for his next move.
Posture recovery kicks in fast the moment you back off. Step away for more than two seconds without keeping pressure on him and his gauge drops noticeably. To stop this, stay in sword range and bait single attacks instead of waiting for full combos. Swing once to pull a reaction, deflect his counter, hit once, repeat. That cycle keeps his posture climbing and forces him into defense instead of letting him reset.
Aggressive counter-pressure is what separates a posture break in 90 seconds from a drawn-out slog. After every successful deflect, step forward and land one clean strike. Don’t mash. One deliberate hit maintains pressure without giving him the opening to sidestep and wreck you for overcommitting.
Isshin’s Five Most Punishable Parry Opportunities
- Three-hit opener – deflect all three in rhythm, land one counter-slash before he resets.
- Single thrust after sheathe – Mikiri counter for massive posture damage and a guaranteed follow-up window.
- Delayed overhead slash – parry late as the blade falls, not during windup, then step in for two hits.
- Double horizontal slash – block the second hit instead of deflecting to skip his sweep follow-up and punish right away.
- Post-deflect sidestep reset – if he dodges your attack, he almost always counters immediately. Be ready to parry within half a second.
Phase 1: Isshin Ashina’s Base Moveset and High-Value Deflects
Phase 1 is katana-only. He runs repeating slash sequences, and his most common pattern is a three-hit combo: straight horizontal cut, second slash from the opposite side, third strike that arrives slightly faster than the first two. Deflect all three and his posture spikes. Opens a one-hit counter window. Deflect only two out of three? Posture gain drops by roughly half.
His single thrust is the safest Mikiri opportunity in the entire fight. He telegraphs it by stepping back and lowering his stance for a full second before lunging. Step into the thrust when you see the perilous kanji, press dodge forward, and you’ll land a Mikiri that chunks his posture and stuns him long enough for two free sword hits.
The sweep attack shows up less often and it’s easy to spot. He crouches slightly and sweeps low from left to right. Jump straight up and tap attack at the peak to land a punishing kick that damages his posture and gives you a brief opening.
Phase 1 Attack List and Optimal Responses
- Three-hit horizontal combo – deflect all three in rhythm, counter with one slash.
- Single thrust after backstep – Mikiri counter, follow with two hits.
- Low sweep – jump and kick at the top of the arc for posture damage.
- Delayed overhead chop – parry late as the blade drops, punish with one hit before retreating.
Phase 2: Fire-Enhanced Katanas, Delayed Swings, and Pressure Windows
Phase 2 adds flame-infused attacks and introduces deliberate delays that break the rhythm you learned earlier. His overhead fire slash is the most dangerous example. He raises the sword high, pauses for a full beat longer than the non-fire version, then brings it down with a trailing flame arc. Deflect on the same timing as Phase 1 and you’ll eat the hit. Wait until you see the blade begin its downward arc, then parry. The flame itself doesn’t need a separate deflect.
Some horizontal slashes now carry a half-second delay before the second swing. He’ll complete the first cut, hold his stance briefly, then snap into the follow-up. The visual cue is his shoulder freeze. If his shoulder stops moving after the first slash, delay your second deflect by roughly one beat. Deflect too early and you’re vulnerable to the delayed strike. Panic and mash block? Your posture breaks.
His fire-enhanced combos can still be deflected in full, but the timing windows shift by fractions of a second. Practice the rhythm on his three-hit fire combo. Parry the first swing on contact, wait a beat, parry the second, pause slightly longer, parry the third. Once you internalize this new cadence, Phase 2 pressure windows open up in the same places as Phase 1.
Three Biggest Timing Changes in Phase 2
- Overhead fire slash delays by one full beat. Parry as the blade descends, not during windup.
- Horizontal combos add a half-second freeze between first and second hit. Watch his shoulder for the timing cue.
- Fire trails linger after certain slashes but don’t require separate deflects. Maintain your position and keep pressuring.
Phase 3: Ashina Cross, High-Posture Pressure, and Survival Movement

Phase 3 introduces Ashina Cross, a multi-hit dash attack that covers half the arena and arrives faster than any other move in Isshin’s kit. Four rapid slashes delivered in a single forward lunge. You can deflect each hit individually if you tap deflect four times in quick succession, matching the speed of a fast drum roll. Miss even one deflect and the remaining hits will shred your posture and health. The safer option? Sprint perpendicular to his dash the moment you see the sheathe animation and punish him during recovery.
His fastest dash-in slashes replace some of the slower Phase 1 patterns. He closes distance in a single step and delivers a two-hit combo with almost no windup. The tell is a subtle forward lean. If you see his weight shift toward you, prepare to deflect twice in rapid succession. These dash combos apply extreme posture pressure if deflected, so use them to push his gauge toward the break threshold.
Isshin’s posture becomes highly unstable in Phase 3 when you maintain consistent offensive pressure. Land deflects and counter-hits without retreating and his posture climbs faster than in the previous two phases. But disengage for even three seconds? His gauge plummets. Stay close, bait single attacks, deflect, counter once, repeat until the deathblow marker appears.
Four Correct Counteractions for Phase 3
- Ashina Cross sheathe cue – sprint left or right the moment you see the sheathe, punish during recovery.
- Fast dash-in two-hit combo – deflect both hits in rapid succession, counter with one slash.
- Extended fire combo – deflect the full chain without retreating, land one hit, reset.
- Posture spike windows – after any successful deflect, step forward and strike once to prevent gauge recovery.
Deflect vs Dodge: When Each Response Is Optimal Against Isshin
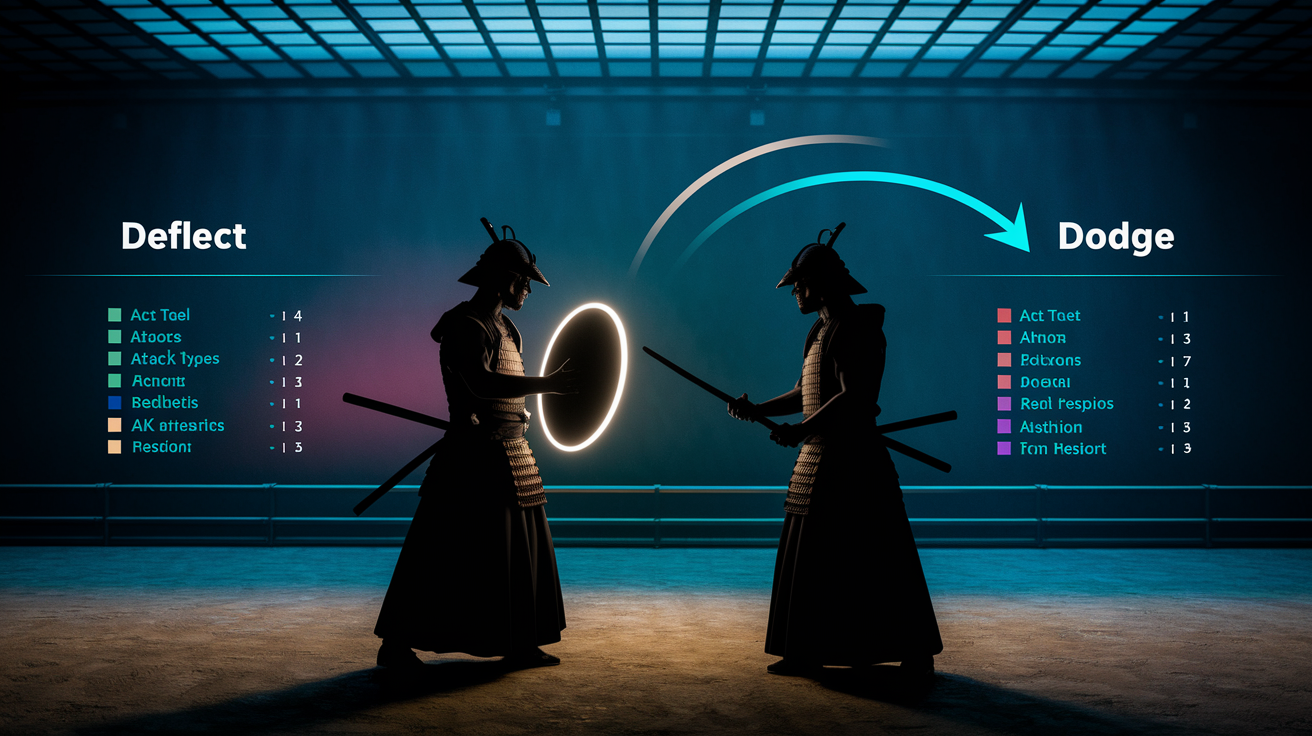
Most horizontal slashes from Isshin should be deflected. His standard three-hit combo, double slash, and fire-enhanced horizontal chains all reward deflection with posture damage and counter opportunities. Dodging these attacks wastes the chance to build his posture and often leaves you out of position for follow-up pressure.
Overhead attacks and specific fire-based slashes require dodging. His single overhead chop in Phase 1 can be deflected, but the delayed fire overhead in Phase 2 is safer to sidestep. Dodge to his left or right as the blade begins to fall, then step in for two hits during his recovery. The flame trail will miss you entirely if you commit to the sidestep early.
Thrusts must be handled with Mikiri Counter. Never deflect a thrust. It deals heavy chip damage through block and gives you no posture advantage. Step into the thrust with a forward dodge the moment the perilous kanji appears, and you’ll land a Mikiri that chunks his posture and opens a guaranteed two-hit window.
| Attack Type | Optimal Response |
|---|---|
| Horizontal slash combos | Deflect all hits in rhythm |
| Overhead fire slash (Phase 2) | Sidestep left or right, punish recovery |
| Perilous thrust | Mikiri Counter forward, follow with two hits |
Recommended Prosthetic Tools and Combat Arts for the Fight
Firecracker briefly disrupts Isshin’s neutral resets and buys you a two-second window to land free hits or heal safely. Use it when he sheathes his sword or prepares a delayed overhead. The stun interrupts his attack and leaves him open. Firecracker costs one spirit emblem per use, so budget roughly five uses across the entire fight if you want to rely on it for key interrupts.
Ichimonji Double is the single best combat art for this encounter. It deals heavy posture damage, reduces your own posture when executed, and has a long enough windup that you can bait Isshin into attacking and then cancel into a deflect. Use it right after a successful Mikiri Counter or during his post-deathblow transition to spike his posture and set up faster breaks.
Four Best Tools and Arts for Isshin
- Shinobi Firecracker – interrupts sheathe animations and delayed overheads, costs one emblem, use sparingly.
- Ichimonji Double – heavy posture damage, self posture recovery, ideal after Mikiri or deathblow transitions.
- Suzaku’s Lotus Umbrella – negates all fire damage in Phase 2, trivializes flame combos, costs emblems to deploy.
- High Monk – safe posture pressure during sweep punishes, launches you over his low attacks for guaranteed damage.
Complete Attack Pattern Breakdown for Training and Practice
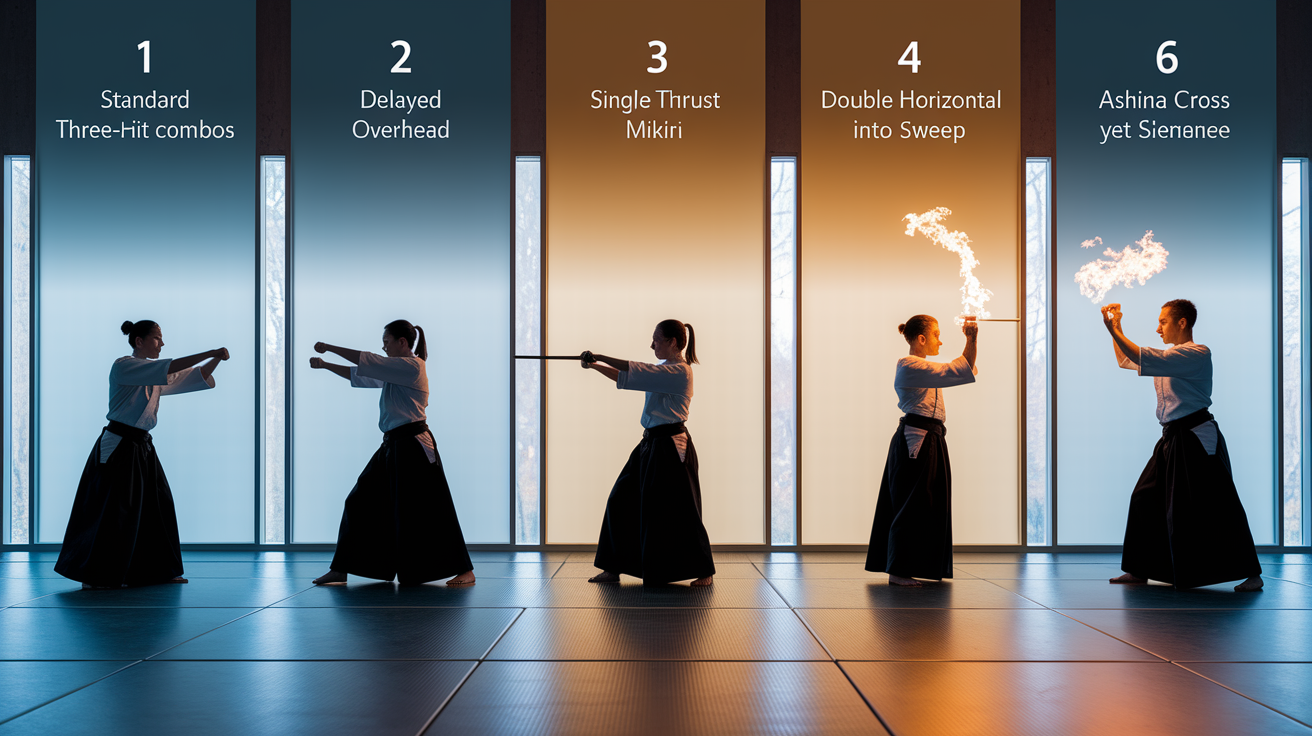
Isshin’s moveset is built from repeatable combos with fixed timing cues. Recognize these patterns and drill the correct response for each one. The fight turns from a reaction test into a rhythm exercise.
Six Major Attack Patterns and Timing Cues
- Standard three-hit combo – steady rhythm, parry on shoulder shift for first hit, match the beat for second and third. Counter with one slash after the third deflect.
- Delayed overhead slash (Phase 2 fire version) – raises sword high, pauses one full beat, then drops. Parry as the blade begins to fall, not during windup. Punish with two hits.
- Single thrust after backstep – steps back, lowers stance, lunges forward. Mikiri Counter on the perilous kanji, follow with two sword hits.
- Double horizontal slash into sweep – two quick slashes followed by a low sweep. Block the second slash instead of deflecting to skip the sweep, counter right away.
- Ashina Cross (Phase 3) – sheathes sword, dashes forward with four rapid slashes. Sprint perpendicular the moment you see the sheathe, punish during recovery.
- Fire-enhanced three-hit combo (Phase 2) – parry first hit on contact, pause one beat, parry second, pause slightly longer, parry third. Follow with one counter-slash.
Training these six patterns in isolation will cover roughly 80 percent of Isshin’s offense. The remaining 20 percent are variations that use the same core timing with minor adjustments. Once you can deflect the standard three-hit combo without thinking, the rest of his moveset becomes predictable.
Final Words
In the action, keep your finger on the deflect window and match Isshin’s rhythms. We covered core parry timings, Phase 1–3 changes, when to dodge or use Mikiri, and which prosthetics and combat arts help most.
Practice the three-hit opener and delayed fire slashes in short drills, and use aggressive counter-pressure to stop his posture from regenerating.
Use the Sekiro how to beat Isshin Ashina parry and posture strategy here: time deflects, punish openings, and stay on offense. You’ll nail it with focused practice.
FAQ
Q: What is the easiest way to beat Isshin?
A: The easiest way to beat Isshin is to master deflect timing, pressure his posture with quick counters, use Firecracker plus Ichimonji or High Monk, and punish his three-hit and delayed swings aggressively.
Q: What is Isshin Ashina weak to?
A: Isshin Ashina is weak to posture damage—repeated deflects, Ichimonji Double and high-posture arts, proper Mikiri for thrusts, and prosthetics like Firecracker that create short opening windows.
Q: How to parry Isshin Ashina?
A: To parry Isshin Ashina, time deflects to his swing window, feel his three-hit opener rhythm, shift timing for delayed flame slashes, then counter quickly to stop his posture recovery.
Q: Is Sword Saint Isshin the hardest boss ever?
A: Sword Saint Isshin is widely seen as one of Sekiro’s hardest bosses because of fast, multi-phase attacks and tight parry windows, though whether he’s the hardest depends on player skill and patience.