

Think Tunic is just a cute Zelda-like? Think again.
Beneath the sweet art is a game that hides puzzles, brutal bosses, and cryptic manual pages you must find to survive.
This full campaign walkthrough maps every route, secret pickup, puzzle solution, and boss strategy so you waste less time and stop dying to avoidable mistakes.
Follow it to grab the right gear, open shortcuts, and learn the fights that trip up most players.
Starting Your Adventure: First Steps in Tunic

You wake up on a sunlit beach. No gear, no map, no UI at all. Just you and the sound of waves.
That’s how Tunic starts every time. Your first move? Walk forward, grab the stick on the ground, and start figuring out how this game actually works. The manual pages scattered around the world aren’t just flavor text. They’re the instructions.
The stick isn’t great, but it’s what you’ve got. Early enemies are slow and forgiving. They’re there to teach you stamina combat: attack, dodge, wait for the green bar to fill back up. Don’t spam. You’ll regret it when health items are scarce.
After you grab the stick, start exploring. Some paths hit locked doors. Others lead to climbable spots or open routes. You’re hunting for two things: glowing manual pages and the way toward East Forest. Those pages aren’t optional. They explain controls, combat timing, and mechanics the game will never mention otherwise.
What to do first:
- Grab the stick and test it on the first slime enemy you see.
- Pick up the manual page near spawn to unlock your inventory.
- Practice dodge timing. Stamina matters more than button speed.
- Head north from the beach toward the stone arch leading to the Overworld.
- Check anything glowing or breakable. Currency and consumables hide everywhere.
East Forest Route and Early Combat
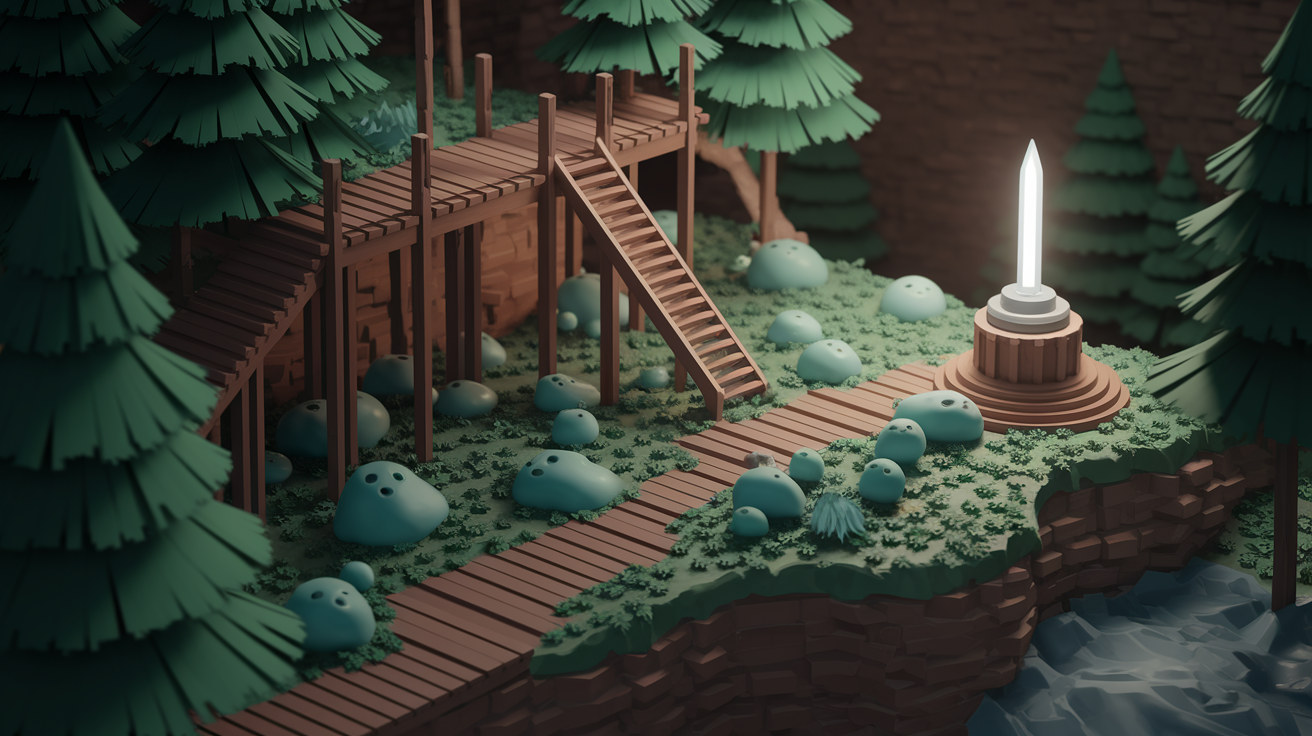
East Forest is your first real test. It’s compact, but the layout uses elevation, hidden shortcuts, and enemy spacing that’ll punish you if you’re not paying attention.
Here’s the route to the sword:
- Enter from the Overworld arch. Walk past the first two slimes on the main path.
- There’s a wooden ladder on the left side of the clearing. Easy to miss if you’re focused ahead.
- Cross the elevated walkway, drop into the lower ravine where the campfire checkpoint sits.
- From there, go east. Fight the spiked enemies near the stone door (pull them one at a time or you’ll get overwhelmed).
- Enter the Guardhouse and climb the interior stairs.
- The sword’s on a pedestal upstairs. Grab it. Equip it now.
Combat changes completely once you’ve got the sword. Light combos, charged heavies, and block timing all open up. The stick becomes useless. Head back to the campfire and practice the sword’s moveset before pushing north.
Guardhouse and First Major Challenges
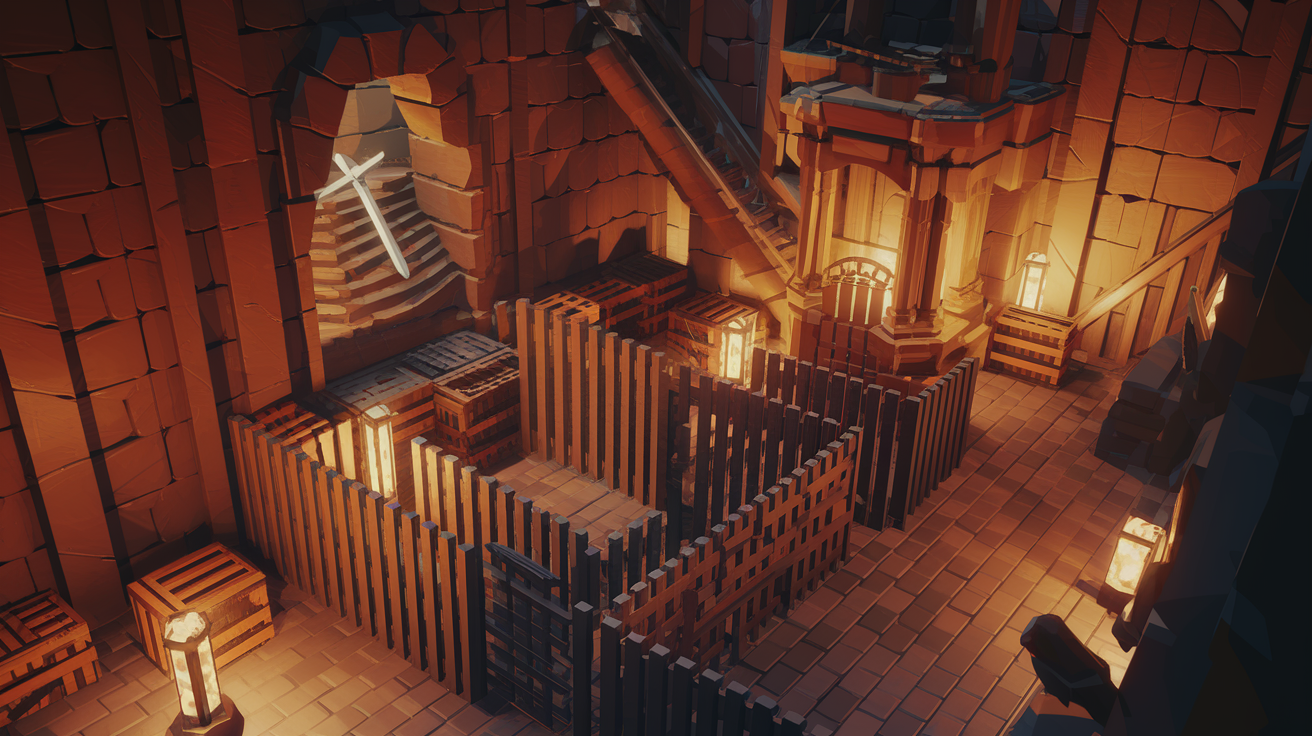
The Guardhouse isn’t just where you found the sword. It’s a multi-floor area with better gear, tougher guards, and your first real skill check.
After you equip the sword, check the lower floors. Narrow halls, patrolling enemies who block and counter. Don’t mash. Watch their stance. If they raise a shield, wait for their attack to finish, then hit them with a charged heavy during recovery.
The shield’s on the ground floor. Northwest corner, behind breakable wooden barriers. Smash the crates and pick it up. Equip it in your off-hand.
Now you can block most standard hits. You can even parry if you block right before impact (the game won’t tell you this, you just have to feel the timing). On your way out, unlock the shortcut door back to the Overworld. You’ll be back here later and the shortcut saves time.
Key pickups in the Guardhouse:
- Sword (upstairs, required).
- Shield (ground floor, behind crates).
- Manual page with combat layout.
- Health potion near the east exit (save it).
Visiting the Old House and Unlocking New Abilities
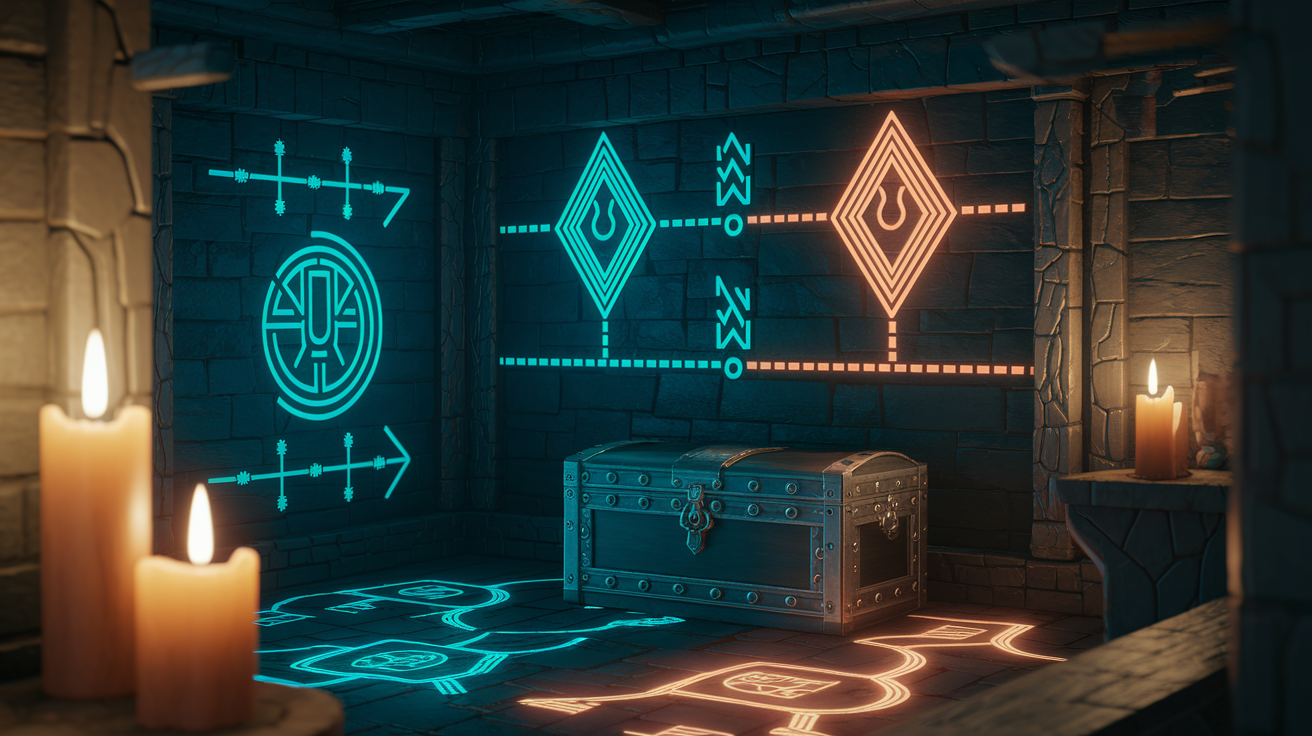
Old House sits between the Overworld and the western path toward Dark Tomb. Small space, but important.
Inside, you’ll find a manual page about power-based mechanics. Glowing symbols on walls and doors? That’s what it’s talking about. There’s also a locked chest you can’t open yet. Note where it is and keep moving. What matters here is learning that some doors need nearby power sources activated first. You’ll use this constantly in Dark Tomb and beyond.
What to grab at Old House:
- Manual page explaining power flow (read it, the game won’t repeat this).
- Locked chest location (come back later with the key item).
- Western exit toward the well and Dark Tomb entrance.
Dark Tomb Puzzle Solutions
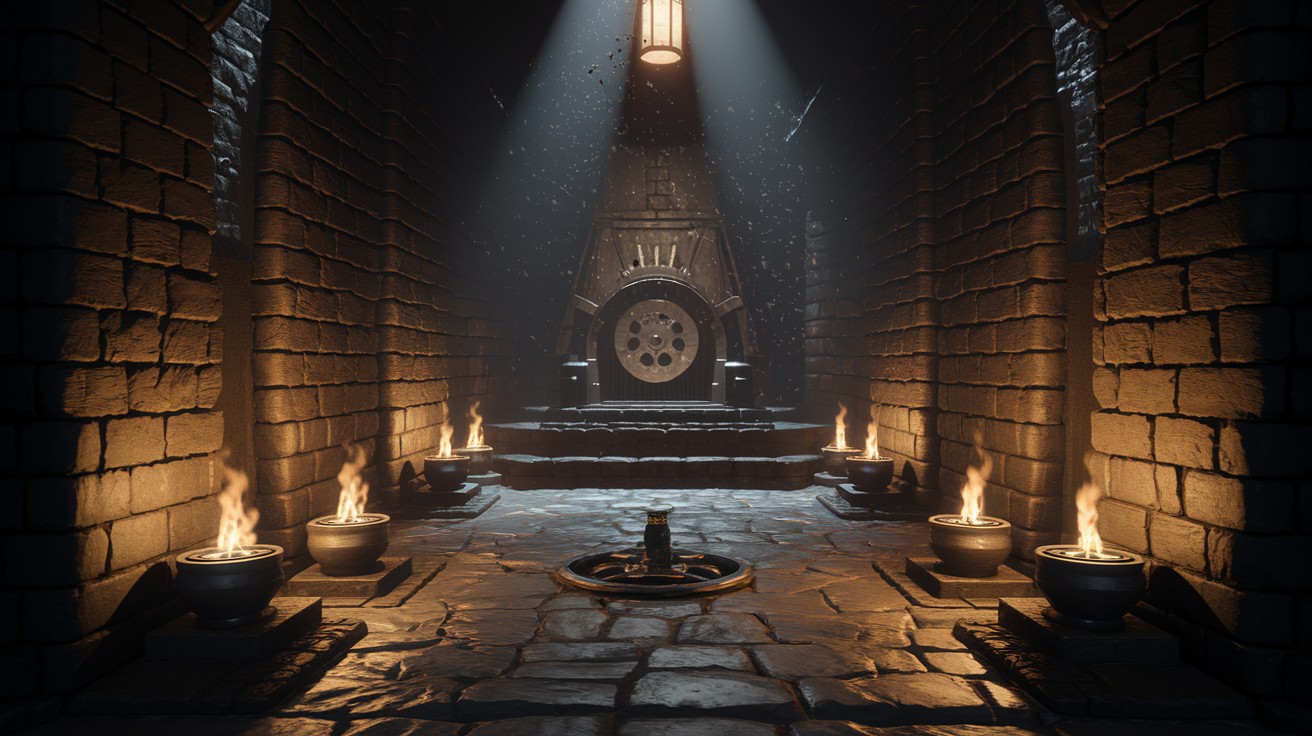
Dark Tomb will stop you cold if you’re not paying attention. It’s a vertical dungeon built around light puzzles, spike traps, and crushers that one-shot you.
You’ll see unlit braziers and pressure plates when you walk in. The goal? Light the right sequence to open the gate at the bottom.
Here’s the solution:
- Light the first brazier near the entrance with your lantern.
- Hit the center pressure plate to open the first gate temporarily. Roll through before it closes.
- In the second room, avoid the spike floor by timing your sprint between crusher cycles. Wait for it to rise, then move.
- Light the second brazier on the left side of the crusher room. This holds the next door.
- Drop the ladder to the lower floor. Fight the two armored enemies guarding the third brazier (heavy attacks break their guard faster).
- Light the third brazier, go back up, cross the now-open bridge.
- Grab the key item from the pedestal at the deepest point. You need this for West Garden.
Clear Dark Tomb and you’ve proven you can handle multi-step puzzles and environmental hazards. The health upgrade, key item, and manual pages here are essential.
West Garden and the Garden Knight Boss
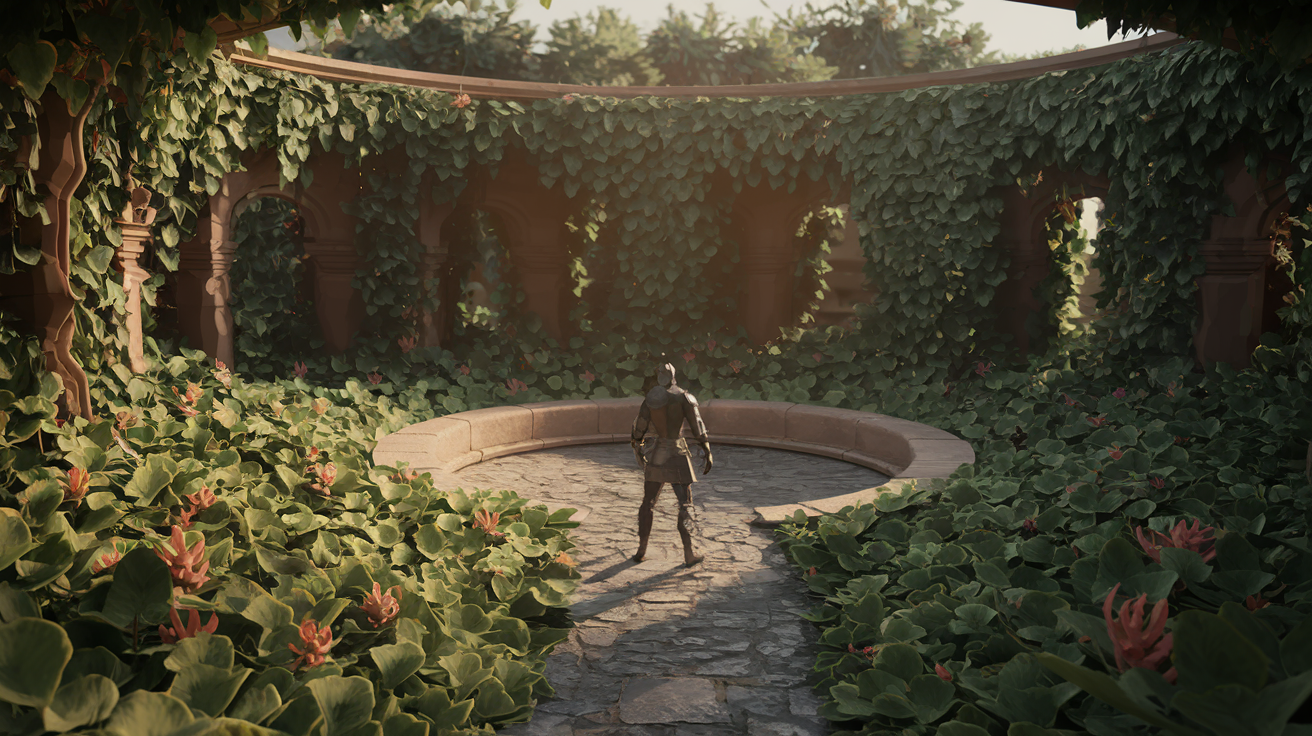
West Garden is gorgeous. It’s also deadly. And it’s where you’ll fight your first real boss.
Before you reach Garden Knight, you’re navigating overgrown paths, explosive plant enemies, and hidden alcoves with manual pages. Follow the main path from Dark Tomb’s exit. You’ll pass arched gates with patrolling guards. Don’t fight everything. Some enemies respawn until you clear certain triggers.
Look for the dash ability shrine. It’s behind a crumbled wall on the eastern side. Dash lets you move faster and dodge through attacks. Use it right away to practice spacing against ranged enemies near the boss arena.
Garden Knight hits hard and punishes greed. Wide sweeps, a jumping slam, and a shield bash that stuns on contact. Your strategy? Dodge the slam (longest recovery window), land two light attacks, back off, repeat. Don’t get cornered. The arena’s circular. Use the space.
Garden Knight patterns and counters:
- Horizontal sweep: dodge backward. The hitbox is wider than it looks.
- Jumping slam: when they leave the ground, dash sideways and punish with a charged heavy.
- Shield bash: if you see them pull the shield back, roll immediately. It tracks.
- Combo chain: after three hits, they pause for two seconds. That’s your window.
- Phase two (below 40% health): they add a spin attack. Treat it like the sweep, dodge backward twice.
After the fight, you unlock the path to Sealed Temple and the western Overworld. Grab the manual pages in the arena before you leave.
Cathedral Route and Spirit-Related Mechanics
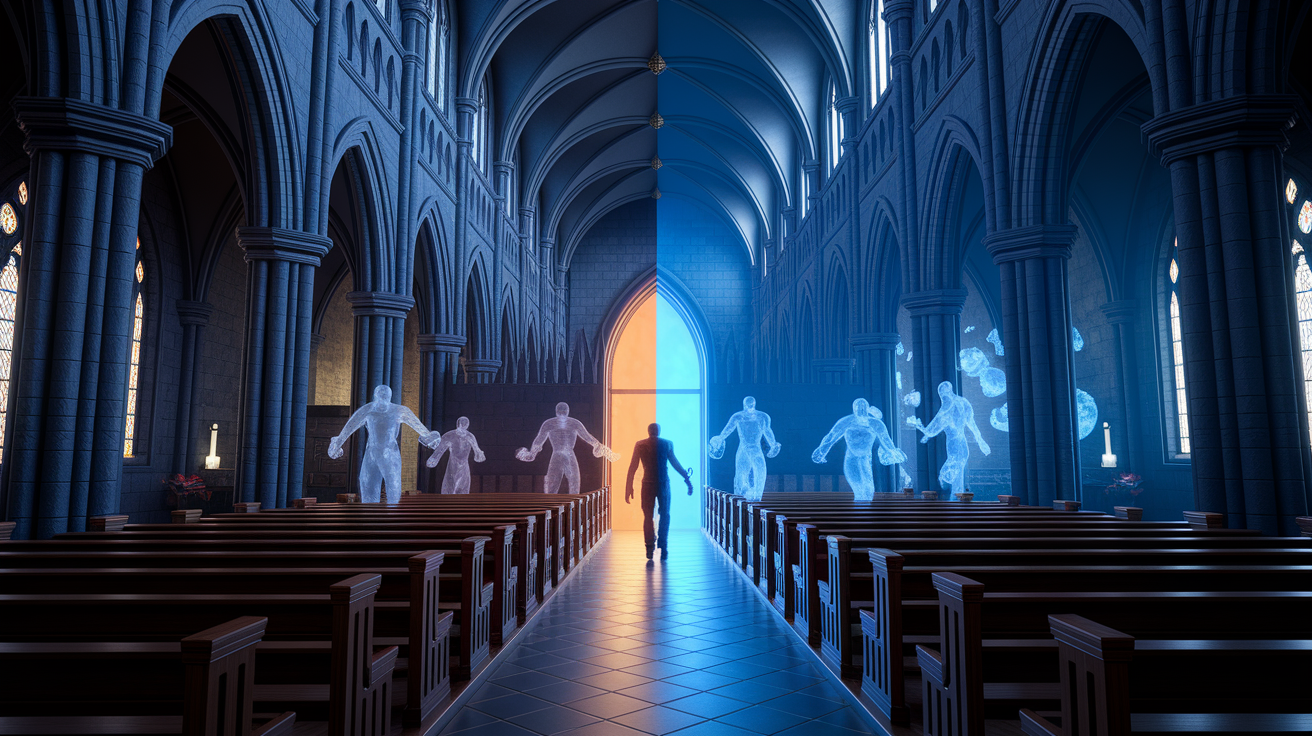
Cathedral introduces a mechanic the game won’t explain directly. You can shift between the physical realm and a ghost layer of the same space. Some enemies only show up in one. Some doors only open in the other.
When you enter, you’ll see faint, translucent enemies phasing in and out. Spirit enemies. To damage them, you need to be in the right realm. You’ll get the realm shift ability from a manual page in the Cathedral’s lower chapel. Once you have it, watch for the visual cue: the world tints blue in the spirit layer, and invisible platforms become solid.
Navigation here is about noticing what changes when you shift. A locked door in the physical realm might be open in spirit. A missing bridge in one layer might exist in the other. Don’t rush. Walk through each room twice, once per state, and note differences. Cathedral rewards patience more than combat skill.
The Quarry and the Red-Tinged Environment
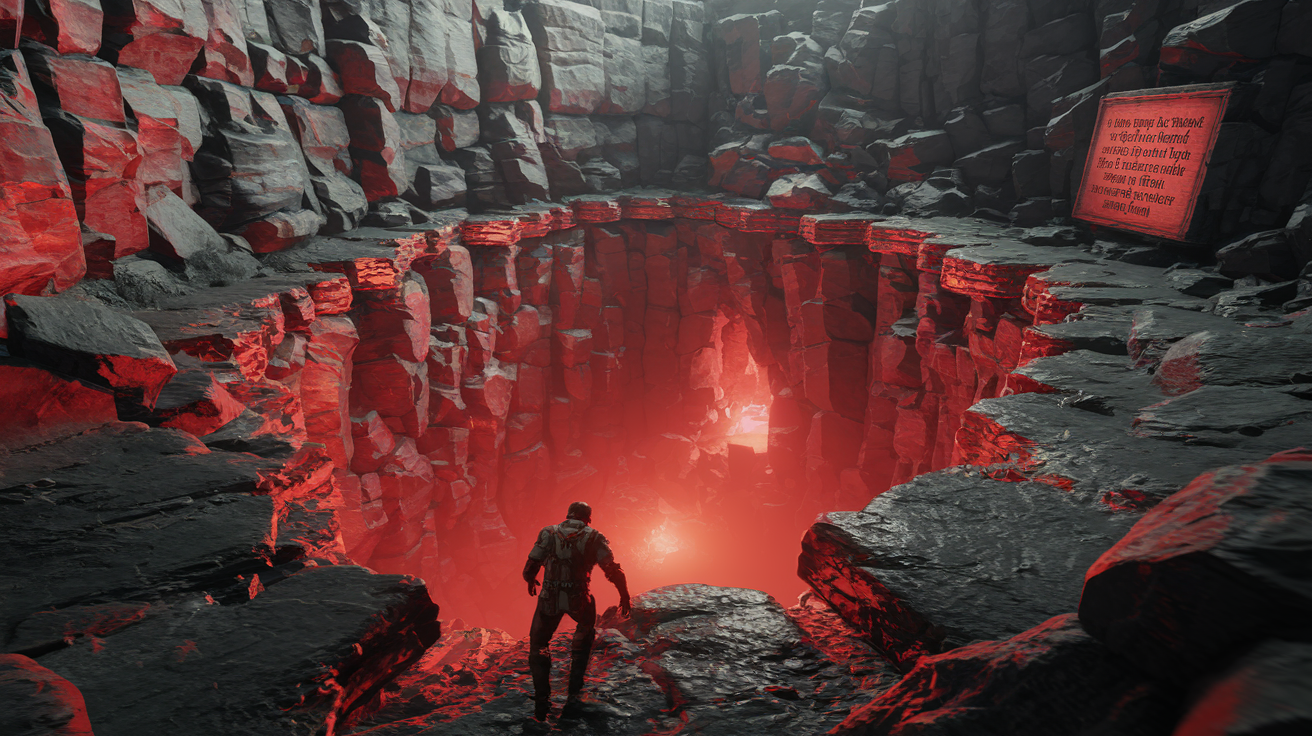
Quarry is hostile on purpose. The whole area’s saturated with red miasma that drains health over time. You can’t stop it. You can only manage it with speed, healing items, and knowing where you’re going before you commit.
Stick to the outer ledges when you first enter. The center pit has the worst miasma and the toughest enemies. You need two things: the manual page explaining how to shut down the miasma source (northwest alcove, behind a crumbling wall), and the key item for the eastern vault. Both are time-sensitive. Plan your route, heal before dropping into the pit, and keep moving.
Quarry survival checklist:
- Equip your best health regen items before entering the red zone.
- Clear outer ledge enemies first for safe retreat points.
- Northwest alcove manual page is mandatory. It teaches the miasma shutdown sequence.
- Center pit key item is guarded by two ranged enemies. Use pillars for cover, pick them off one at a time.
Fortress of the Eastern Vault and Key Retrieval
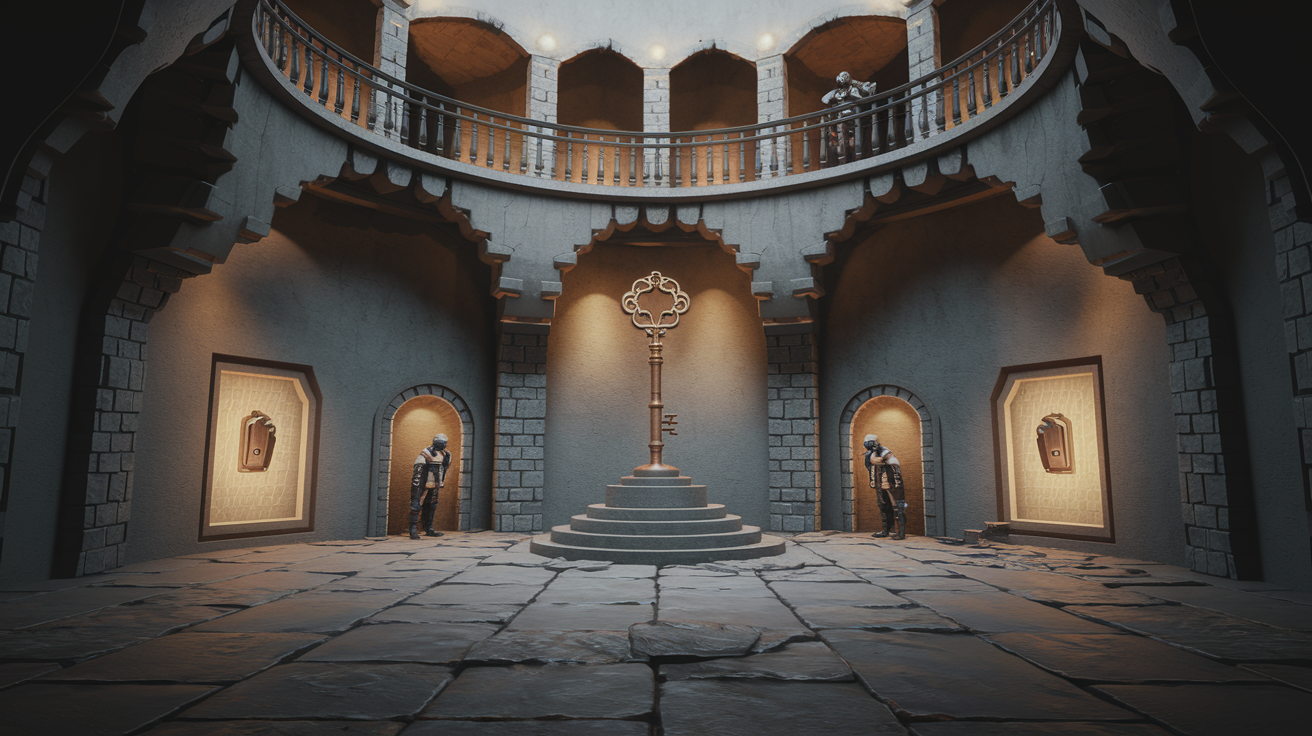
Eastern Vault is a fortress packed with elite guards, narrow corridors, and locked gates requiring backtracking once you find the right key. You’ll spend more time here than most other single areas. It’s easy to get lost.
Clear the ground floor courtyard first. Guards here hit hard and chain combos. Fight one at a time. Use the environment to separate them. Once the courtyard’s clear, head to the central tower and climb to the second floor. The key you need (large ornate key, not the colored dungeon keys) sits on a pedestal in the top room. But the door’s locked from inside.
To open it, activate three switches across the first and second floors. Switches have faint glowing symbols on the walls. One’s behind a breakable wall in the northwest corner. One’s in a side room only accessible after beating the mini-boss in the east wing. The third’s on the second floor balcony overlooking the courtyard. Activate all three, return to the tower, claim the key. This unlocks the path to final regions and the endgame boss.
Confronting the Heir: Pre-Fight Prep and Strategy
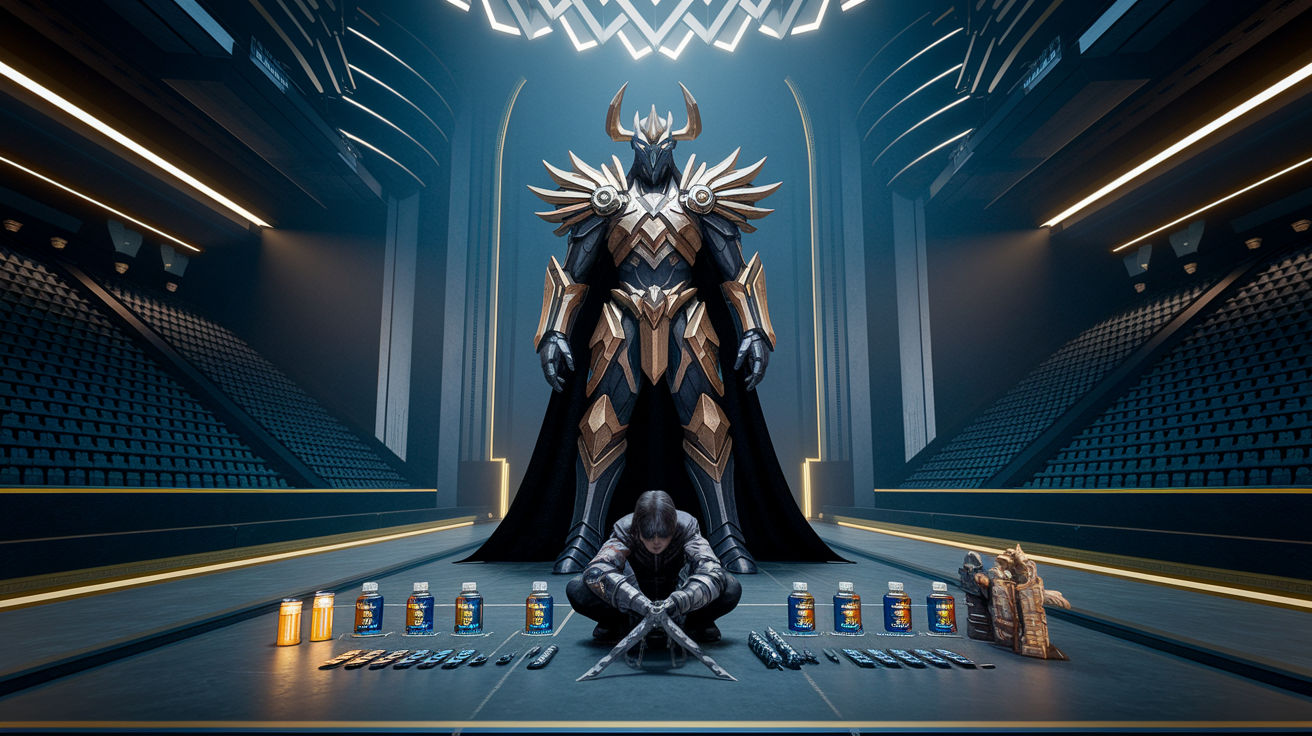
The Heir is the final boss in normal story progression. They test everything you’ve learned. You can’t brute force this. You need full health upgrades, stamina boosts, your best weapon, and clean dodge timing.
Before entering the arena, collect as many manual pages as possible. Some hint at the Heir’s patterns and weaknesses. Stock up on healing (at least six potions), equip defensive buffs, and practice dodge timing on enemies outside the arena. Once you’re in, you can’t leave until it’s over.
Heir strategy breakdown:
- Phase one: Fast sword combos and a lunging thrust. Dodge combos sideways, parry the thrust if you’re confident (high risk). Attack only after their three-hit combo ends.
- Phase two (70% health): Ranged energy wave added. Dodge through it, don’t outrun it. Two second cooldown after the wave. Use that to close distance.
- Phase three (40% health): Arena shrinks, they gain teleport dash. They glow before teleporting. When they reappear, they attack immediately. Pre-dodge.
- Stamina management: Never empty your bar completely. Always keep enough for one emergency dodge. Empty stamina means guaranteed hits.
- Healing windows: Only heal after dodging the thrust or teleport dash. Longest recovery animations.
- Final phase (10% health): Berserk mode with faster combos and shorter cooldowns. Stay calm, keep distance, wait for thrust. Two or three punishes end it.
Post-Game, Manual Completion, and True Ending
Beating the Heir rolls credits. But it’s not the real ending. The true ending requires every manual page, solving the meta-puzzle hidden across the game, and completing a final sequence the game never mentions.
Manual pages are everywhere. Behind breakable walls, in timed vaults, tucked into secret rooms only reachable with late-game abilities, rewarded for environmental puzzles. If you’re missing pages, revisit major areas with your full ability set and look for unreachable paths. The manual reveals patterns once you collect enough. Pay attention to page numbers, arrangement, margin symbols.
True ending steps:
- Collect all 56 manual pages (blank slots in your manual show what’s missing).
- Arrange pages correctly by studying numbers and diagrams across spreads.
- Decode the golden path puzzle using symbols and instructions in the completed manual (this involves a specific sequence at the mountain door).
- Enter the mountain door once the sequence is done (door glows and opens when correct).
- Navigate the final hidden area beyond the door (short, but filled with memory challenges referencing earlier areas).
- Interact with the central shrine at the end to trigger the true ending and final achievement.
Tunic rewards players who read carefully, explore thoroughly, and think outside explicit instructions. The true ending isn’t about combat skill. It’s about curiosity and attention to detail.
Final Words
You step straight into Tunic’s world: the shoreline start, East Forest sword, Guardhouse shield, Old House puzzles, Dark Tomb solutions, West Garden dash and boss, Cathedral spirits, Quarry hazards, Eastern Vault keys, and the Heir final fight.
The post gave clear routes, combat tips, puzzle steps, and where to find manual pages so you can progress without guesswork.
Treat this tunic game full campaign walkthrough as a single playbook, follow it, collect the manuals, and use the boss strategies. You’ll finish the run and feel rewarded.
FAQ
Q: Is Tunic difficult to beat?
A: The difficulty of beating Tunic is moderate. Expect a learning curve with exploration, puzzles, and deliberate combat; players who read manual pages and learn enemy patterns usually progress steadily.
Q: How many endings are in Tunic?
A: The number of endings in Tunic is primarily two: a normal ending and a true ending unlocked by completing the in‑game manual and meta puzzles; minor variations depend on completion choices.
Q: How long does it take to beat Tunic?
A: The time to beat Tunic varies: expect about 8–15 hours for a first run, 20–40 hours for thorough exploration, and 40+ hours if you aim for full manual completion and secrets.
Q: How do you get the true ending in Tunic?
A: You get the true ending in Tunic by completing the in‑game manual: collect all pages, solve the hidden meta puzzles and alignment patterns, then trigger the final sequence unlocked late in the game.