

Think Apple handles subscription refunds and renewals fairly? Think again. iOS puts all subscription controls in two places, charges your Apple ID automatically, and decides refunds case by case, and most users never learn how it all works until a charge shows up. This review walks through how iOS manages recurring payments, what happens when billing fails, how cancellations, plan changes, family sharing, and refund requests actually play out, and the simple steps you can take to avoid surprises and get your money back when needed.
How iOS Manages Subscriptions, Recurring Payments, and Billing Controls

iOS dumps all your App Store subscription controls into two spots that do the exact same thing. Either route gets you to the screen where you can check charges, tweak renewals, and see when your next bill hits.
Finding your subscriptions on iPhone or iPad:
- Pop open the App Store and tap your profile photo up top.
- Hit Subscriptions in the menu.
- Or crack open Settings, tap your name, then tap Subscriptions.
- You’ll see active and dead subscriptions with app icons, prices, and when they renew next.
- Tap one to dig into billing details, switch tiers, or kill it.
- There’s a sort menu in the corner if you want them organized by date, price, or app name.
Apple’s billing runs on autopilot. When you subscribe, whatever payment method is tied to your Apple ID gets charged on renewal day. If you turned on renewal receipt emails in the Subscriptions settings, Apple sends you an itemized email after each charge. It lists the app, what you paid, and when it renews again. You won’t get these unless you scroll down in the Subscriptions page and flip that toggle on.
When a payment tanks, Apple’s system keeps trying over a grace period. You still get access while it attempts to grab payment using updated card info or another method you’ve got on file. If everything fails, the subscription enters a billing problem state and your access cuts off. Apple pushes notifications to your device and email telling you to fix your payment info. Once you do, billing picks back up and access comes back right away.
Canceling App Store Subscriptions on iOS
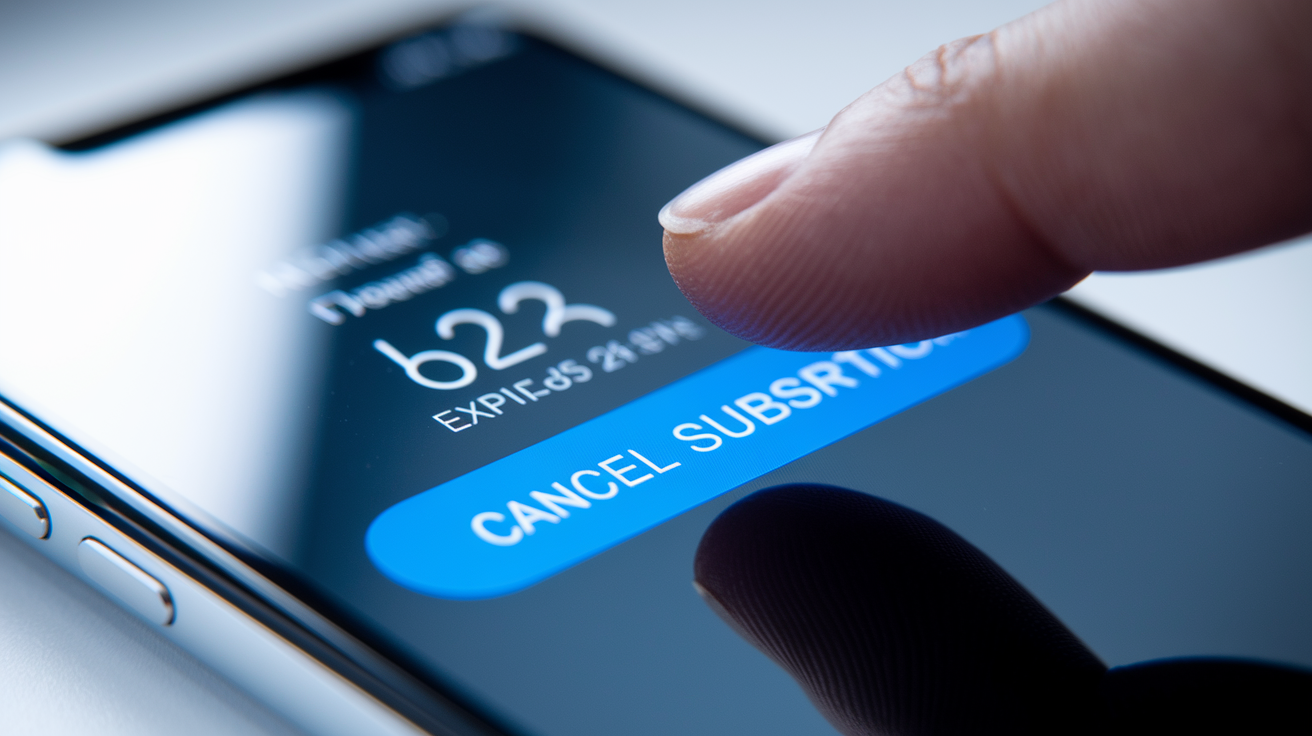
Canceling through iOS stops future charges but doesn’t yank access until your current period ends. Apps can’t cancel subscriptions for you because Apple owns the entire transaction. You’ve got to use the Subscriptions panel to confirm, and the change shows up immediately with a note on how many days you have left.
Steps to cancel a subscription on iPhone or iPad:
- Open Settings and tap your name, then tap Subscriptions. Or open the App Store, tap your profile photo, and hit Subscriptions.
- Find what you want to cancel and tap it.
- Scroll down and tap Cancel Subscription (or Cancel Free Trial if you’re still in trial mode).
- Confirm it in the popup.
- The page updates to show “Expires on [date]” with days remaining.
After you cancel, you keep full access until the period you paid for runs out. Cancel a monthly sub on day 10? You’ve still got those last 20 days. Apple doesn’t do prorated refunds for partial months unless you file a separate refund request and they approve it. The subscription moves to your “Inactive” section once it expires, and you can re-subscribe anytime by tapping it again.
Requesting Refunds for App Store Subscriptions
Apple reviews every refund request individually and decides based on your purchase history, how much you actually used the service, and your reason. Nothing’s automatic. They look at whether you opened the app after buying, how many refund requests you’ve made before, and if the charge came from a technical glitch or an accidental kid purchase.
How to request a subscription refund through Apple:
- Open the App Store and tap the Apps tab at the bottom.
- Scroll to Quick Links and tap Request a Refund. Safari opens and takes you to reportaproblem.apple.com.
- Sign in with your Apple ID if it asks.
- Tap “I’d like to,” then pick “Request a refund.”
- Choose a reason from the dropdown. You’ll see “I didn’t want to buy it,” “It’s not working as expected,” “A minor made the purchase without permission,” or “Other.”
- Select the subscription charge from your history.
- Tap Submit and wait for Apple’s reply.
Apple usually gets back to you within 24 to 48 hours by email. If they approve, the money goes back to your original payment method in a few business days. If they deny it, the email explains why, and you can send more documentation or escalate through Apple Support if you think the charge was unauthorized or fraudulent. Keep filing refund requests and your approval odds drop on future ones.
Changing, Upgrading, or Downgrading Subscription Plans
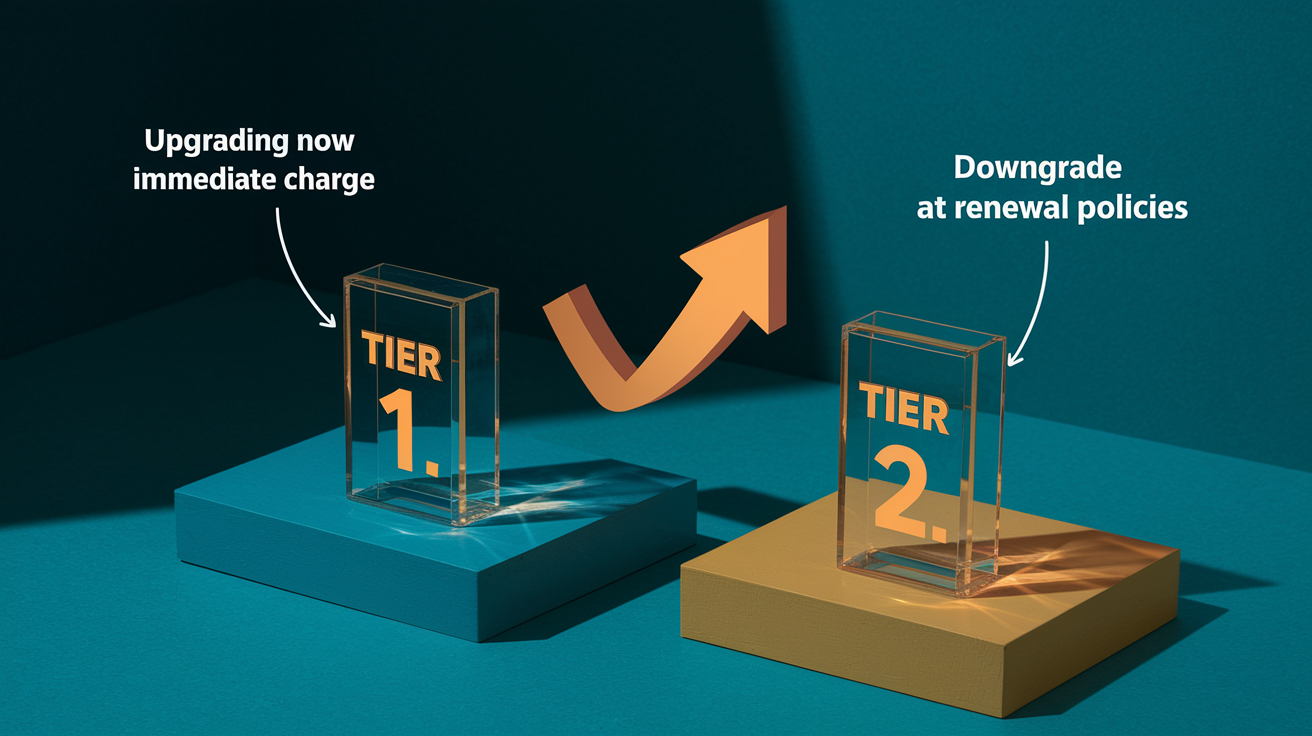
Tier switches work differently depending on whether you’re moving up or down. Upgrades kick in immediately because Apple charges you the prorated difference between what you paid for the current period and the new tier’s cost. Downgrades wait until your next renewal so you keep the higher tier until what you paid for runs out.
Key billing rules when switching subscription plans:
- Upgrades charge right away. Apple calculates what’s left on your current tier, subtracts it from the new tier’s price, and bills your payment method for the gap.
- Downgrades apply at renewal. You keep using the current tier until the billing cycle ends, then the cheaper plan and price kick in.
- Free trials convert to paid when the trial ends. Changing tiers during a trial might kill the trial early and start billing immediately, depending on how the app set things up.
- Cross-grade rules change by app. Some apps let you switch between same-priced plans (monthly to annual, for example) without charging you, others treat it as an upgrade.
- You can switch plans whenever the app lets you. Apple doesn’t cap tier changes, but each upgrade creates a new charge and shifts your renewal date.
To change a plan, open Subscriptions, tap the one you want, and pick a different tier from what’s available. The screen shows the new price and renewal date before you confirm. If you only see one plan listed, the app doesn’t offer multiple tiers through Apple’s system.
Managing Subscriptions With Family Sharing

Family Sharing lets eligible subscriptions get shared with up to five other people. The organizer pays for it, and everyone gets access as long as the organizer keeps the plan active. Not every subscription supports sharing because developers choose whether to flip that switch when they configure subscription groups in App Store Connect.
Only the family organizer gets billed. If you join a Family Sharing group, subscriptions shared by the organizer show up in your apps but don’t create individual charges on your Apple ID. The organizer sees all subscription billing in their Subscriptions panel, and members see shared ones under a “Family Subscriptions” label when they open Settings > [Your Name] > Subscriptions.
Common Family Sharing restrictions:
- Not all subscriptions are shareable. Developers have to explicitly enable Family Sharing for each tier, so some apps only do individual plans.
- Organizer changes hit everyone. If the organizer cancels or downgrades a shared subscription, all family members lose access when the billing period ends.
- Some apps need individual accounts. Even if a subscription is shared, each family member might need their own login or profile in the app to use premium stuff.
- You can’t share subscriptions you didn’t buy through Apple. Only App Store subscriptions work. If you bought one on a provider’s website and linked it to your Apple ID, it won’t appear in Family Sharing.
Troubleshooting Common Subscription Issues on iOS

Most subscription headaches come from signing in with the wrong Apple ID, buying directly from a provider’s website instead of through the App Store, or payment processing failures. Apple’s Subscriptions panel only shows purchases tied to the Apple ID you’re currently signed in with, so subscriptions bought under a different account or billed outside Apple’s system won’t show up.
Steps to resolve common subscription errors:
- Subscription missing from the list: Open Settings > [Your Name] and make sure the Apple ID shown matches the one you used to buy the subscription. If you juggle multiple Apple IDs, sign out and sign back in with the right one. Subscriptions purchased on Netflix.com, Spotify.com, or similar sites don’t appear in Apple’s Subscriptions panel.
- “Restore Purchases” not working: The restore function is app-specific and only grabs purchases the app stored with Apple’s receipt system. Open the app, find its settings or account menu, and look for a “Restore Purchases” button. If the app doesn’t have one, contact the developer.
- Charges labeled “Apple.com” on your bank statement: Those mean App Store or iTunes purchases. Open your purchase history in the App Store (tap your profile photo > Purchase History) and match the charge date and amount to figure out which app billed you.
- Billing fails over and over: Update your payment method in Settings > [Your Name] > Payment & Shipping. Toss expired cards and add a current one. If billing still tanks, contact your bank to make sure the card isn’t blocked for recurring transactions.
- Subscription active but app says you’re not subscribed: Sign out of the app and sign back in with the Apple ID that holds the subscription. Some apps cache subscription status locally and need a fresh login to verify entitlement.
- Family member can’t access a shared subscription: Make sure the organizer enabled sharing for that specific tier and that the member is using the same Apple ID linked to the Family Sharing group. The member might also need to sign in to the app with their own account credentials separate from Apple ID.
Apps handle the restore-purchase flow on their own. Apple provides a standard receipt-validation system, but each developer decides how and when to check receipts. If an app won’t recognize your subscription after restoring, email the developer with your Apple ID transaction ID (found in your purchase-history email) and ask them to manually verify the receipt on their server.
How Apple’s Subscription System Compares to Other Platforms

Apple’s subscription model centralizes billing, refund decisions, and cancellation controls under a single Apple ID. Every App Store subscription flows through Apple’s payment setup, and Apple takes a cut of each transaction while handling customer-service disputes. Google Play runs similarly for Android apps, but Google allows more self-service refund actions straight from the Play Store without needing manual review for every request. Users can cancel and request refunds for recent purchases with a few taps, and Google’s automated system approves or denies within minutes for small transactions.
Web-based subscription platforms (Stripe, PayPal, or direct credit-card billing) give vendors full control over billing logic, retry cycles, and refund policies. When you subscribe on a company’s website, Apple and Google have zero visibility into that transaction. You manage renewals, cancellations, and refunds entirely through the vendor’s account portal. This means subscription lists on your iPhone won’t include services purchased outside the App Store, and you’ll need to track those separately using a spreadsheet or budgeting app.
| Platform | Who Controls Billing | Refund Process |
|---|---|---|
| Apple App Store | Apple manages all transactions and takes 15–30% commission | Submit request at reportaproblem.apple.com; Apple reviews and approves or denies within 24–48 hours |
| Google Play Store | Google manages transactions and takes 15–30% commission | Self-service refund for recent purchases; automated approval for small amounts, manual review for larger or older charges |
| Direct Web Billing | Vendor controls billing cycle, retry logic, and payment processor | Contact vendor support; refund policies vary by company with no platform-level guarantee |
Final Words
Jump straight to the controls in Settings > Apple ID > Subscriptions. We covered where to find subscriptions, how recurring payments and billing work, canceling, requesting refunds, switching plans, Family Sharing limits, and common troubleshooting steps.
If you need to act, open Subscriptions to check active plans, change or cancel a tier, or submit a refund at reportaproblem.apple.com. Keep the retry and grace period rules in mind so you don’t lose access.
This App Store subscription management review: how iOS handles recurring payments and refunds gives you clear steps to manage billing and avoid surprises. You’re set to take control and keep enjoying your apps.
FAQ
Q: Does Apple give refunds for app subscriptions and can I get my money back after canceling?
A: Apple gives refunds for app subscriptions in some cases, and you can request one at reportaproblem.apple.com. Refunds aren’t guaranteed; Apple checks purchase and usage before deciding.
Q: How do I stop recurring payments or cancel an App Store subscription?
A: To stop recurring payments, cancel the subscription in Settings > Apple ID > Subscriptions on your iPhone or iPad. Cancellation stops future renewals, and you usually keep access until the current billing period ends.
