

Is GameMaker Studio still the best choice for beginners learning to make games?
It mixes drag-and-drop with a simple scripting language so you can ship 2D games fast.
You can prototype in minutes, test inside the editor, and export to desktop, web, or mobile, though some platforms need paid modules.
This post breaks down GameMaker’s core features, pricing, and limits, then shows beginner-friendly alternatives that are easier, cheaper, or more flexible depending on your goals.
Read on to pick the fastest path from idea to playable game.
Overview of GameMaker Studio and How It Works

GameMaker Studio is a complete 2D game development tool built to help anyone make working games without programming experience. The engine mixes a visual drag and drop system for building game logic with an optional scripting language called GML (GameMaker Language), which gives you more control once you’re ready to write code. You download the editor from the official GameMaker website, install it on Windows or macOS, and start creating projects right away by importing sprites, designing levels, and adding interactive objects.
The typical workflow centers on organizing your game into “rooms” (levels or scenes) and “objects” (characters, enemies, items). Each object can respond to events like collisions, keyboard presses, or timers by running actions you’ve picked from the visual menu or coded in GML. A player character object might listen for arrow key events and move a few pixels in the corresponding direction. A beginner can wire that up in minutes using drag and drop blocks. An experienced user can script custom movement physics in GML.
Once you’ve built a playable prototype, GameMaker’s built in runner lets you test immediately inside the editor. Export functions package your project for desktop, mobile, or web without switching tools or writing platform specific code. The editor handles asset management, animation timelines, tilemap editing, and basic audio in one window, so you spend less time juggling external programs and more time testing ideas.
Core workflow steps:
- Import or create sprites, sounds, and other assets in the editor’s resource tree.
- Design rooms by placing tiles and dragging objects onto the canvas.
- Attach event driven logic to each object using drag and drop actions or GML scripts.
- Run the game inside the editor, iterate quickly, then export to your target platform when ready.
Pricing Overview and License Options

GameMaker offers a free tier that lets you experiment with the editor, build prototypes, and publish games to certain platforms without paying upfront or entering a credit card. The free version typically limits which export targets you can use and may include branding or feature restrictions, but it’s enough to learn the engine and ship small projects to web or desktop. Paid tiers unlock additional export modules (mobile, consoles), remove watermarks, and grant access to premium support, advanced debugging tools, and commercial publishing rights across a wider range of platforms.
Subscription based licenses are the most common paid model. Monthly or annual plans provide continuous updates, cloud storage for projects, and the ability to build for iOS, Android, HTML5, and major consoles depending on the tier. Higher tier licenses or add on modules often handle console exports like Xbox, PlayStation, or Nintendo Switch, each usually requiring a separate purchase or an enterprise contract. One time “creator” licenses have also appeared in the past, offering lifetime access to specific versions and export targets, though subscription pricing is the current norm.
Broad differences between free and paid:
- Free: full editor access, limited export platforms, community support, some runtime restrictions.
- Mid tier: all desktop and mobile exports, priority support, no GameMaker branding, access to marketplace discounts.
- High tier or console modules: console publishing rights, advanced multiplayer features, enterprise support contracts.
Core Features and Tools

GameMaker’s integrated development environment organizes every part of your game into a single resource tree. Sprites, sounds, backgrounds, fonts, objects, rooms, scripts, and extensions all live in categorized folders you can search and reorder. The visual editor for each resource type opens in a tabbed window, so you can edit a sprite’s frames, tune its collision mask, and write movement code without leaving the main interface. Asset management stays lightweight because GameMaker automatically handles file references and recompiles only the changed resources when you test.
Drag and drop logic blocks cover most common game actions. Moving objects, playing sounds, checking collisions, changing variables, spawning particles, and switching rooms. Each object listens for events (Create, Step, Collision, Draw, Keyboard, Mouse) and executes a stack of actions you’ve added from categorized menus. A “Destroy” event might play an explosion sound, create a particle effect, add 100 to the player’s score, and then remove the object from the room, all without writing a single line of code. When you need more flexibility, you can replace any action stack with a GML script that runs the same event logic in text form.
The room editor functions as both a level designer and scene manager. You paint tiles onto layers, place instances of objects by dragging them from the resource tree, set background colors or parallax scrolling images, and define the camera’s starting position and viewport size. Animation tools let you build sprite sequences frame by frame or import sprite sheets, then control playback speed and looping directly in the object’s properties. A built in debugger pauses execution mid game, letting you inspect variable values, step through code line by line, and watch real time memory usage.
Main tool categories:
- Sprite and animation editor – import images, define collision masks, set frame timings, and preview animations in real time.
- Room and tilemap editor – design levels with layered tiles, place objects, configure cameras, and set room transitions.
- Object and event system – attach drag and drop actions or GML scripts to handle input, physics, AI, and drawing.
- Asset management – organize sounds, fonts, shaders, and extensions in a searchable tree with version control friendly file structure.
- Debugging and testing – run games inside the editor, set breakpoints, monitor performance, and hot reload changed assets without restarting.
Supported Platforms for Building and Exporting Games

GameMaker projects compile to native executables or web packages depending on your export target, meaning the same codebase can ship to desktop operating systems, mobile app stores, browser based portals, and major game consoles. Desktop builds typically cover Windows, macOS, and Linux, letting you distribute standalone installers or upload to storefronts like Steam or itch.io. Mobile exports require platform specific SDKs. Xcode for iOS and the Android SDK for Google Play. But GameMaker handles the packaging step once your development machine is configured.
Web exports generate HTML5 projects that run in modern browsers without plugins. Useful for embedding games on your own site, uploading to web portals, or running quick playtests without installing anything. Console publishing (Xbox, PlayStation, Nintendo Switch) often requires additional paid modules, developer accounts with the console manufacturers, and compliance with platform specific certification processes. Each console export module adds the necessary toolchain integration so you can build, test, and submit from the same editor.
| Platform Category | Typical Use Case |
|---|---|
| Desktop (Windows, macOS, Linux) | Steam releases, itch.io distribution, standalone downloadable games |
| Mobile (iOS, Android) | App Store and Google Play publishing, touch optimized prototypes |
| Web (HTML5) | Browser games, web portals, embedded playtests, instant sharing |
| Consoles (Xbox, PlayStation, Switch) | Commercial releases on major platforms, requires separate modules and approvals |
Beginner Learning Path and Tutorials
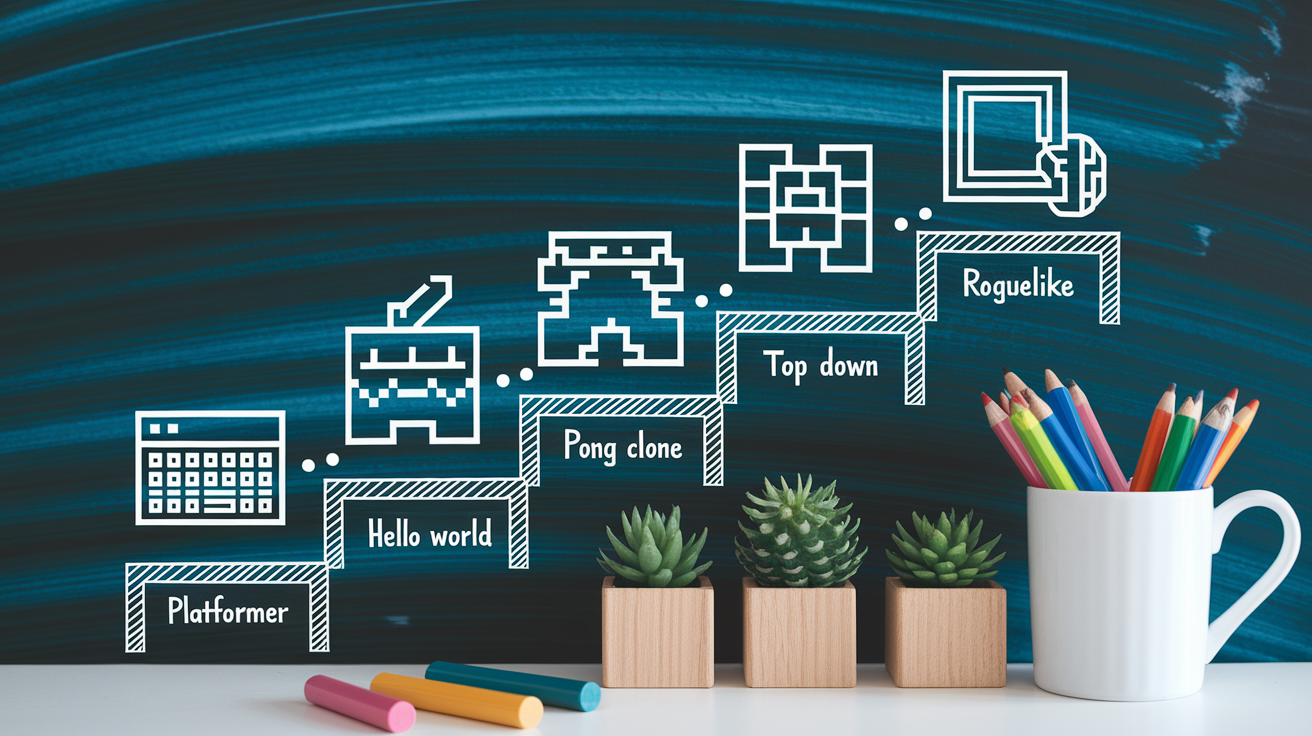
Starting with GameMaker means picking a tiny project that teaches one mechanic at a time. Most tutorials recommend building a simple bouncing ball, a basic platformer character, or a top down movement controller before attempting a full game. Official documentation and community guides walk through creating your first project, importing a sprite, making an object that moves when you press arrow keys, and placing that object in a room. Expect to spend two to four hours on your first interactive prototype. The goal is to see something move on screen and understand the event action loop, not to ship a polished product.
Once you’re comfortable with objects and events, the next milestone is adding collisions and basic game rules. Detecting when the player touches an enemy, subtracting health, restarting the room, or advancing to the next level. Drag and drop actions cover these scenarios with visual blocks, so you’re learning game logic without memorizing syntax. As your ideas grow, you’ll hit the limits of drag and drop. Maybe you want smoother movement, randomized enemy behavior, or a custom UI layout. That’s when most beginners start experimenting with GML. The scripting language looks familiar if you’ve seen JavaScript or C style code, and because you already understand events and objects, you’re translating visual concepts into text rather than learning programming from scratch.
Practice projects keep learning practical. Building a complete Pong clone teaches score tracking and AI opponents. A Flappy Bird style game introduces spawning obstacles and scrolling backgrounds. A simple roguelike dungeon teaches random level generation and inventory systems. Each small game takes one to three weeks and solves real design problems, giving you reusable code snippets and a portfolio of working prototypes. Most learners complete three to five small games before attempting a larger original project. By then the workflow feels natural and you’re focusing on design instead of fighting the tools.
Beginner friendly progression:
- First session (2–4 hours): Install GameMaker, follow a “hello world” tutorial, make a sprite move with keyboard input.
- Week one: Build a Pong clone or simple shooter, learn collision detection, scoring, and room restarts.
- Week two to three: Create a small platformer or top down adventure, add multiple levels, enemies, and basic AI.
- Week four: Introduce GML scripting by replacing one drag and drop stack with custom code, experiment with variables and loops.
- Month two onward: Tackle a personal project combining mechanics you’ve learned, publish a playable build to get feedback and iterate.
Popular Games Created with GameMaker
GameMaker has powered several breakout indie hits that sold millions of copies and received critical acclaim, proving the engine’s capability for commercial 2D projects. Hotline Miami (2012) became a cult classic with its neon soaked visuals, intense action, and synth heavy soundtrack, all built using GameMaker’s sprite and collision systems. Undertale (2015) demonstrated that a solo developer could create a story driven RPG with innovative combat mechanics and memorable characters, reaching mainstream success on PC and consoles. Hyper Light Drifter (2016) showcased GameMaker’s ability to handle pixel perfect action adventure gameplay with fluid animation and atmospheric world design.
Katana ZERO (2019) brought stylish neo noir action platforming to Steam and Nintendo Switch, featuring tight controls and a time manipulation mechanic that highlighted the engine’s scripting flexibility. These titles span genres. Top down shooters, turn based RPGs, action adventure, and slasher platformers. GameMaker adapts to different design goals when developers invest time in custom code and art. Many smaller indie successes also use the engine, releasing on Steam, itch.io, and mobile stores, often created by solo developers or tiny teams working part time.
Notable examples:
- Hotline Miami (2012)
- Undertale (2015)
- Hyper Light Drifter (2016)
- Nuclear Throne (2015)
- Katana ZERO (2019)
Comparing GameMaker to Other Game Creation Tools
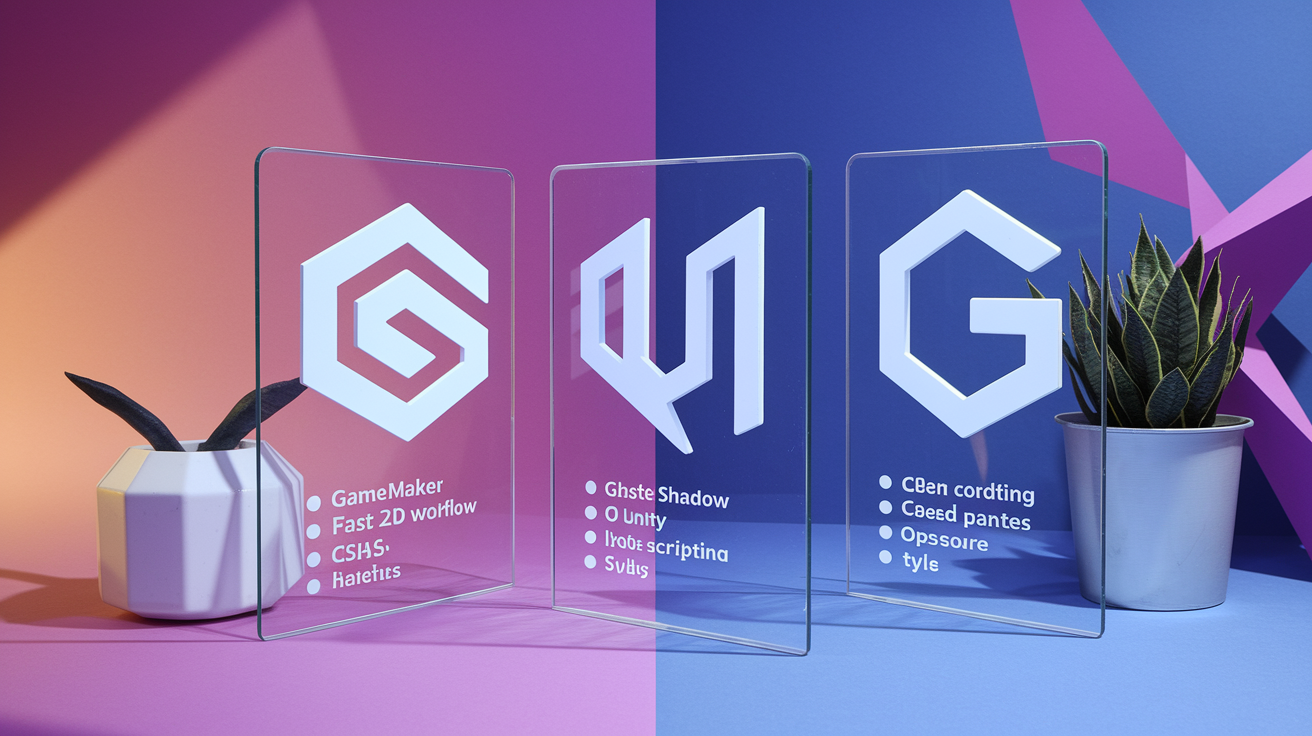
GameMaker sits in the middle ground between pure visual editors and full featured professional engines, offering faster prototyping than Unity or Unreal while providing more scripting depth than purely drag and drop tools like Construct. Unity handles both 2D and 3D projects with C# scripting, a massive asset store, and enterprise level features, but the learning curve is steeper and setup takes longer. GameMaker’s 2D first design means you can open the editor and have a moving character in minutes, whereas Unity beginners often spend hours configuring build settings, importing packages, and learning the component model before seeing results.
Godot is a free, open source alternative with a similar workflow to GameMaker. Nodes and scenes instead of objects and rooms, and its own scripting language (GDScript) that resembles Python. Godot’s 2D tools rival GameMaker’s, and it’s completely free with no export restrictions, making it popular among developers who want full control without subscription costs. GameMaker’s advantage is a longer history of shipped commercial games, more third party tutorials, and a larger marketplace of ready made assets. For purely 2D projects, the choice often comes down to whether you prefer paying for a polished, commercially proven toolset (GameMaker) or investing time in a free engine with a smaller but growing community (Godot).
Construct focuses on browser based games and uses a subscription model similar to GameMaker, but it exports primarily to HTML5 and relies entirely on visual event sheets without a scripting language. That makes Construct faster for web prototypes but less flexible when you need custom logic or native mobile performance. RPG Maker specializes in tile based Japanese style RPGs and ships with built in combat systems, dialogue trees, and character generators, but it’s rigid outside that genre. GameMaker’s general purpose design means you can build platformers, shooters, puzzle games, or RPGs with the same tools, trading RPG Maker’s genre specific shortcuts for broader creative freedom.
| Engine | Strengths | Typical Use Case |
|---|---|---|
| Unity | 2D and 3D support, large asset store, industry standard, C# scripting | Professional studios, 3D projects, cross platform releases with advanced features |
| Godot | Free and open source, strong 2D tools, growing 3D support, Python like scripting | Budget conscious developers, open source advocates, rapid 2D prototyping |
| GameMaker | Fast 2D workflow, drag and drop plus scripting, proven commercial track record | Indie 2D games, solo developers, teams targeting PC and mobile storefronts |
Alternatives for Different Skill Levels
Entry level creators who want zero programming can start with Scratch, a free block based tool designed for education that teaches logic and sequencing through game like projects. Scratch runs entirely in a web browser and shares projects instantly, but it’s not built for commercial publishing or performance heavy games. Buildbox offers a similar no code approach aimed at mobile games, with drag and drop templates and one click publishing to iOS and Android, though it carries a subscription cost and limits customization compared to scripting based engines.
Visual scripting engines like Construct and Stencyl sit between Scratch and GameMaker, providing event based logic without text code but supporting real exports to app stores and web platforms. Construct excels at HTML5 games and rapid browser prototypes, while Stencyl focuses on mobile publishing with built in app monetization tools. Both use subscription pricing and are easier to learn than GameMaker’s GML scripting, but they offer less control when you need performance optimization or deep engine modifications.
Alternative categories:
- Entry level (Scratch, Buildbox): Block based or fully visual tools, best for learning or quick mobile prototypes, limited commercial depth.
- Visual scripting (Construct, Stencyl): Event sheets or graph based logic, faster onboarding than code first engines, some export restrictions.
- Professional/3D (Unity, Unreal Engine): Full C# or C++ scripting, industry standard pipelines, steeper learning curve, suited for larger teams or 3D projects.
- Hobbyist/open source (Godot, LÖVE, Phaser): Free tools with active communities, varying levels of built in editors, appeal to developers comfortable with open ecosystems.
Tips for Choosing the Right Game Creation Software

Start by defining your project scope. A weekend game jam entry needs different tools than a year long commercial release. If you’re building a simple 2D game alone or with one other person, GameMaker or Godot will get you to a playable prototype faster than Unity. If you’re planning 3D environments, complex physics, or multiplayer networking from day one, Unity or Unreal offer more built in systems even though they require more upfront learning. Match the engine’s strengths to your genre. RPG Maker for turn based RPGs, Construct for web games, GameMaker for 2D action or platformers.
Evaluate your coding experience honestly. Complete beginners benefit from drag and drop systems that teach logic visually before introducing syntax. GameMaker’s action blocks or Construct’s event sheets let you build working games while learning programming concepts. If you already know JavaScript, Python, or C#, you’ll be more productive in an engine that uses a familiar language. Unity (C#), Godot (GDScript or C#), or even web frameworks like Phaser (JavaScript). Don’t choose an engine just because it’s free. If a paid tool saves you fifty hours of workaround time, the subscription cost pays for itself.
Four key considerations:
- Project scope and timeline: Pick tools that match your available time. Small solo projects fit lightweight engines, larger teams benefit from industry standard pipelines.
- Target platforms: Confirm the engine exports to your required platforms without requiring expensive add ons or manual porting work.
- Prior coding knowledge: Beginners gain momentum faster with visual systems, experienced programmers often prefer text based scripting for speed and flexibility.
- Community and learning resources: Engines with active forums, up to date tutorials, and large asset marketplaces reduce troubleshooting time and speed up development.
Final Words
Jump in: this guide showed how GameMaker Studio works and how to get started fast.
You got a clear overview, a simple pricing snapshot, core tools and workflow, platform targets, a beginner learning path, examples of games, comparisons with other engines, and tips for choosing alternatives.
Pick the game maker that fits your goals. If you want quick 2D prototypes and a gentle learning curve, try a small project in GameMaker Studio and iterate. It’s a solid, low-friction place to start.
FAQ
Q: What is GameMaker Studio and how does it work?
A: GameMaker Studio is a 2D-focused game engine that works with drag-and-drop building plus optional scripting (GML). You import assets, arrange rooms, attach behaviors, and test inside its editor.
Q: How do I download and start using GameMaker Studio?
A: To download GameMaker Studio, go to the official website, choose the free or trial installer, run it, and open a new project. Follow the built-in quick-start tutorial to begin.
Q: Is GameMaker Studio free or paid, and what do paid licenses add?
A: GameMaker Studio offers a free tier and paid licenses; paid access usually unlocks more export targets, advanced debugging, and commercial features. Choose paid if you need extra platforms or support.
Q: What are the core features and tools in GameMaker Studio?
A: The core features in GameMaker Studio include asset management, drag-and-drop logic, GML scripting, sprite animation, and room/level editors to build and organize game content.
Q: Which platforms can I build and export games to with GameMaker Studio?
A: GameMaker Studio lets you export to desktop, mobile, web, and console platforms. Desktop suits prototypes and releases, mobile for touch games, web for demos, and consoles for commercial launches.
Q: Do I need to know programming to use GameMaker Studio?
A: You do not need programming at first—drag-and-drop lets beginners create games. Learning GML becomes useful for custom behavior, optimization, and more advanced gameplay systems.
Q: What’s a good beginner learning path for GameMaker Studio?
A: A good beginner path starts with the quick-start tutorial, then small projects: a playable character, one enemy, scoring, a level, and polish. Study example projects and short videos along the way.
Q: What are some notable games made with GameMaker Studio?
A: Notable games made with GameMaker Studio include Undertale, Hotline Miami, Hyper Light Drifter, Katana ZERO, and Spelunky, showing the engine’s strength for polished 2D indie titles.
Q: How does GameMaker Studio compare to Unity and Godot?
A: GameMaker Studio is simpler and faster for 2D work; Unity is deeper for 3D and large teams; Godot sits between them, offering flexibility with a gentler learning curve than Unity.
Q: What alternatives should I consider for different skill levels?
A: Alternatives fall into categories: entry-level engines for beginners, visual-scripting tools for node-based design, professional engines for large projects, and hobbyist tools for quick prototypes.
Q: What should I consider when choosing the right game creation software?
A: When choosing software, consider project scope, target platforms, your coding experience, and available time. Match tool complexity to your goals and the team’s skills.