

Think copying your sensitivity number is enough to keep your aim?
It usually isn’t.
Switching games often changes how far you must move the mouse, so your muscle memory breaks.
The game sens converter fixes that by matching the physical mouse distance for a full 360 turn across titles.
Enter your source game, DPI, and sensitivity, pick a target, and it gives the exact in-game sensitivity, eDPI, and cm/360 to preserve your feel.
Use it to switch games or gear without relearning your aim.
Game Sensitivity Converter Tool
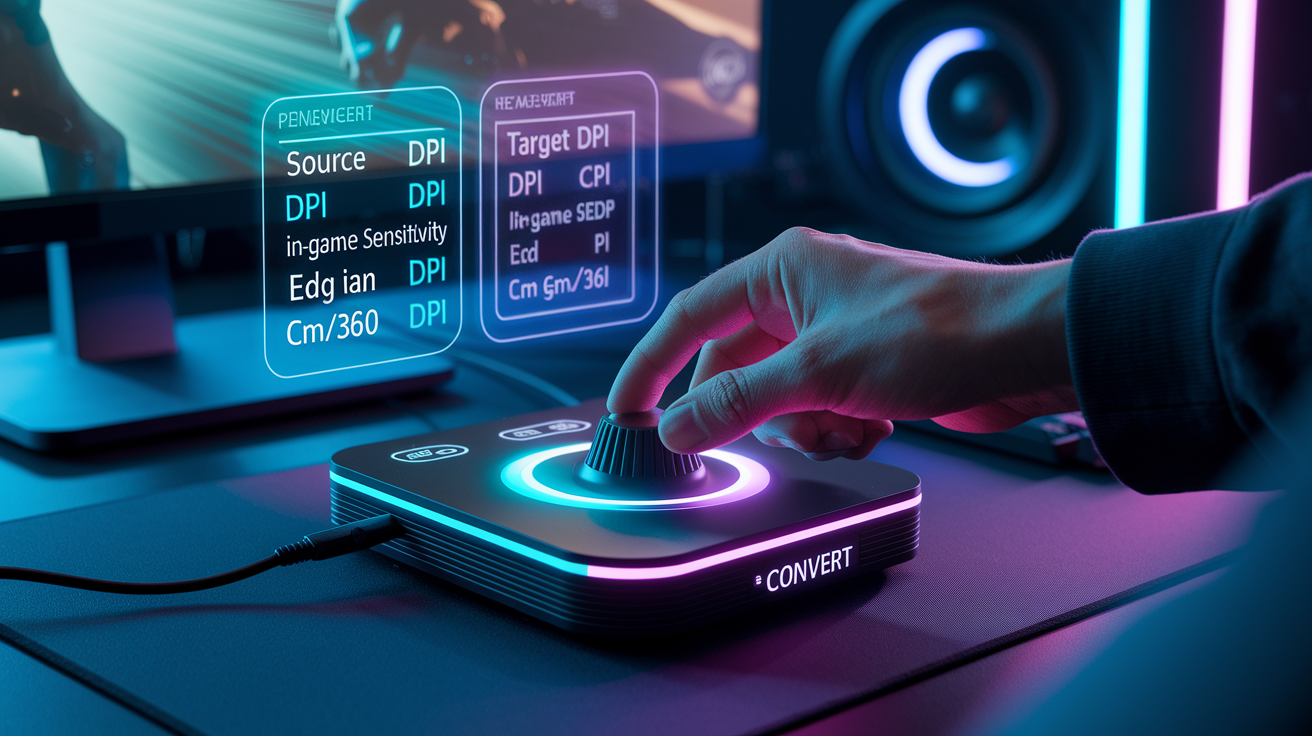
This is the interactive sensitivity converter that calculates your target game settings. It matches your physical mouse movement distance between games so your muscle memory and aim consistency stay intact when you switch titles or hardware.
To convert your sensitivity, you’ll need four core inputs. Start by selecting your source game from the first dropdown menu. That’s the game where you already have comfortable aim. Next, choose your target game from the second dropdown. Enter your current DPI as a whole number (most gaming mice run between 400 and 3200 DPI). Then input your in-game sensitivity from the source game as a decimal. Something like 2.5 or 0.8. The converter also includes optional horizontal and vertical FOV fields. Filling these improves accuracy if your games use different field of view settings. Once all required fields are complete, click the Convert button to see your new sensitivity, target eDPI, and the physical distance in centimeters and inches required for a full 360 degree turn.
How to Use the Sensitivity Converter

Using the tool takes about 30 seconds once you have your DPI and current sensitivity ready. Open your source game’s settings menu and write down the exact in-game sensitivity value. Don’t round it. Check your mouse software or manufacturer specs to confirm your DPI setting. If you’ve never changed DPI, most mice ship at 800 or 1600.
Follow these steps in order:
- Select your source game and target game from the dropdown menus.
- Enter your DPI in the first numeric field.
- Type your current in-game sensitivity in the second field (use a decimal if needed).
- Click Convert and note the target sensitivity shown in the results panel.
The output displays three values: your new in-game sensitivity for the target game, the resulting eDPI, and the physical mouse travel distance for a 360 degree turn. Copy the new sensitivity number into your target game’s settings. If the number includes many decimal places, most games let you paste the full value even if the slider doesn’t show that precision. Test the feel in an aim trainer or practice range before jumping into a match.
How the Conversion Logic Works

Sensitivity converters rely on two core metrics to translate mouse movement between games: effective DPI (eDPI) and centimeters per 360 degree turn (cm/360). eDPI is simply your DPI multiplied by your in-game sensitivity. For example, 800 DPI with a sensitivity of 1.5 gives you an eDPI of 1,200. This number represents how many “counts” your mouse needs to register for each degree of in-game rotation. Higher eDPI means faster turns with less physical movement. Most competitive players keep eDPI between 200 and 1,600, depending on the game and role.
Cm/360 measures the physical distance you move your mouse to complete one full 360 degree rotation in-game. The formula is cm/360 = (360 × 2.54) / (DPI × Sensitivity × Yaw). Yaw is a game engine constant that defines how much one unit of mouse input rotates your view. CS2 and CS:GO use 0.022, Valorant uses 0.07, and Apex Legends uses 0.022. When you convert between games, the tool calculates your cm/360 in the source game and then solves for the target sensitivity that produces the same physical distance. This keeps your muscle memory intact because moving your mouse 25 centimeters will always turn you 360 degrees, no matter which game you’re playing.
Some games add complexity with FOV dependent sensitivity scaling or resolution based adjustments. If your source and target games use different horizontal or vertical FOV values, the converter applies a scaling factor to account for the difference in perceived rotation speed. A game with 90 degree horizontal FOV will “feel” slower at the same sensitivity than a game with 120 degree FOV, even if the raw cm/360 is identical. Advanced converters let you enter FOV separately to correct for this. Before Valorant launched, Riot developers had to create custom yaw values because directly copying CS:GO’s 0.022 would have made aim feel inconsistent due to different FOV defaults.
Supported Games

The converter includes dozens of popular competitive and casual titles. Each game in the database has been tested for yaw accuracy and FOV behavior to ensure reliable conversions.
Supported titles include:
Counter-Strike 2 (CS2) and CS:GO, Valorant, Apex Legends, Overwatch 2, Fortnite, Rainbow Six Siege, PUBG and PUBG Mobile, Rust, Escape from Tarkov, Call of Duty (Modern Warfare, Warzone, Black Ops), Halo Infinite, and Battlefield 2042.
If your game isn’t listed, check the advanced options for custom yaw input or use a manual calibration method. Some less common titles use non-standard sensitivity systems that require alternative converters.
Tips for Maintaining Consistent Aim Across Games
Converting your sensitivity is only the first step. Keeping your aim consistent across multiple games requires attention to your full setup, not just the in-game number.
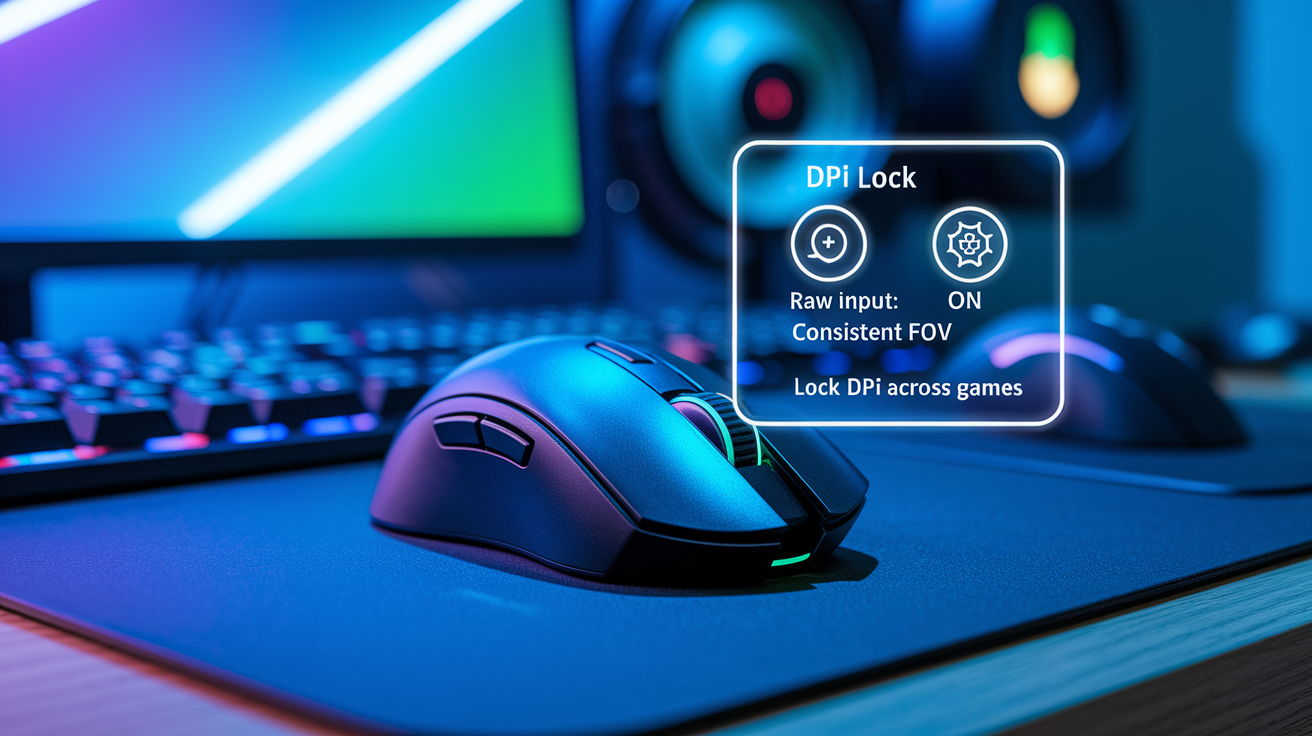
Always use the same DPI across all games. Changing DPI between titles breaks the physical relationship between hand movement and screen rotation, forcing you to relearn muscle memory. Pick one DPI (typically 400, 800, or 1600) and lock it in your mouse software. Adjust only in-game sensitivity to match each game’s requirements. If your converted sensitivity feels slightly off, make tiny adjustments of 5 to 10 percent rather than switching DPI entirely.
Keep raw mouse input enabled in every game to bypass Windows pointer speed and acceleration. Maintain the same monitor distance and chair height so your arm and wrist angles stay constant. Verify that resolution and FOV settings match your usual preferences. Changes here will alter perceived sensitivity even if the numbers are correct. Practice with the new settings for at least 30 minutes in an aim trainer before deciding if conversion worked. Fine tune by measuring a physical 360 degree turn on your mousepad and adjusting the target sensitivity until the distance matches your source game.
Troubleshooting Common Sensitivity Conversion Issues

If your converted sensitivity feels wrong, the most likely cause is incorrect DPI entry. Many users assume their DPI without checking mouse software or hardware specs. A mismatch of even 200 DPI will throw off the entire conversion.
Double check that mouse acceleration and Windows pointer precision are disabled. These settings add variable scaling that the converter can’t account for. In Windows, open Mouse Properties, go to Pointer Options, and uncheck “Enhance pointer precision.” In your games, look for settings labeled “raw input,” “direct input,” or “1:1 mouse movement” and enable them.
Common issues that break conversions:
Entering sensitivity with the wrong decimal separator (using a comma instead of a period, or vice versa). Forgetting that some games display sensitivity as a percentage (0 to 100) rather than a multiplier (0.5 to 5.0). Using monitor based or scoped sensitivity when the tool expects hipfire/default sensitivity. Playing at a different resolution or aspect ratio in the target game, which can change FOV and perceived speed.
If results still feel off after checking these points, try the manual calibration method: mark a starting point on your mousepad, do a full 360 degree turn in your source game, measure the distance in centimeters, then adjust your target game sensitivity until the same physical distance produces a 360 degree turn.
Final Words
Open the interactive tool: choose source and target games, type your DPI and in-game sensitivity, add FOV if needed, then press Convert. That gets you an instant, usable value.
The article showed how to operate the converter, explained the conversion logic (eDPI, cm/360, yaw), listed supported games, offered tips for consistent aim, and covered common troubleshooting.
This game sens converter makes switching between titles quick and reliable. Try it, adjust with a bit of practice, and enjoy steadier aim across your games.
FAQ
Q: What is the Game Sensitivity Converter tool?
A: The Game Sensitivity Converter tool is an interactive calculator that converts aiming sensitivity between games by taking source and target titles, DPI, in-game sensitivity, optional FOV, and returning the equivalent value.
Q: What fields do I need to use the converter?
A: The fields you need are two dropdowns for source and target games, DPI integer, in-game sensitivity decimal, optional FOV values, and a Convert button to run the calculation.
Q: How do I convert my sensitivity between games?
A: You convert sensitivity by selecting the source and target games, entering your DPI and current in-game sensitivity, optionally adding FOV, then clicking Convert to read the matched sensitivity.
Q: Do I need to enter FOV to get an accurate conversion?
A: Entering FOV is optional but recommended, since FOV changes perceived aim and including it usually improves conversion accuracy across games with different viewing angles.
Q: What is eDPI and why does it matter?
A: eDPI means DPI multiplied by in-game sensitivity; eDPI measures raw mouse speed and helps match aim feel between games even when the numeric sensitivity values differ.
Q: What is cm/360 and yaw, and how do they affect conversion?
A: Cm/360 and yaw measure physical turning: cm/360 is centimeters moved for a full 360 turn, while yaw is the engine turn per mouse unit; both help convert true aiming distance.
Q: Which games are supported by the converter?
A: Supported games include CS2, Valorant, Apex Legends, Overwatch 2, Fortnite, Rainbow Six Siege, PUBG, Rust, Escape from Tarkov, Halo Infinite, and Battlefield.
Q: How can I keep my aim consistent across different games?
A: You keep aim consistent by keeping DPI constant, matching eDPI or cm/360, using similar FOV or adjusting for it, keeping monitor distance and resolution steady, and practicing regularly.
Q: Why does my converted sensitivity feel wrong and what common mistakes cause errors?
A: Converted sensitivity feels wrong because of wrong DPI, wrong input sensitivity, enabled mouse acceleration, unsupported FOV types, or resolution and aspect ratio differences, check and match those settings first.
Q: How accurate are conversions?
A: Conversions are usually accurate when DPI, sensitivity, and FOV are correct; small differences can remain due to engine yaw, rounding, or game specific mechanics.
