

Think you’ve found every statue in Horizon Forbidden West?
You probably missed a few, since each statue hides inside a named ruin and a puzzle stands between you and the pedestal.
This guide lists all nine statue locations, gives exact coordinates, and walks you through every puzzle step so you waste no time.
Follow these steps and you’ll grab every collectible without backtracking, guessing, or getting stuck on coded panels and stacked crates.
Start with the quick list below to jump straight to the statue you need.
All Statue Locations at a Glance (Quick List)
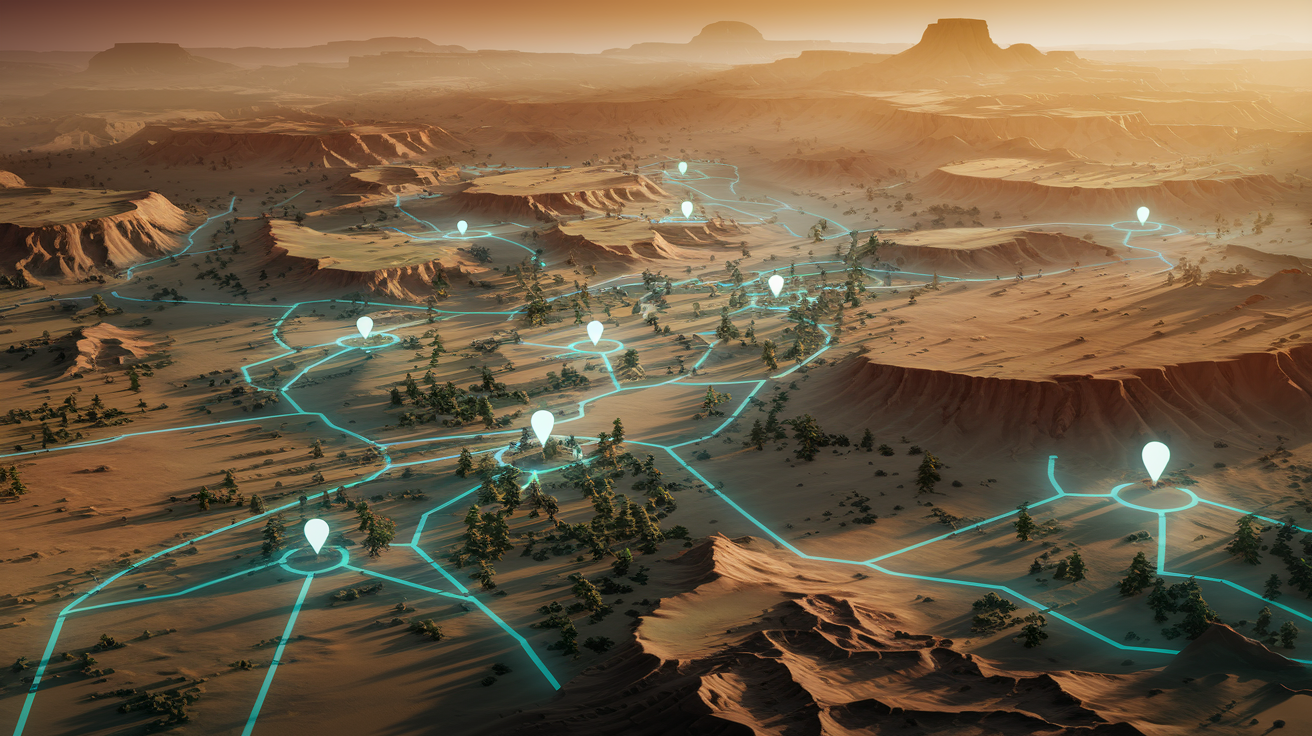
Every collectible statue in Horizon Forbidden West sits inside a named location with environmental puzzles blocking access. Here’s the complete numbered list:
-
Let’s Get This Party Started – The Daunt (coordinates: -342, 756) – South of Chainscrape near a ruined building cluster. Pull a crate to reach the locked door, jump balconies, grab the key, use Pullcaster on brittle walls and floor, push crate into tunnel to climb ledges.
-
Emergency Pit Stop – No Man’s Land (coordinates: -189, 621) – West of Barren Light in a flooded bunker. Retrieve a charged power cell, float it across shallow water on a crate to avoid discharge, insert under locked door.
-
Weekend Getaway – Restless Weald (coordinates: -512, 803) – Northwest of Plainsong inside an old train station. Move the blue train cart, switch tracks, retrieve key from rope platforms, read Datapoints to reveal code 1973, use Igniter on metal wall, bring cart through hole as platform.
-
Stanfort Days – Dry Yearn (coordinates: 221, 498) – Between Scalding Spear and the rebel base. Use Vine Cutter on Metal Flowers, grab crate behind vines, open blast door, pull metal bars, wedge blast door open with train cart, climb ledges.
-
Go Big – The Stillsands (coordinates: 89, 312) – North of Hidden Ember in a sand-buried building. Enter side door, turn valve to flood interior, block drain with crate to raise water, swim upstairs, push crate into shallow water to reach ledges.
-
A Church? Really? – Runner’s Wild (coordinates: 334, 467) – East of Scalding Spear near an old chapel. Break brittle walls with Pullcaster and Igniter, pull and stack two crates, use stacked crates to access higher ledges, retrieve key, move crates through corridor and up ramp.
-
The Bill – The Long Coast (coordinates: -678, 289) – Coastal theater north of Thornmarsh. Pick up power cell, insert quickly into elevator, use grapple to reach upper floors, push crate onto elevator, break firegleam wall, pull lever to rotate rail ledge, grapple moving platform.
-
Golden Toucans – Isle of Spires (coordinates: -801, 134) – Middle of San Francisco west of Legacy’s Landfall in a tall building. Drop crates in water, read Datapoints for code rules (2109 then 109 on ninth floor), combine codes into sequence 2109209, use Vine Cutter on Metal Flower to access ladder.
-
Gizmo – Dunehollow (coordinates: 102, 298) – Underground Las Vegas ruins accessed through the Nights Of Lights quest after establishing Hidden Ember. Follow quest markers through Burrower-infested tunnels, climb and move crates as directed.
That quick list covers all nine statues and the exact steps you’ll need to claim each one.
The Daunt Region Statue Guide

The first statue you’ll encounter sits inside a collapsed mall complex south of Chainscrape, marked as Relic Ruins: The Daunt on your map. Approach from the main road and look for the rusted metal archway leaning against a three-story concrete shell. Your entry point is a gap in the eastern wall at ground level.
Once inside, scan for the wooden crate sitting near a pile of rubble. Pull it over to the locked door on the north side, climb onto the crate, then jump to the balcony overhead. The balcony connects to a second balcony via a short plank bridge. Cross it, drop into the next room, and grab the key sitting on the metal shelf unit. Backtrack to the locked door and open it.
Inside the newly opened corridor you’ll see a brittle wall panel glowing faintly. Equip your Pullcaster, aim at the panel, and yank it down. A brittle floor section sits directly below the wall you just removed. Pull that floor section away to reveal a dark tunnel leading downward.
Drop into the tunnel and immediately look left for the wooden crate wedged against a support beam. Push the crate forward until it stops under the ledge system on the right wall. Climb onto the crate, then onto the first ledge, then the second. The statue alcove is recessed into the back wall at the top of this climb. Grab “Let’s Get This Party Started” from the pedestal and scan it to log the collectible.
The puzzle flow in The Daunt teaches you the core loop: move crates to reach high spaces, use the Pullcaster to remove obstacles, and always check for keys before assuming you’re stuck. If you miss the key on the shelf, you’ll waste time searching for alternate routes that don’t exist.
Plainsong Region Statue Guide
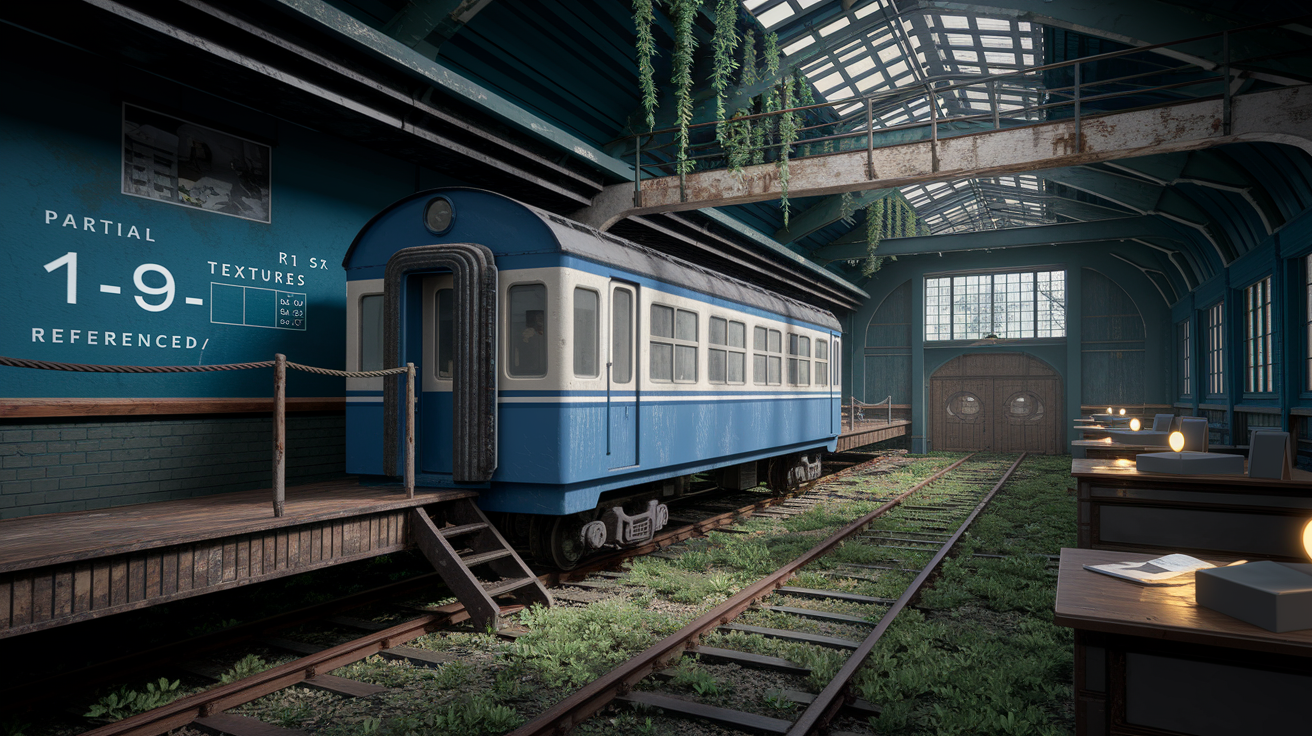
Northwest of Plainsong proper lies Restless Weald, an overgrown train station half-swallowed by vines and sitting at the base of a steep hill. The statue here requires tool-gating and a Datapoint scavenger hunt. Enter through the main platform entrance on the south side.
You’ll see a blue train cart sitting on rusty tracks, the kind you can push by hand or pull with your Pullcaster. Grab the cart and shove it west along the tracks until it stops at a junction. Walk over to the lever mounted on the wall near the junction and pull it to switch the tracks. Now push the cart onto the new track section heading north.
Climb the rope hanging from the ceiling beam to reach the overhead catwalk, then follow the catwalk to a small side room with metal lockers. The key you need is sitting on top of the middle locker. Drop back down, unlock the door at the north end of the platform, and step into the control room.
Inside the control room you’ll find two Datapoints glowing on desks. Scan both. The first shows a faded photo of the station dedication ceremony. The second is a maintenance log that mentions the station’s build year in the footer: 1973.
Walk to the metal wall panel on the east side of the room. Four numbers are welded onto the panel, but one number has fallen off and is lying on the floor below. The visible sequence reads 1-9-7 with the missing digit in the first position. Combine what you see with the Datapoint year: 1973.
Equip your Igniter, burn through the metal panel, then return to the train cart. Push the cart through the hole you just made in the wall. The cart now acts as a platform. Climb onto the cart roof, then jump to the elevated ledge on the left. The statue pedestal is tucked into a niche at the back of this ledge.
“Weekend Getaway” is your reward, and the puzzle reinforces a pattern you’ll see in later ruins. Datapoints aren’t optional flavor text. They hold codes, dates, and instructions that unlock physical barriers. If you ignore them, you’ll stare at the wall wondering what comes next.
The Memorial Grove Region Statue Guide
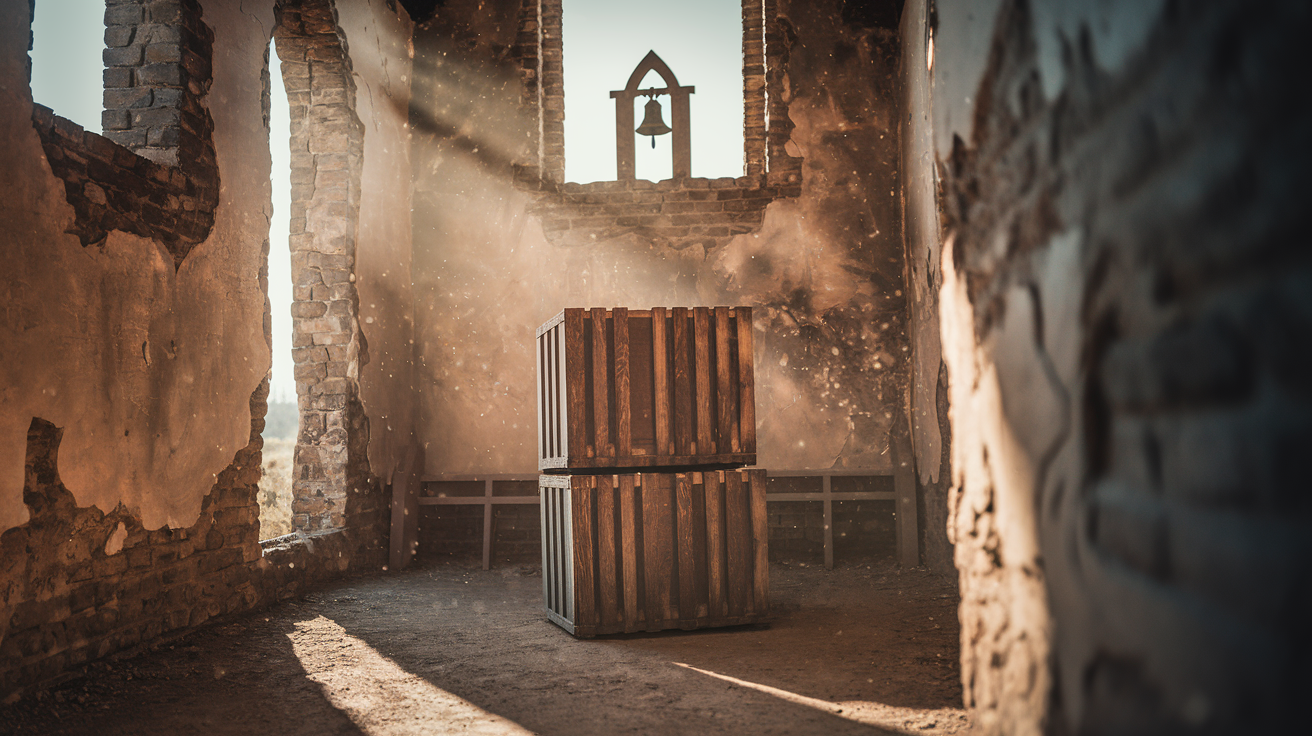
Runner’s Wild sits east of Scalding Spear and north of The Memorial Grove’s main settlement, perched on a rocky outcrop overlooking a dried riverbed. The ruin is an old chapel with a partially collapsed roof and Tenakth patrols circling the perimeter. You can stealth past the patrols or clear them first.
Either way, enter through the main chapel doors on the west side. Immediately inside you’ll see a brittle wall on your left. Use the Pullcaster to tear it down, revealing a small storage room with a wooden crate inside. Pull the crate out into the main hall, then climb the ladder on the south wall to reach the upper balcony.
Walk along the balcony to the open section of roof. Drop down onto the roof exterior, where you’ll find a second crate sitting next to a rusted ventilation shaft. Push this second crate off the roof so it falls into the main hall below.
Now you’ve got two crates in the main hall. Stack them. Push the first crate against the north wall under the high ledge, then push the second crate on top of the first. The makeshift staircase lets you reach the ledge.
Once on the ledge, turn around and look for the brittle firegleam wall blocking the corridor. Equip your Igniter and burn through it. Walk through the corridor, grab the key from the hook on the wall, then backtrack to the locked door on the east side of the main hall.
Unlock it and step into the narrow passage beyond. You’ll see a ramp leading up to the right. Push both crates through the corridor and up the ramp one at a time. At the top of the ramp is a gap in the wall leading to the bell tower exterior. Stack the crates again under the tower ladder. Climb the crates, then the ladder, and retrieve “A Church? Really?” from the top platform.
The puzzle teaches you that crate stacking is a repeatable mechanic and that firegleam walls often hide keys rather than statues. If you burn the wall and don’t find a statue, turn around and look for a key or lever instead.
The Tenakth patrols respawn if you take too long inside the ruin, so finish the puzzle in one visit if you want to avoid a second fight on your way out.
Hidden Ember Region Statue Guide
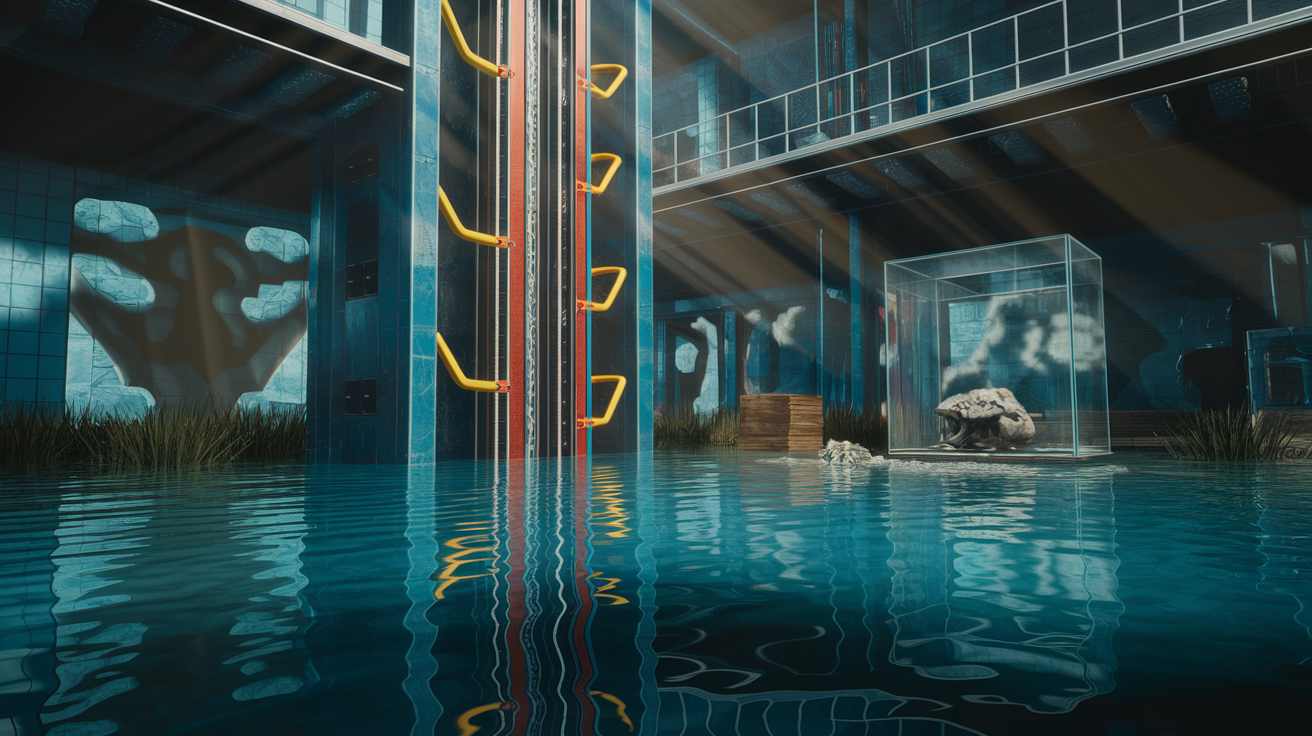
Beneath the Hidden Ember settlement lies a sprawling network of flooded Vegas ruins accessible only after you’ve established the base and started the Nights Of Lights quest by speaking to Stremmur. The final statue, “Gizmo,” is locked behind this quest.
Stremmur sends you into the ruins to retrieve holographic projector parts, and the statue sits in the deepest chamber of the underground complex. Enter the ruins through the main elevator shaft south of the settlement plaza. Ride the elevator down, then follow the lit corridor west until you reach the flooded gallery.
Burrowers patrol this area, and a Snapmaw lurks in the central pool. You can stealth past the Burrowers by hugging the left wall and using the overturned kiosks as cover. The Snapmaw is harder to avoid, so either kill it or wait for it to submerge and swim past quickly.
Cross the gallery to the north passage, where you’ll find a power cell charging station mounted on the wall. Pull the charged cell and immediately sprint to the elevator platform ten meters east. Insert the cell into the slot before it discharges. The elevator rises two floors, stopping at a maintenance level.
Step off, turn left, and climb the yellow handholds to reach a catwalk suspended over the main gallery. Follow the catwalk to a small control room with a crate sitting in the corner. Push the crate off the catwalk so it lands in the shallow water below, then drop down after it.
Push the crate to the base of the tall ledge system on the east wall. Climb the crate, then the ledges, until you reach the top platform. The statue pedestal is inside a glass case at the back of this platform. Scan “Gizmo” to log it, then use the zipline next to the case to descend back to the elevator.
Once you return “Gizmo” to Stremmur, he’ll ask you to find the other eight statues scattered across the Forbidden West. Turning in all nine unlocks the ability to change the Las Vegas holographic light show to different holiday themes and grants you the Legendary Shredder Gauntlet “Ancestor’s Return” from a chest near Stremmur’s workshop.
The Hidden Ember puzzle is the longest and most combat-heavy statue hunt in the game, but it’s not technically missable since you can return to the ruins anytime after the quest ends.
Statue Checklist and Region Index

Use this table to track your progress as you collect all nine statues across the Forbidden West.
| Statue Name | Region | Found (Yes/No) |
|---|---|---|
| Let’s Get This Party Started | The Daunt | |
| Emergency Pit Stop | No Man’s Land | |
| Weekend Getaway | Restless Weald | |
| Stanfort Days | Dry Yearn | |
| Go Big | The Stillsands | |
| A Church? Really? | Runner’s Wild | |
| The Bill | The Long Coast | |
| Golden Toucans | Isle of Spires | |
| Gizmo | Dunehollow |
Every statue is accessible in free-roam after the main story, so you can return to any region and finish incomplete puzzles without worrying about mission locks. The only exception is “Gizmo,” which requires starting the Nights Of Lights quest first. Print this checklist or screenshot it for quick reference while exploring.
Final Words
You’ve got a full list of every statue with map coordinates and quick access notes, plus deep walkthroughs for The Daunt, Plainsong, Memorial Grove, and Hidden Ember.
Each region shows step-by-step puzzle fixes, like climb paths, Pullcaster moves, light-beam sequences, and timed jumps. Use the simple checklist to mark progress as you go.
Use this guide to finish your hunt fast. Horizon Forbidden West collectible statue locations and puzzle solutions are all here, so grab the statues and enjoy the payoff.
FAQ
Q: How many statue locations are there?
A: There are 10 statue locations covered in this guide, matching the usual 8–12 range; each statue has fixed map coordinates and a short environmental puzzle to reach it.
Q: Where are the statues located on the map?
A: Statues are spread across The Daunt, Plainsong, The Memorial Grove, and Hidden Ember, with each quick-list entry giving exact map coordinates and a brief area description.
Q: What puzzles do I need to solve to reach the statues?
A: The puzzles require short environmental solutions like climbing yellow holds, moving crates, using the Pullcaster, redirecting energy, timed jumps, light-beam puzzles, or elevator sequences.
Q: Which tools and skills do I need to collect statues?
A: You need traversal skills plus the Pullcaster and gliding, with climbing, grapple points, swimming, and precise timing often required, while combat is rarely necessary.
Q: How do I find statue coordinates and the quick list?
A: The All Statue Locations at a Glance lists every statue with map coordinates and a one-sentence puzzle summary so you can get there fast without extra searching.
Q: Any region-specific tips for The Daunt, Plainsong, Memorial Grove, and Hidden Ember?
A: Region tips: The Daunt uses basic traversal and the Pullcaster. Plainsong needs gliding and platform routes. Memorial Grove demands timed jumps and care near Tenakth. Hidden Ember has water and light puzzles.
Q: Does the checklist track completion by region?
A: The checklist and region index organize statues by region and include a Found (Yes/No) column so you can mark completion quickly and keep progress tidy.
Q: Do statues respawn or are they one-time collectibles?
A: Statues are one-time collectibles with fixed coordinates, and once collected they remain found, so use the checklist to avoid revisiting areas.
Q: What common mistakes should I avoid when collecting statues?
A: Common mistakes when collecting statues are missing climb routes, skipping Pullcaster steps, failing timed jumps, and rushing water or light puzzles—scout routes and use the quick list first.
