

Think two tanks are the safest choice? Think again.
Tyranny’s combat favors one strong tank, a healer-mage, and two reliable damage dealers, and picking the wrong mix will get you wiped early and often.
This guide shows the best builds for mages, tanks, melee and ranged DPS, plus companion setups that actually work in real fights.
You’ll get clear talent paths, party roles, cooldown rhythms, and quick tips to manage loyalty and AI so your companions pull their weight.
Read on to stop guessing and start winning.
Core Combat Mechanics and Party Fundamentals
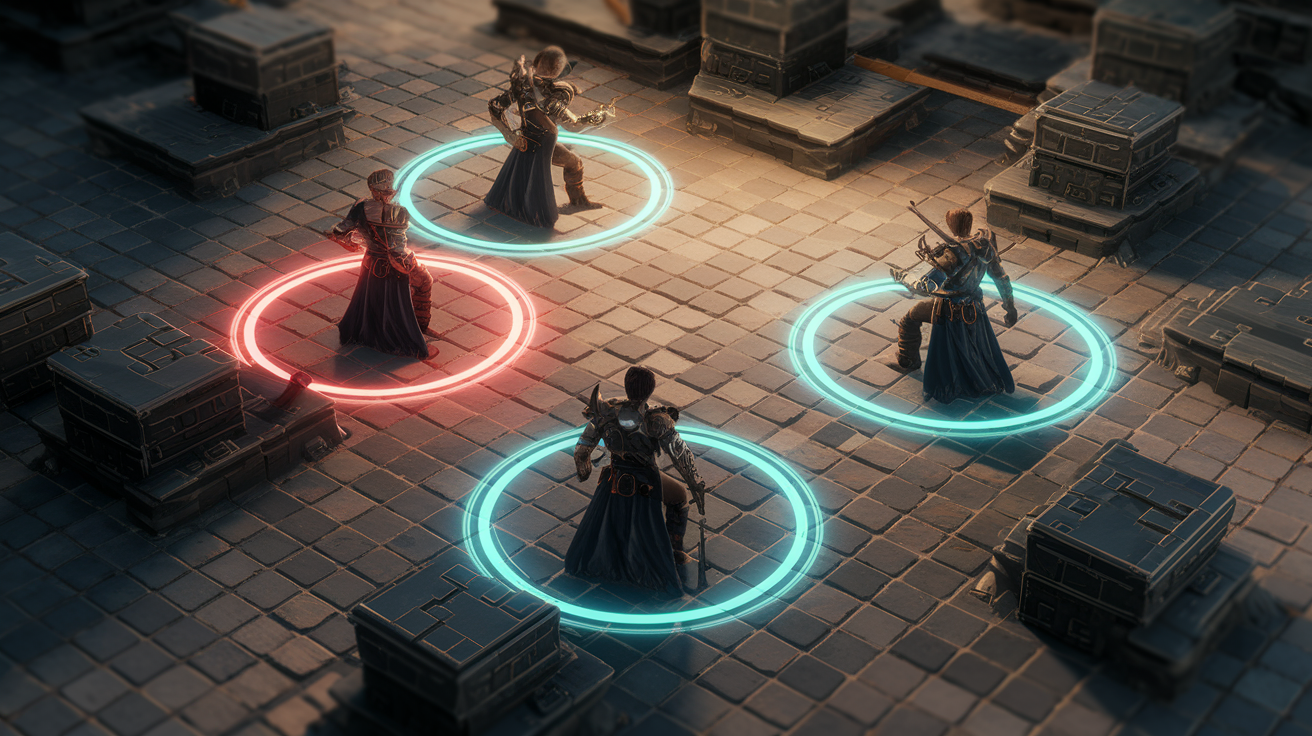
Your party caps at four people: you plus three companions picked from a pool of six. Most fights throw four or five enemies at you, usually with a couple ranged attackers mixed in. That simple math shapes everything else.
Spells work on cooldowns, not rest limits. You’ll burn through maybe four spells, then wait. No endless spam. Stealth only fires at the start of combat, then positioning and backstab stuff barely matters.
Threat doesn’t work right until you hit level 5 or 6. Before that? Enemies ignore your tank completely and rush your mages, who can drop in under 10 seconds if they get caught. Early survival means careful positioning and lots of crowd control until your tank can actually hold attention.
Party size and encounter design push you toward balance. Three damage dealers and no healer works fine until it doesn’t. Two tanks wastes a slot when one good tank beats two mediocre ones every time. The setup that actually works: one dedicated tank, one healer/mage, two damage dealers (one can be you).
| Party Slot | Role | Why It Matters |
|---|---|---|
| Slot 1 | Tank | Holds aggro once threat works; soaks damage throughout |
| Slot 2 | Healer/Support Mage | Sustains long fights; resurrection capability |
| Slot 3 | Damage Dealer | Ends fights faster; can be PC or companion |
| Slot 4 | Flex DPS/Control | Crowd control, additional damage, or utility |
Cooldown management becomes automatic once you accept the rhythm. Cast your rotation, swing your weapon while waiting, cast again. Mages feel less like traditional RPG casters and more like cooldown-based action characters who happen to use spells.
Player Character Build Options

Mage Builds
Spell damage scales straight off your Lore skill. Train Lore every single level and you’ll hit around 150 by endgame, unlocking massive spells and heals that reshape entire encounters. Frost delivers the most consistent damage. Lightning trades raw power for stuns. Fire punches through when frost and lightning can’t.
Recommended attributes: Wits, Quickness, Finesse. These drive casting speed, initiative, spell accuracy.
Mages handle every job except tanking. Damage, debuffs, buffs, healing. Your flexibility makes you the swiss army knife of the party, able to cover whatever gap opens up. Start fights with Spectral Blur for deflection and Surge of Glory for damage boosts. Save big area spells for clusters, not single targets.
Invest hard in Lore from day one. Every rank increases spell power and unlocks better options. A mage with 50 Lore at level 10 gets crushed by a mage with 100 Lore at the same level. The gap between “useful” and “encounter-defining” lives in those points.
Example path: Hit Lore 30 by mid-game for strong single-target and decent area spells. Push toward 100+ in late Acts for the spells that trivialize tough fights. Pair high Lore with Quickness to cast faster and Wits to land your debuffs.
Defense stats matter way less than you’d think. Keep companions between you and trouble, use positioning, let healing spells cover the occasional hit. Don’t waste points on Vitality. Those points do more in Wits or Lore.
Tank Builds
Player tanks can become nearly unkillable by mid-game with the right investment. Focus on Vitality for health, Might for engagement power, Finesse for deflection and accuracy.
Tanking needs active ability use more than passive stats. Taunt enemies with abilities once threat kicks in around level 5 or 6. Use defensive stances to stack armor and deflection. Rotate cooldown-based defensive abilities to smooth damage instead of eating huge spikes.
Compared to companion tank Barik, a player tank gives you more customization but demands more attention. Barik handles partial AI fine, but your PC tank needs micro to maximize survival and threat. If you want hands-off tanking, just recruit Barik and build something else.
Heavy armor isn’t optional. Light armor on a tank wastes your stats and gets you killed constantly. Stack armor, use shields, grab every defensive talent available.
Example talent path: Threat abilities first, then defensive cooldowns, then engagement limit increases. Early game, focus on surviving rather than perfect aggro. Once threat works, shift to controlling enemy positioning and protecting your back line.
Melee DPS Builds
Melee damage dealers face constant danger from area effects and unreliable early threat. Enemies swarm past your tank, forcing your melee DPS to either eat hits they can’t absorb or back off and lose damage time.
Attributes: Might, Finesse, Quickness. Light armor for mobility, or medium if you’re getting hit too much.
Unarmed builds should deliver high single-hit damage but there’s a reported bug that tanks their effectiveness. Two-handed weapons work better. Dual-wielding gives faster attacks but lower per-hit impact.
The core problem: tons of area damage and limited threat control make melee DPS frustrating until mid-game. Ranged damage dealers contribute more safely. If you commit to melee DPS, invest hard in dodge talents and mobility abilities to avoid area spells and reposition constantly.
Melee DPS shines in fights with few enemies and minimal area effects. It struggles in the multi-enemy, area-heavy encounters that dominate Tyranny’s combat.
Ranged DPS Builds
Bow builds deliver steady damage from safe spots. Some strong bows exist in the game, and ranged positioning keeps you out of most area effects.
Attributes: Finesse for accuracy, Might for damage, Quickness for attack speed.
Compared to mages, ranged DPS trades versatility for safety. You won’t heal, buff, or debuff as well, but you also won’t run out of resources or wait on long cooldowns. Your basic attacks stay relevant throughout every fight.
Talent priorities: accuracy bonuses, attack speed increases, abilities that apply debuffs (Hobble especially). Hobble keeps melee enemies at range, protecting both you and your back line.
Bows beat thrown weapons in most situations due to better gear and talent synergies. Invest in Bows skill early and often. Accuracy matters more than raw damage when you’re attacking from range every round.
Example path: Reach Shortbow Expertise to unlock Hobble and Heart Shot talents. These two abilities define effective bow play. Hobble controls enemy movement, Heart Shot deletes priority targets.
Ranged DPS lacks the explosive power of mages or the control of dedicated support, but it never feels useless. Every fight benefits from steady, reliable damage applied from a safe position.
Complete Companion Breakdown
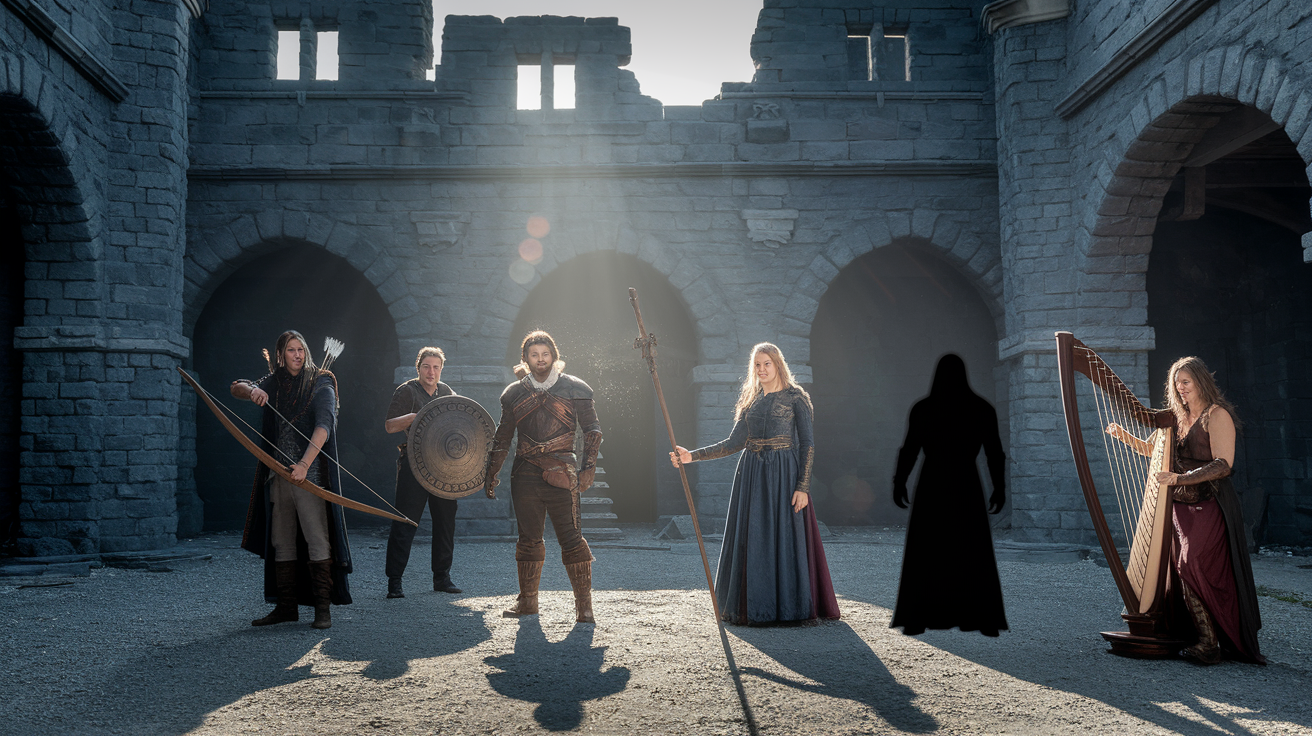
Verse – Duelist and Ranged DPS
You find Verse at Edgering Ruins, fighting oathbreakers along the cliffside. Recruit her immediately. She’s one of the most consistent damage dealers available.
Role: Primary damage dealer, works in melee dual-wield or ranged bow setups. High survivability paired with high damage output in both builds.
Attributes: Might, Finesse, Quickness. Keep her in light armor regardless of weapon choice.
Archer Build (13 talents total): Killing Spree; Nimble I; Evasive; Battle Mind; Improvised Attacks; Nimble II; Sense Weakness; Born of Blood and Fire; Unbound; Know Your Enemy I; Mocking Iron; Fury’s Rush; Killing Spree II.
Stances: Three Whispers (early and mid-game), Red Geyser (late game).
The archer build maximizes free attacks from Killing Spree. Every kill or near-kill triggers extra shots, creating a cascade in multi-enemy fights. Nimble I and II plus Evasive make her surprisingly hard to hit despite light armor. Pair her with area crowd control to keep enemies clumped while she fires freely.
Dual-Wield Build (14 talents): Killing Spree; Nimble I; Evasive; Battle Mind; Know Your Enemy I; Pig On a Spit; Blade Dancer I; Killing Spree II; Fury’s Embrace; Improvised Attacks; Fury’s Rush; Blade Dancer II; Sprinting Death; Combat Mastery.
Same stance path. Three Whispers early/mid, Red Geyser late.
Dual-wield leans on active abilities rather than basic attack spam. Pig On a Spit and Blade Dancer talents keep her rotation full. This build needs more micro than archer but rewards it with higher burst windows and better single-target deletion.
One standout combo: Duelist mode with Three Whispers stance, Killing Spree, dual-wield, high Quickness, and Volcanic Weapons creates a “lawn mower” effect. Constant elemental procs at high attack speed. Enemies melt before they reach your line.
Verse’s AI handles archer builds well. Set her to ranged, toggle AI on, she’ll contribute solid damage without constant input. Dual-wield demands more attention to maximize ability usage.
Verse reaches Loyalty tier 3 quickly with consistent dialogue support. Tier 3 unlocks Death From Above combo ability. Push toward tier 4 by supporting her perspective in story decisions.
Ranged skill options for Verse are weaker than melee talent choices. If forced into melee without the dual-wield build, she becomes vulnerable and underperforms. Commit to one weapon style and build around it.
Barik – Pure Tank
Recruit Barik at the Disfavored Camp after proclaiming the Edict. He’s a Stone Shield Punisher/Sentinel, the best dedicated tank available.
Role: Main tank. Soaks damage, holds attention, controls enemy positioning.
Attributes: Vitality, Might, Finesse.
Strengths: Better than do-it-yourself tanks unless you invest heavily in a player tank build. Barik works well with partial AI, handling basic tanking while you micro damage dealers.
Weaknesses: Slower taunt on large enemy groups. Lacks strong defensive cooldowns initially, making early tanking shakier than you’d expect from a dedicated tank.
Armor upgrades for Barik (and companions generally) appear limited or unclear in typical runs. You may need to rely on found armor rather than crafted upgrades.
Give Barik a couple self-manage spells to offset his lack of defensive cooldowns. Healing spells or short-term buffs let him survive spike damage when your healer is busy or out of position.
Stance recommendation: Phalanx I for general tanking, Shield Wall for high-damage encounters.
Barik reaches Fear tier 4 to 5 with consistent intimidation and pragmatic dialogue choices. Tier 4 unlocks Blade Grave’s Grasp combo. Tier 5 Fear requires “Very Major” reputation gains, expect to hit this only in focused runs.
Combo abilities with Verse: Arrow Storm (requires Barik tier 4 to 5 Fear, Verse in party). This combo uses Barik’s positioning to enable Verse’s area damage.
Taunt becomes reliable around level 5 or 6. Before that, Barik struggles to hold multi-enemy aggro, and your back line takes hits. Compensate with crowd control and careful positioning until threat mechanics kick in.
Lantry – Healer and High-Lore Mage
Recruit Lantry at the Scarlet Chorus Camp. He’s a Vendrien Sage at level 3, the only companion with a resurrection spell.
Role: Primary healer, highest potential Lore caster in the game (including player characters).
Attributes: Wits, Quickness, Finesse.
Lantry can reach higher Lore than any other character, unlocking devastating spells and massive area heals. His unique value: sustained fights become manageable, and resurrection prevents total party wipes.
Invest Lore every level. Lantry’s spell power scales directly with Lore, and he benefits more from high Lore than any other companion. By late game, properly invested Lantry casts spells that trivialize difficult encounters.
Combo with your player character (if mage): Lantry plus PC mage combinations produce powerful area heals and the only in-party resurrection option. Coordinate big heals to bring wounded party members from death’s door to full health in one round.
Lantry reaches Loyalty tier 4 with supportive dialogue and knowledge-focused decisions. Tier 4 unlocks Wheel of Ages combo ability.
AI management: Lantry handles healing AI reasonably well but sometimes wastes big heals on minor damage. Set critical heals to manual control and let AI handle minor healing and damage spells.
Lantry’s cone area-of-effect spells work best when enemies cluster. Position him perpendicular to enemy lines for maximum coverage. Poor positioning wastes his best spells on one or two targets.
Eb – Crowd Control and Elemental Mage
Eb becomes recruitable after the Citadel assault. She’s a Tidecaster mage specializing in water and gravelight magic.
Role: Crowd control, knockbacks, draining, single-target and area control.
Attributes: Wits, Quickness, Finesse. Invest Lore early to maintain late-game viability.
Eb’s spells focus on control rather than raw damage. Knockbacks reposition enemies, drains weaken tough targets, and area control zones deny enemy movement.
Weakness: AI and pathing can scatter enemies away from your tank, undermining your formation. Eb requires more micro than Verse but less than complex dual-wield builds.
Her effectiveness depends more on talent investment than spell customization. Unlike player mages who can build any spell combination, Eb’s fixed spell list means talents define her power curve.
Eb reaches Loyalty tier 4 with decisions that favor pragmatism and elemental magic. Tier 4 grants Sigil of Terratus Core (5 ranks Control Gravelight) and unlocks Terratus’ Embrace combo ability.
Invest Lore early and consistently. Eb with low Lore becomes a mediocre crowd-control bot. Eb with high Lore becomes a fight-defining controller who locks down half the enemy party while your damage dealers clean up.
Positioning matters more for Eb than for any other companion. Her knockback spells can push enemies into better positions for your tank or scatter them across the battlefield where your melee can’t reach them. Aim carefully.
Kills-in-Shadow – Melee Hybrid with Limitations
The melee hybrid companion (referenced in reports) focuses on high single-hit melee damage, unarmed combat, and stealth abilities.
Role: Burst damage, stealth opener, fragile melee striker.
Attributes: Might, Finesse, Quickness.
Critical limitations: Near-zero armor capacity. Can’t wear armor but can equip a two-handed weapon in one hand (unique mechanic). Unarmed damage potential is high but suffers from a reported bug that tanks effectiveness.
Stealth skills fire once per fight and depend on pathing. If enemies path poorly, your stealth opener whiffs and you lose a major damage source.
The combination of fragility and melee range makes this companion extremely difficult to use well. Without armor, taking even a few hits results in wounds or death. Melee range guarantees taking hits.
Potential: Strong if the unarmed bug gets fixed and if you invest heavily in survivability talents and micro. As things stand, this companion frustrates more than it contributes in most party setups.
If you commit to using the melee hybrid, pair them with heavy crowd control, a strong tank, and fast healing. Keep them out of prolonged combat. Strike, retreat, re-stealth if possible (which it usually isn’t mid-fight), or use hit-and-run tactics.
Sirin – Archon of Song (Chanter)
Sirin appears in the story but can’t be recruited initially (based on Quickstart decisions). As a chanter-class companion, she provides set-and-forget support through songs that build power over time.
Role: Support buffer/debuffer, area-effect fights.
Attributes: Wits, Quickness, Finesse.
Drawbacks: Slow power buildup. Two-song capability doesn’t activate until Act 3. Weak against single tough enemies (bosses). Requires heavy talent investment for best returns.
Chanters shine in prolonged area-effect fights where their songs accumulate value over many rounds. Short fights or single-target boss encounters waste their potential.
If recruitable in your run, plan party composition around sustained fights rather than quick bursts. Pair the chanter with strong single-target damage dealers (Verse, player mage) to cover the chanter’s boss-fight weakness.
Chanter AI works perfectly. Songs require no micro. Set songs at the start of combat and forget them.
Optimal Party Compositions and Synergies
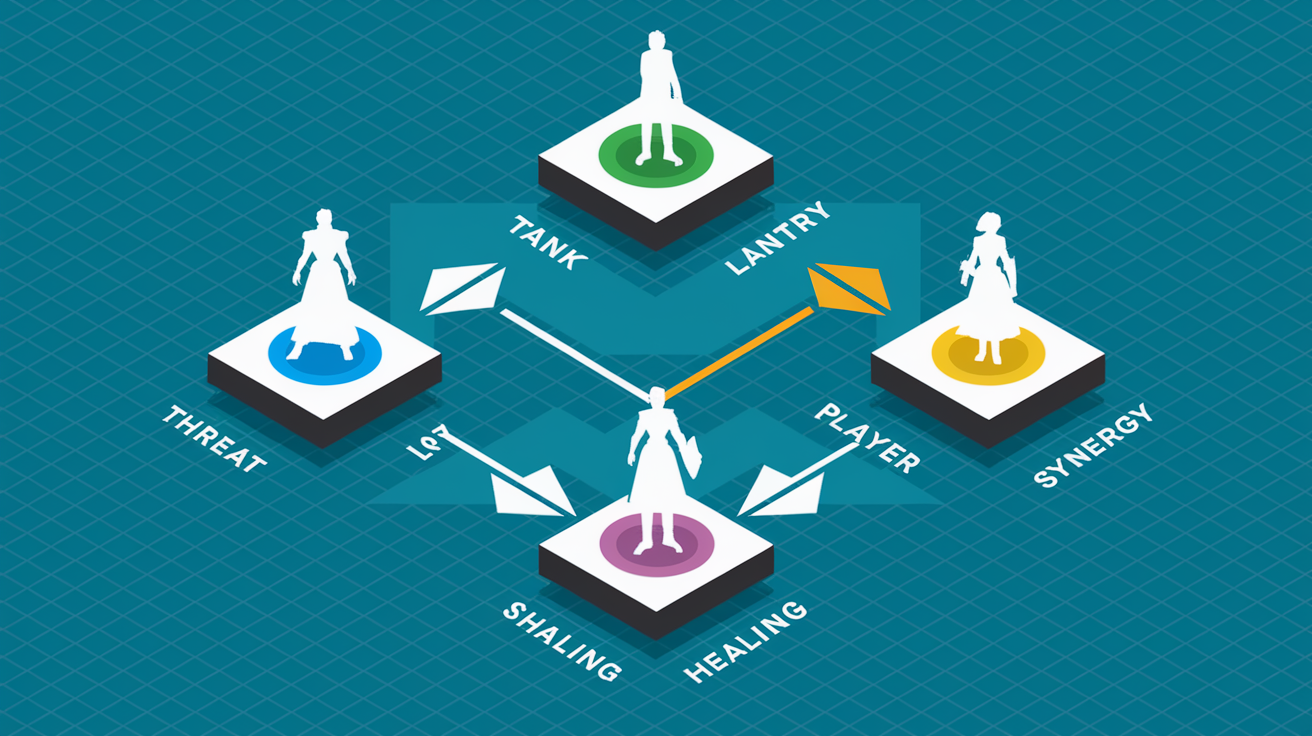
The tested optimal party: Barik (tank), Lantry (healer/mage), player-character mage, Verse (DPS).
This setup ensures tanking, reliable healing with resurrection, strong mage damage and control, plus steady DPS from Verse. Verse on AI contributes consistent damage without demanding attention.
Why this works:
Barik handles engagement and positioning. Lantry keeps the party alive and provides area healing. Your player mage delivers flexible damage, debuffs, and buffs. Verse deletes priority targets or spreads sustained damage across grouped enemies.
The party covers every necessary role without redundancy. One tank suffices. Adding a second wastes a slot. One dedicated healer suffices. Splitting healing between two characters leaves both underequipped. Two strong damage dealers (PC mage and Verse) handle damage needs without overkill.
Alternative setup: Barik, Lantry, Eb, Verse.
This swaps player mage for Eb’s crowd control. It works when your PC builds non-mage (tank, melee DPS, ranged DPS). Eb’s control compensates for lost player-mage versatility, though you sacrifice some raw damage and flexibility.
Three-damage-dealer setup: Barik, Verse, Eb, player mage.
Dropping Lantry risks party wipes in sustained fights but maximizes damage output. Only viable if your player mage invests heavily in healing spells and Lore. You lose resurrection capability. Any death becomes a reload or a permanent wound.
Synergy notes:
Barik plus Lantry: Barik positions enemies, Lantry drops area heals and damage on clustered groups.
Verse plus player mage: Mage applies debuffs and crowd control, Verse exploits debuffed targets with Killing Spree chains.
Eb plus Barik: Eb’s knockbacks can push enemies toward Barik or scatter them. Micro carefully to push enemies into engagement range rather than away.
Lantry plus player mage: Combined Lore enables the highest-magnitude heals and damage spells in the game. Coordinate rotations to avoid overkill healing.
Avoid doubling up on tanks or healers. One invested tank outperforms two mediocre tanks. One high-Lore healer outperforms two split-investment healers.
Combat Tactics and Ability Rotations
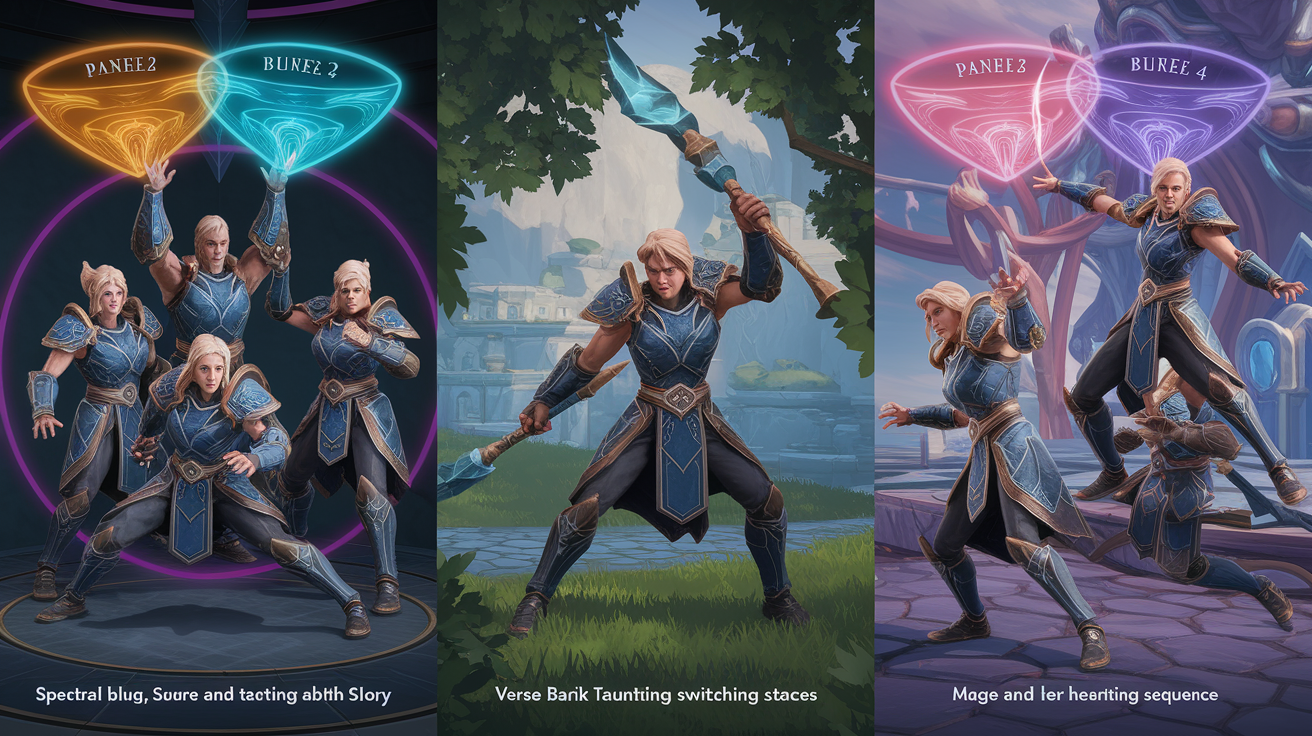
Open every fight with buffs: Spectral Blur (graze and hit deflection), Surge of Glory (damage and resolve boost), Greater Renewal (armor penetration). These three buffs swing close fights into comfortable wins.
Stealth openers: If you have stealth capability, open with Penetrating Shot (ranged) or Eternal Flame (Verse melee). The From the Shadows talent makes stealth openers inflict terror, disrupting enemy formations.
Tank rotation: Barik opens with Clash of Iron (taunt). Switch to Stance: Phalanx I for sustained tanking or Shield Wall for high incoming damage. Rotate any self-buff spells you’ve given him to smooth damage spikes.
Healer rotation: Lantry uses cone area-of-effect spells when enemies cluster (3+ targets). Single-target heals for wounded allies. Save resurrection for actual deaths. Don’t waste it on downed-but-stable allies.
Verse rotation (archer): Basic attacks until Killing Spree procs. Use Hobble on melee enemies trying to close distance. Save big abilities for priority targets (mages, archers).
Verse rotation (dual-wield): Rotate through Pig On a Spit, Blade Dancer abilities, and Fury’s Embrace. Activate Duelist mode when in Three Whispers stance for maximum attack speed. Let Killing Spree procs happen naturally rather than forcing them.
Mage rotation (player character or Eb): Open with debuffs on tough enemies. Drop area damage on clustered groups. Use single-target damage on priority threats (enemy mages, healers). Hold one crowd-control spell in reserve for emergencies.
Cooldown discipline: Don’t blow every cooldown in the first five seconds. Spread cooldowns across the fight to maintain consistent pressure. Front-loading all damage leaves you weapon-attacking for 20 seconds while cooldowns tick.
Positioning priorities:
Tank in front, holding aggro and blocking enemy movement.
Melee DPS behind or flanking, exploiting engaged enemies.
Ranged DPS and mages at maximum range, positioned to avoid area effects.
Healer perpendicular or behind, with line of sight to all allies.
Area-effect placement: Wait for enemies to cluster before dropping area spells. Tanks naturally create clusters by engaging multiple enemies. Dropping area damage too early wastes magnitude on one or two targets.
Hobble and movement control: Hobble keeps melee enemies at range, protecting your back line. Use it on the fastest-moving or most dangerous melee threats first.
Combo ability timing: Combo abilities require both companions in active party and specific loyalty/fear tiers. Death From Above (Verse tier 3 Loyalty) works in mid-game. Blade Grave’s Grasp (Barik tier 4 to 5 Fear) needs late-game investment. Wheel of Ages (Lantry tier 4 Loyalty) and Terratus’ Embrace (Eb tier 4 Loyalty) require companion-quest focus.
Coordinate combo abilities with tough fights. Don’t waste them on trash encounters. Combos hit harder than individual abilities and often provide control or buff effects beyond raw damage.
Attribute Priorities by Role
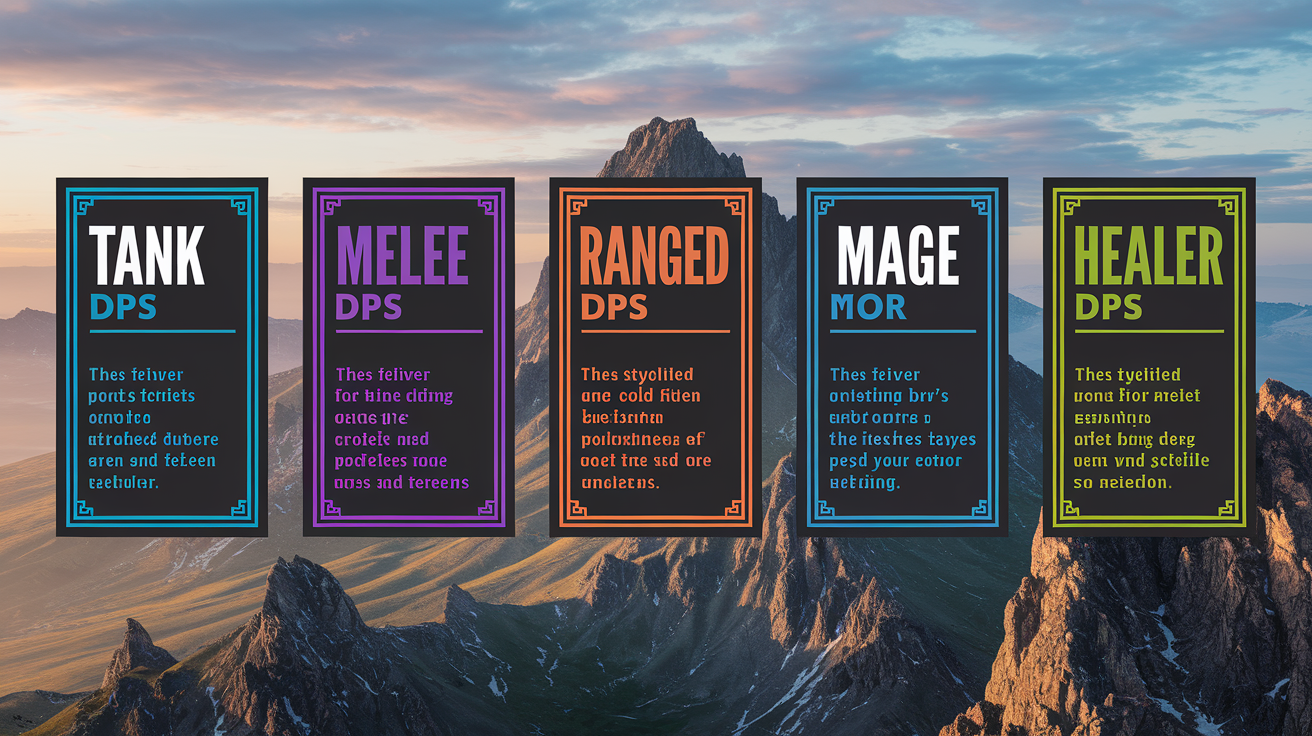
| Role | Primary Attributes | Why These Matter |
|---|---|---|
| Tank | Vitality, Might, Finesse | Health pool, engagement strength, deflection and accuracy |
| Melee DPS | Might, Finesse, Quickness | Damage, accuracy, attack speed |
| Ranged DPS | Finesse, Might, Quickness | Accuracy first, then damage and attack speed |
| Mage (damage/control) | Wits, Quickness, Finesse | Spell magnitude, cast speed, accuracy |
| Healer/Support | Wits, Quickness, Finesse | Heal magnitude, cast speed, buff accuracy |
Vitality increases health pool and fortitude defense. Tanks need high Vitality. Everyone else treats it as a dump stat unless you’re dying constantly.
Might boosts damage (physical and magical) and fortitude defense. Every damage dealer needs Might. Tanks want moderate Might for engagement strength.
Finesse increases accuracy, deflection, and reflex defense. Every build wants some Finesse. Missing attacks wastes everything. Prioritize it on ranged characters and mages.
Quickness governs attack speed, cast speed, and reflex defense. Damage dealers and casters need high Quickness. Tanks can leave it lower.
Wits increases deflection, will defense, and spell magnitude. Mages need high Wits. Other builds treat it as optional unless you’re facing heavy will-targeting enemies.
Resolve boosts will defense and concentration. It’s the weakest attribute for most builds. You’d rather avoid will-targeting attacks than stack Resolve to resist them.
Attribute distribution strategy: Identify your build’s two or three core attributes. Invest heavily in those every level. Leave others at base values unless a specific encounter or gear piece makes them attractive.
Example (player mage): Pump Wits and Quickness every level. Add Finesse when you can afford it. Ignore Vitality, Might, and Resolve unless gear bonuses make them efficient picks.
Example (Verse archer): Pump Might and Finesse every level. Add Quickness when available. Ignore Vitality unless she’s dying too often, and ignore Wits and Resolve entirely.
Spreading attributes thin creates mediocre characters. Concentrating attributes into role-defining stats creates powerful characters.
Skill Investment and Lore Training

Lore scales spell magnitude and unlocks higher-tier spell options. Train Lore at every level on any mage character (player or companion). Expect roughly 150 Lore by endgame if trained consistently.
Lore 30: Access to strong single-target and moderate area spells.
Lore 50: Solid mid-game spell power.
Lore 100+: Late-game encounter-defining spells.
Lore 150: Maximum observed endgame power.
Non-mage characters can ignore Lore entirely unless specific dialogue checks demand it. Skill points generate far more value in combat skills (weapons, armor, athletics) than in marginal Lore increases.
Subterfuge unlocks dialogue options, improves stealth, and enables trap interaction. Dialogue checks range from Subterfuge 20 to Subterfuge 47. Train to 20 early if you want those options, then increase as checks demand.
Athletics governs movement, climbing, and fatigue. Dialogue checks range from Athletics 14 to Athletics 40. Early checks (Athletics 14 for rope descents) prevent wounds. Higher checks (35+) unlock shortcuts and hidden items.
Train Athletics to 14 or 20 early to avoid fall damage and access early shortcuts. Push higher only if your build uses mobility heavily or if you’re hunting every hidden item.
Weapon skills (Bows, One-Handed, Two-Handed, Dual-Wield, Unarmed) increase accuracy and unlock weapon-specific talents. Train your primary weapon skill every level. Accuracy matters more than raw damage. Missing wastes attributes, gear, and talents.
Reaching Primary/Secondary Expertise in a weapon unlocks key talents. Example: Shortbow Expertise grants Hobble and Heart Shot. These two talents alone justify weapon-skill investment.
Train weapon skills to 84+ by late game for maximum accuracy and talent access.
Armor skills (Light Armor, Heavy Armor) reduce armor penalties and improve defense. Train the armor type your build uses. Ignore the armor type you don’t wear.
Light armor builds: Train Light Armor to offset speed penalties and improve deflection.
Heavy armor builds: Train Heavy Armor to reduce recovery penalties and increase armor effectiveness.
Parry and Dodge improve defenses but compete with other skill investments. Tanks should consider Parry. Light-armor builds should consider Dodge. Mages can often skip both if positioned well.
Skill experience gain: Using skills in dialogue grants 18 to 46 experience per check. Higher existing skill ranks yield lower experience per check. Combat use grants steady experience. Trainers allow 5 ranks purchased per level.
Trainer availability:
Disfavored trainers (require Disfavored reputation): Marcus (One/Two-Handed, Parry), Lucia (Thrown, Dodge, Athletics).
Scarlet Chorus trainers: Regg (Magic Staff, Subterfuge, Lore), Baz (Bows, Dual-Wield, Unarmed).
Spire trainers (after claiming Spire): Saetus, Isolon, Sword-Breaker, Tanara (various weapon specializations).
Train 5 ranks maximum per level. Prioritize your primary combat skill, then Lore (if mage), then secondary combat or utility skills.
Skill priority summary:
Mages: Lore > weapon skill > utility skills (Subterfuge/Athletics for checks).
Weapon builds: Primary weapon > armor skill > Athletics > secondary weapon or utility.
Tanks: Heavy Armor > weapon skill > Parry > Athletics.
Progression Milestones and Power Spikes
Level 5 to 6: Threat mechanics become reliable. Barik can finally hold aggro consistently. Before this, tanks struggle and back-line characters die frequently. Adjust tactics accordingly. Heavy crowd control pre-5, reliable tanking post-6.
Act 3: Chanter gains ability to sing two songs effectively. Chanter viability jumps significantly. Before Act 3, chanters provide mediocre support. After Act 3, they become strong sustained-fight supports.
Lore milestones (mages):
- Lore 20: Basic spell access; low magnitude.
- Lore 30: Solid mid-game spells unlock (Sigil of Force Core via scroll).
- Lore 50: Strong single-target and area options.
- Lore 100: Late-game high-magnitude spells.
- Lore 150: Maximum practical Lore; encounter-defining spells.
Companion loyalty/fear milestones:
Tier 3: First combo ability unlocks (e.g., Verse Death From Above).
Tier 4: Second combo ability or powerful talent/item unlocks (e.g., Eb grants Sigil of Terratus Core).
Tier 5: Third combo ability and maximum relationship rewards (requires “Very Major” gains; difficult to achieve).
Reaching tier 3 is straightforward. Support the companion’s perspective in 4 to 6 conversations. Tier 4 requires consistent alignment across story arcs. Tier 5 demands focused commitment to that companion’s ideology.
Conquest consequences (starting faction relationships):
Scarlet Chorus path: Searing Palm ability (24-second cooldown, 8 to 15 Fire damage, Magefire affliction 9 seconds). Chorus Favor tier 4 to 5 by mid-game. Disfavored Wrath tier 2+. Vendrien Guard Wrath tier 4+.
Quickstart decisions lock or unlock companions. Example: certain Conquest choices make Sirin hostile from game start due to “enthralled conscripts used as chaff.”
Faction reputation unlocks:
Tier 3: Unnerving Presence (enemy accuracy penalty).
Tier 5 Chorus Favor: Visage of Terror (area-of-effect cone immobilize/terrify ability).
Push toward tier 3 in your primary faction for the accuracy debuff. Tier 5 requires completing that faction’s entire storyline and rarely saying no.
Archon relationships:
Graven Ashe: Wrath tier 1.5 (maxed Wrath with limited interaction).
Voices of Nerat: Favor tier 4.2 (strong relationship via Chorus path).
Tunon: Favor tier 4 to 5 (95% to tier 5; requires law-focused decisions).
Bleden Mark: Average Wrath (triggered by siding with Chorus).
Archon relationships affect late-game story and combat encounters. Maximizing Tunon Favor unlocks investigation permissions and story branches.
Mountain Spire claiming: Capturing Ascension Hall grants 400 Power points immediately. Spire provides +5 all skills rest bonus (significant for Lore mages and skill checks). Six NPCs maximum can be hired (trainers cost 5 to 25 copper rings; vendors vary).
Spire access replaces faction camp services after civil war lockout. Plan your faction relationships knowing you’ll lose access to one camp after choosing a side.
Civil war trigger: Choosing Scarlet Chorus to lead the Citadel assault triggers civil war between Disfavored and Chorus. Disfavored Camp becomes locked. This happens after Echocall Crossing and Tripnettle missions.
Known Bugs and AI Issues
Companion armor upgrades: Armor upgrades for companions, particularly Barik, appear limited or unclear. Players report difficulty finding or crafting upgraded armor for companions. Workaround: rely on found armor and prioritize attribute/skill investment over gear upgrades.
Unarmed attack bug: The melee hybrid companion’s unarmed damage suffers from a reported bug that significantly reduces effectiveness despite high stat investment. Two-handed weapons work better until this gets fixed.
Final Words
You’ve got quick picks for strong builds, step-by-step companion routes, and gear choices to jump into Tyranny without guesswork.
Use the sample setups to start fights with confidence, tweak skills as you learn enemy patterns, and keep one backup plan for tough encounters. Test a build for an hour, then adjust. Small changes go a long way.
This post gives a clear tyranny game best builds and companion walkthrough you can use right now. Dive in and enjoy shaping your party.
FAQ
I don’t have any People Also Ask or an article outline to work from. Please give either the People Also Ask / Related Questions list, an article outline, or a topic (for example: “mobile game monetization,” “app onboarding tips,” or “how to export CSV from Excel”).
If you want, tell me the topic now and I’ll draft a concise FAQ with H3 questions and 20–40 word answers.